Sourcing Driftwood For Sailboat Models
The ‘trash’ you stepped over this morning is actually the centerpiece your living room is missing. Most people see a messy beach; the artisan sees a shipyard. That grey stick isn’t just debris—it’s a high-performance hull shaped by thousands of miles of ocean currents. When you stop seeing ‘waste’ and start seeing ‘potential,’ your home decor costs drop to zero while the value of your art sky-rockets. Are you walking past your next heirloom?


Creating something from nothing is the ultimate expression of the pioneer spirit. There is a deep, quiet satisfaction in pulling a water-logged, salt-encrusted branch from the sand and recognizing the ghost of a schooner hidden within its grain. This isn’t just about “crafting”; it is about collaboration with the elements. The Atlantic or the Pacific has already done the hard work of carving, sanding, and aging the wood. Your job is simply to provide the mast and the vision.
In a world of mass-produced plastic trinkets, a driftwood sailboat stands as a testament to the endurance of nature and the steady hand of the maker. These models carry the scent of the sea and the history of the tides into your home. They serve as a bridge between the wild, untamed coastline and the structured peace of your living space. This guide will walk you through the process of finding, preparing, and rigging your own fleet of ocean-worn vessels.
Every piece of wood has a story, and every tide brings a new inventory. You are not just building a model; you are salvaging a piece of the earth’s history. Let’s look at how to identify the right materials and transform them into timeless pieces of nautical art.
Sourcing Driftwood For Sailboat Models
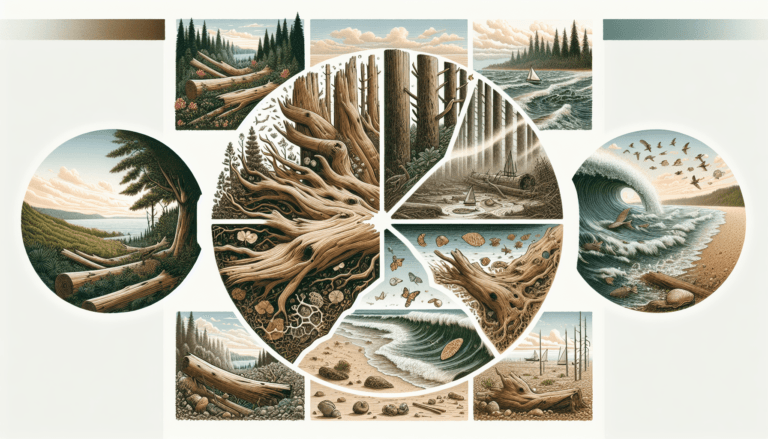
Sourcing driftwood is less about shopping and more about hunting. It requires a keen eye for geometry and an understanding of how water interacts with wood over decades. When you look at a pile of coastal debris, you are looking for “hulls”—pieces that already possess a natural taper, a flat bottom, or a curved bow. The ocean is a master sculptor; it rounds off sharp corners and bleaches wood to a beautiful, ghostly silver that no stain can perfectly replicate.
True driftwood is wood that has been washed onto a shore or beach of a sea, lake, or river by the action of winds, tides, or waves. In the context of model making, it is a curated resource that offers structural integrity despite its weathered appearance. Unlike fresh timber, driftwood has had most of its sap and resins leached out by salt water, leaving behind a lightweight, porous, and incredibly stable material. This makes it ideal for decorative models that need to remain light yet sturdy.
Real-world sourcing happens most effectively after a storm or during king tides. This is when the deep-water “inventory” is pushed onto the shore. Look for estuaries where rivers meet the sea, as these are natural collection points for varied wood types. You might find cedar, oak, or even tropical hardwoods that have traveled thousands of miles on equatorial currents. Each species brings a different density and color to your shipyard.
Keep in mind that sourcing is also a lesson in environmental stewardship. In many regions, driftwood plays a vital role in the ecosystem, providing shelter for shorebirds and stabilizing sand dunes. Always check local regulations before hauling away large quantities. Usually, taking a few small pieces for personal art is permitted, but “harvesting” on a commercial scale often requires a permit. Respect the beach, and it will continue to provide.
How to Select and Prepare Your Timber
Finding the wood is only the first step. To ensure your sailboat doesn’t bring unwanted guests (like termites) or smells into your home, you must follow a rigorous preparation process. The goal is to preserve the weathered aesthetic while ensuring the wood is clean and structurally sound.
Selecting the Hull
Look for pieces that have a “flat” side. This will serve as the bottom of your boat, allowing it to sit level on a shelf or mantel. The “top” or deck should ideally have a slight curve or interesting texture. Avoid pieces that are “punky” or soft to the touch; if you can poke your fingernail deep into the wood, it is rotting and won’t hold a mast securely. You want wood that feels “bony”—hard, dry, and resonant when tapped.
Cleaning and Desalting
Salt is a desiccant; it pulls moisture from the air. If you don’t remove the salt, your model may feel “damp” on humid days or develop a white crust. Start by scrubbing the wood with a stiff brush and plain water to remove sand and loose bark. Then, soak the wood in a tub of fresh water for 24 to 48 hours. Change the water a few times. This leaches out the salt and deep-seated grime.
Sterilization
To kill any microscopic organisms or insects living in the grain, you can use a mild bleach solution (one part bleach to ten parts water) during the final soak. Alternatively, if the piece is small enough, you can “bake” it in an oven at 200°F (93°C) for about two hours. This dries the wood completely and kills any pests without charring the surface. Always keep a close eye on wood in the oven to prevent fire hazards.
Final Sanding
The beauty of driftwood is its natural texture, so don’t over-sand it. Use a fine-grit sandpaper (220 or higher) just to smooth out the “deck” where the mast will go and to remove any jagged splinters that might snag your rigging. You want to keep the silver-grey patina—the “driftwood look”—which is often just a thin layer on the surface. Heavy sanding will reveal the tan or brown wood underneath, destroying the aged effect.
The Construction Process: Step-by-Step
Building a driftwood sailboat is an exercise in minimalist engineering. You don’t need a workshop full of power tools. A simple hand drill, some wood glue, and a sharp knife are often enough to turn a beach find into a vessel.
Step 1: Drilling the Mast Hole. Identify the balance point of your hull. Use a small drill bit to create a hole slightly smaller than the diameter of your mast. For a single-masted sloop, the hole should be about one-third of the way back from the bow. Ensure the hole is deep enough (at least half an inch) to provide leverage, but don’t drill all the way through the bottom of the boat.
Step 2: Selecting the Mast. Don’t use a store-bought dowel. Instead, look for a straight, thin twig or a smaller, weathered piece of driftwood. It should be proportional to the hull—usually about 1.5 times the length of the boat. Whittle the end of the mast until it fits snugly into the hole you drilled. Use a drop of waterproof wood glue to secure it.
Step 3: Creating the Sails. Authentic driftwood boats look best with natural fabrics. Old linen, canvas scraps, or even pieces of an old sailcloth work wonders. Cut the fabric into triangles (for a modern look) or rectangles (for a vintage “square-rigger” look). Fray the edges slightly to match the weathered aesthetic of the wood. You can “tea-stain” white fabric to give it an antique, off-white appearance.
Step 4: Rigging the Vessel. Use hemp twine, waxed cotton thread, or jute for the rigging. Run a line from the top of the mast to the bow (the forestay) and another to the stern (the backstay). Attach your sails to the mast using small loops of thread or by sewing them directly onto the wood. Simple knots like the clove hitch or bowline add a touch of maritime authenticity to the build.
Benefits of Using Reclaimed Ocean Wood
Choosing driftwood over traditional hobby-store lumber offers several distinct advantages that appeal to both the wallet and the soul. It is a material that cannot be manufactured; it must be earned through exploration and patience.
One of the primary benefits is the cost-efficiency. In an era where high-quality hardwood prices are soaring, driftwood is free. The only investment required is your time and travel to the coast. For a hobbyist, this removes the “fear of failure”—if you mess up a cut, you haven’t lost twenty dollars in walnut; you’ve simply lost a piece of found wood that can be replaced on the next tide.
Another benefit is the uniqueness of the grain. Because each piece has been tumbled in the surf and bleached by the sun, no two models will ever be the same. The “imperfections”—the wormholes, the cracks, and the knots—become the focal points of the art. These features tell a story of survival against the elements, giving the final piece an emotional weight that a perfectly smooth, factory-milled board lacks.
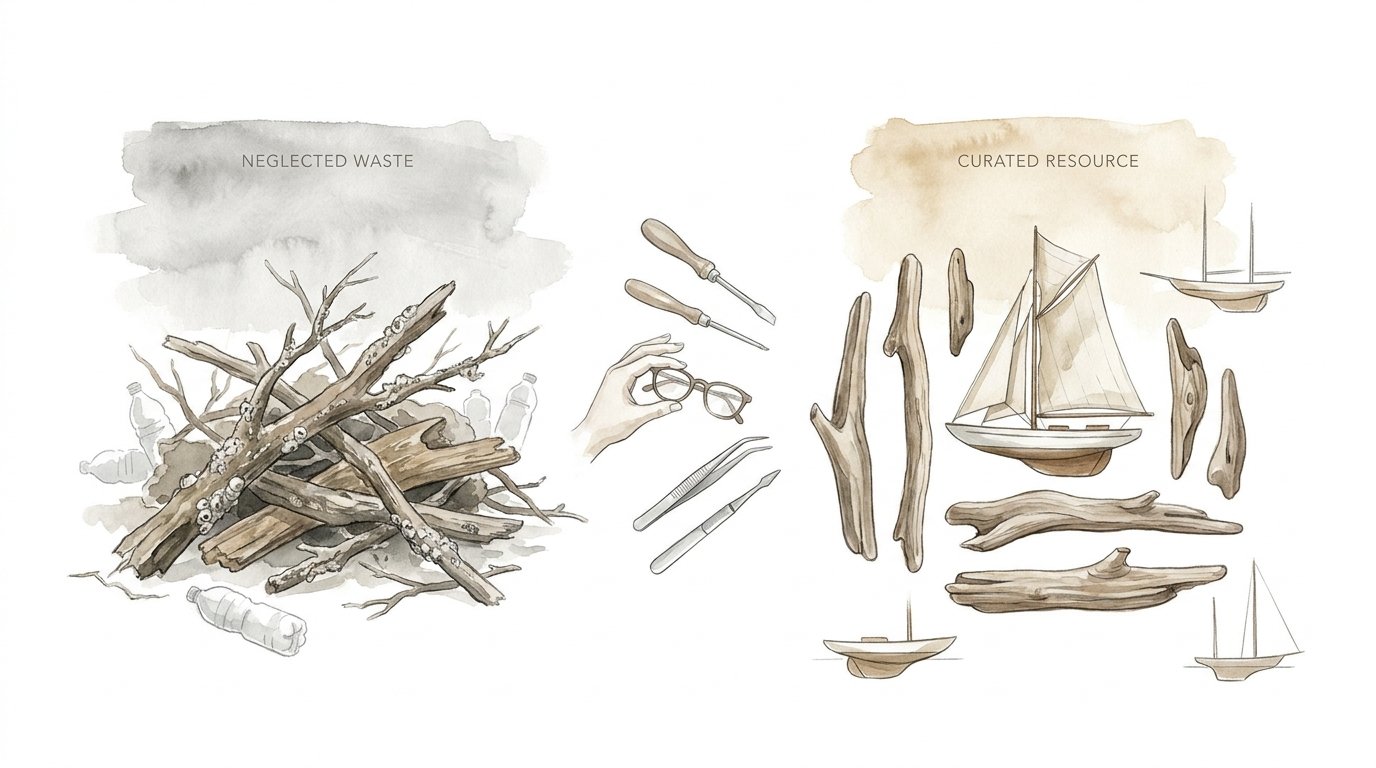
Furthermore, driftwood is environmentally sustainable. By using “neglected waste” found on the shoreline, you are participating in a form of upcycling. You aren’t contributing to deforestation or the carbon footprint associated with industrial timber processing. It is the purest form of “green” crafting, turning debris into a curated resource.
Challenges and Common Mistakes
While working with driftwood is rewarding, it presents unique challenges that can frustrate a beginner. The very qualities that make it beautiful—its age and exposure—also make it temperamental.
A common mistake is ignoring the moisture content. Wood that feels dry on the surface may still be saturated at its core. If you build your boat and apply a finish too early, the wood may crack or warp as it continues to dry indoors. Always allow your driftwood to sit in a dry, climate-controlled room for at least a week before you start drilling or gluing. This “acclimation” period is crucial for the longevity of the model.
Another pitfall is over-complication. Beginners often try to make the model look like a perfect replica of a modern yacht. This usually results in a clash of styles. The rough, organic nature of driftwood doesn’t pair well with shiny plastic fittings or neon-colored sails. Stick to a minimalist, “folk art” aesthetic. Let the wood speak for itself and use simple materials like rusty nails or natural fiber cordage to complement the look.
Finally, many makers fail to properly secure the mast. Because driftwood can be brittle or porous, a simple friction fit often fails. The mast may lean or fall out over time as the wood expands and contracts. Always use a high-quality adhesive, such as a two-part epoxy or a strong wood glue, and ensure the hole is deep enough to support the leverage of the “sails” when they catch a breeze in your home.
Limitations: When Driftwood May Not Work
As much as we love the aesthetic, driftwood isn’t suitable for every project. Understanding its limitations will save you time and prevent ruined projects.
If you intend to build a functional, RC-controlled boat that actually sails in the water, raw driftwood is a poor choice. Its porous nature means it will soak up water quickly, becoming heavy and potentially rotting from the inside out. While you can seal it with marine-grade resin, doing so often hides the very texture that makes driftwood attractive. For floating models, traditional marine plywood or cedar is a much more reliable hull material.
Driftwood also has structural limits. If you are planning a very large, intricate model with multiple masts and heavy rigging, the brittleness of salt-worn wood can be a liability. The wood may split under the tension of the lines. In these cases, driftwood is best used for the hull, while “fresh” hardwood should be used for the structural components like the masts and spars to ensure they can handle the stress.
Lastly, consider the indoor environment. If you live in a very humid climate and haven’t properly treated the wood for mold or salt, driftwood can become a magnet for mildew. It is a “living” material in the sense that it reacts heavily to the atmosphere. If you cannot commit to the cleaning and drying process, a driftwood model may not be the best choice for a centerpiece.
Comparison: Driftwood vs. Hobby Lumber
| Feature | Driftwood (The Artisan Way) | Hobby Lumber (The Standard Way) |
|---|---|---|
| Material Cost | Zero / Free | High (Premium hardwoods) |
| Preparation Time | High (Cleaning, drying, curing) | Low (Ready to use) |
| Aesthetic | Weathered, unique, organic | Uniform, clean, modern |
| Tool Requirement | Minimal (Hand tools) | Moderate to High (Power tools) |
| Sustainability | Excellent (Upcycled) | Variable (Requires new timber) |
Practical Tips and Best Practices
To move from a beginner “stick boat” to a piece of professional-grade coastal decor, you need to master the small details. These tips will help you refine your process and produce consistent results.
- The “Float” Test: Even for a shelf model, check the balance. If the hull leans heavily to one side when sitting on a flat surface, you may need to sand the bottom or add a “keel” (a small, heavy piece of metal or a flat stone) to the underside to keep it upright.
- Aging Your Hardware: If you use nails or wire to attach rigging, “age” them first. Soak new nails in vinegar and salt for a few days to create a rusted, authentic look that matches the driftwood.
- Tension is Key: When rigging your sails, don’t pull the threads too tight. Driftwood can be fragile. You want the lines to be taut enough to look realistic but loose enough that they don’t put excessive lateral pressure on the mast.
- Internal Linking: Think about how this project fits into your wider home. You might want to research nautical display techniques or how to build a glass display case to protect your model from dust.
- Natural Finishes: If you want to protect the wood without adding shine, use a matte beeswax or a light coat of tung oil. Avoid glossy varnishes, as they make the driftwood look “wet” and take away from its natural, sun-bleached charm.
Advanced Considerations for Serious Makers
Once you’ve built a few basic sloops, you may want to experiment with more complex designs. This is where the true “shipyard” mentality comes into play. Advanced makers often look for specific wood types for specific parts of the ship—using flexible willow for curved railings or dense, heavy oak for the main hull.
Consider scaling your designs. A single piece of driftwood can serve as the base for a multi-masted schooner. This requires drilling multiple mast holes in perfect alignment. Use a “string line” to ensure your masts are centered along the hull’s longitudinal axis. This level of precision elevates the model from a simple craft to a technical sculpture.
Another advanced technique is incorporating mixed media. Look for “sea glass” that can be embedded into the deck or small pieces of rusted ship scrap found on the beach to act as anchors or winches. The integration of different materials found in the same environment creates a cohesive “bioregional” art piece that represents a specific stretch of coastline.
Finally, think about weight distribution. If you are building a large model, the weight of the sails and rigging can make the piece top-heavy. Serious practitioners often hollow out a small section of the hull’s bottom and insert lead weights or heavy pebbles, ??? covering the opening with a thin slice of wood. This lowers the center of gravity and makes the model feel substantial and “high-end” when handled.
Example Scenario: The “Nor’easter” Sloop
Imagine you’ve just returned from a beach walk after a heavy autumn storm. You found a 12-inch piece of Atlantic White Cedar that has been worn into a perfect, sleek teardrop shape. It’s light as a feather and has a silver-grey patina.
You spend two days soaking it in fresh water and a week letting it dry on a sunny windowsill. You decide to make a single-masted sloop. You find a straight birch twig for the mast and a piece of cream-colored linen from an old pillowcase for the sail. You use a hand-crank drill to set the mast, then use a simple “Y” shaped twig as a boom to hold the sail out at an angle, as if catching a stiff breeze.
For rigging, you use dark brown hemp twine, tied with tiny bowline knots at the bow and stern. To finish, you find a small, flat piece of slate on the beach and glue the hull to the slate. The result is a composition of materials all found within 100 yards of each other—a perfect snapshot of that specific beach on that specific day. Total cost: $0. Estimated retail value in a coastal gallery: $150.
Final Thoughts
The beauty of driftwood sailboat models lies in their honesty. They don’t pretend to be anything other than what they are: a partnership between the wild ocean and the human imagination. By sourcing your own materials and following a patient, methodical preparation process, you create something that carries a weight of character no store-bought item can match.
As you continue your journey, you will find that your eyes change. You will no longer see “trash” or “debris” when you walk along the water. You will see hulls, masts, spars, and stories waiting to be told. This shift in perspective—from consumer to creator—is the true value of the craft.
Start small, respect the wood, and don’t be afraid to let the natural shape of the driftwood dictate the design of your boat. The ocean has been working on your materials for years; take your time to finish the job. Whether you build one boat or a whole fleet, you are preserving a piece of the maritime world for generations to come.