Adam Ellis Driftwood Comic
Explore the wit and whimsical charm of Adam Ellis’ “Driftwood Comic.” Dive into its humorous, thought-provoking narratives that mirror everyday life’s absurdities.

Explore the wit and whimsical charm of Adam Ellis’ “Driftwood Comic.” Dive into its humorous, thought-provoking narratives that mirror everyday life’s absurdities.

Explore the captivating world of driftwood abstract sculptures. Learn how to transform natural wood into art, embracing creativity and sustainability.

Explore the beauty of Driftwood Highland Cow art, blending natural elegance and artistic brilliance to captivate your space with a touch of rustic Scottish charm.

Discover the enchanting world of Driftwood Golems, a seamless blend of nature and fantasy. Learn about their origins, symbolism, and how to create stunning images.

Explore the enchanting world of the Driftwood Goat, a blend of natural beauty and creativity. Learn to craft and capture stunning images for Pinterest. Dive in!
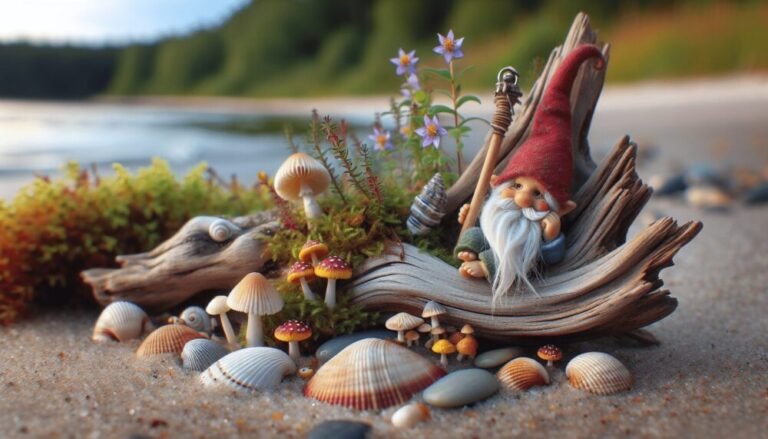
Discover the magical blend of folklore and nature in “Gnomes on Driftwood.” Learn about the origin, creation, and beauty of these charming and unique art pieces.
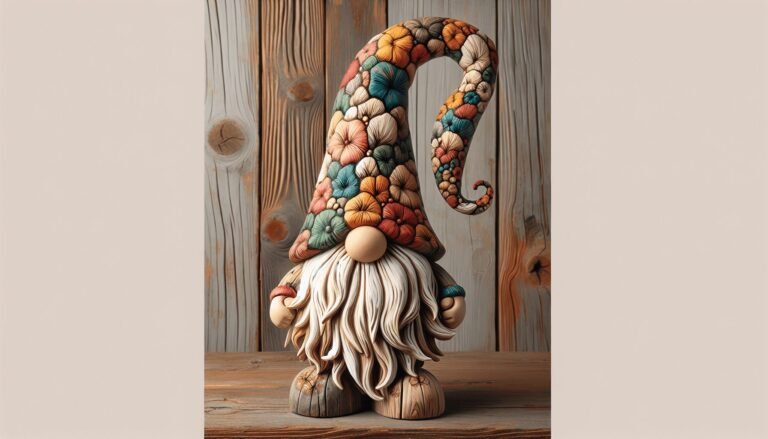
Discover the joy of crafting painted driftwood gnomes! Learn how to turn beach finds into whimsical characters for home or garden décor. Fun, creative, and unique DIY.
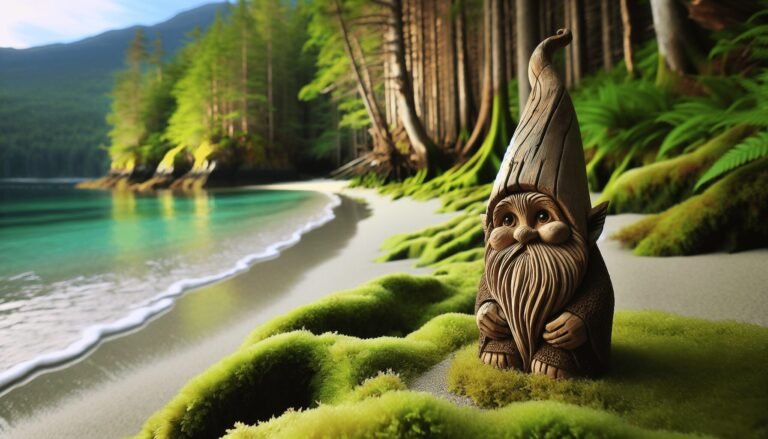
Discover the magic of Driftwood Gnomes! Learn their history, how to make your own, and creative display ideas. Perfect for beachcombers and garden lovers alike.
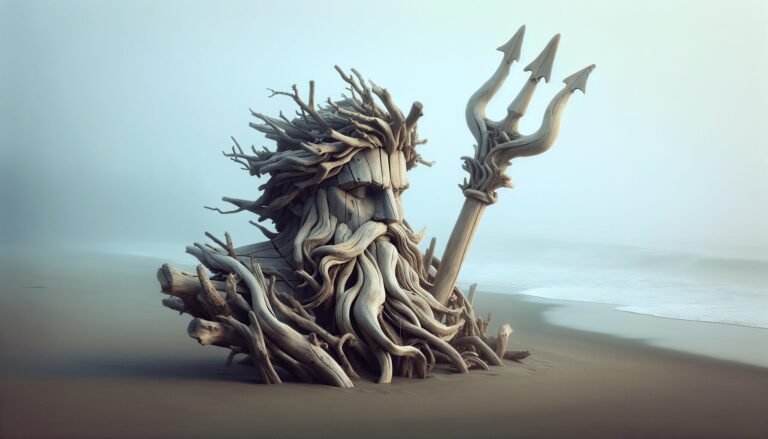
Explore the captivating world of Driftwood Neptune. Uncover the mystique, art, and ecology behind turning driftwood into stunning Neptune sculptures. Dive into creative tips!
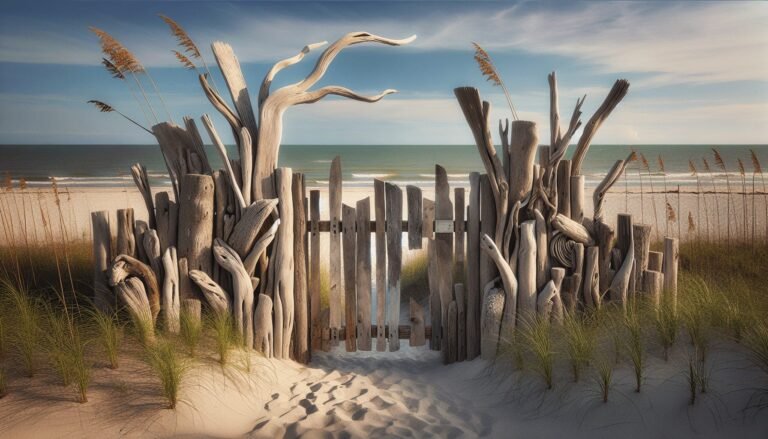
Discover the enchanting essence of driftwood gates. Learn how to create and maintain these unique entryways, blending natural beauty with craftsmanship. Unleash your creativity!