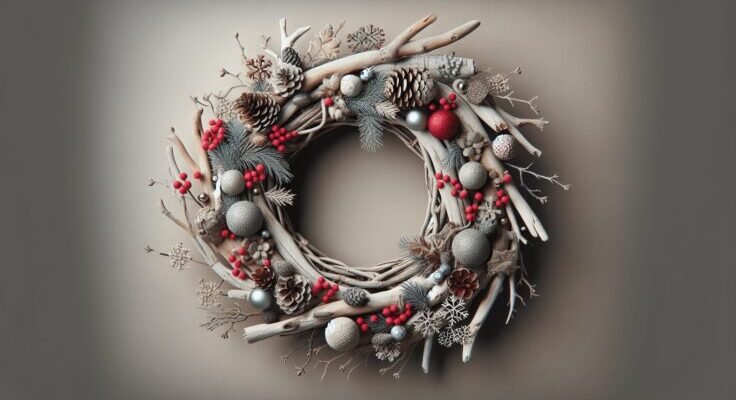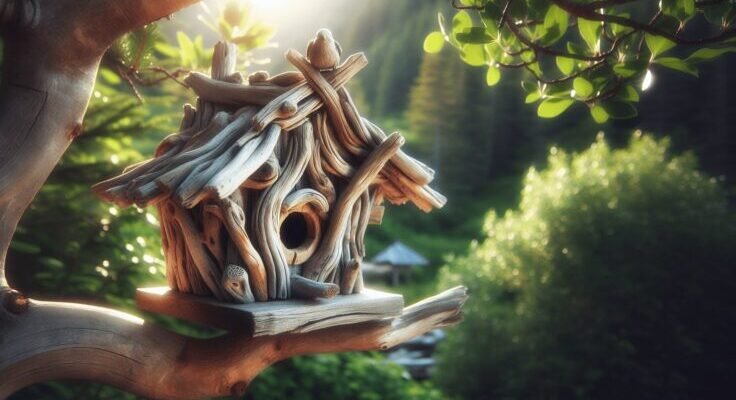
Have you ever thought about the perfect blend of rustic charm and natural beauty that a driftwood birdhouse can bring to your garden or balcony? Imagine a little haven for local birds, crafted from pieces of nature’s artwork, each telling its own story. These unique birdhouses not only offer a cozy home for our feathered friends but also add an aesthetic touch to your outdoor spaces with their rich textures and earthy tones. They embody a down-to-earth elegance that seamlessly fits into gardens big or small. Let’s explore the fascinating world of rustic driftwood birdhouses and discover how to incorporate them into your life.

What are Driftwood Birdhouses?
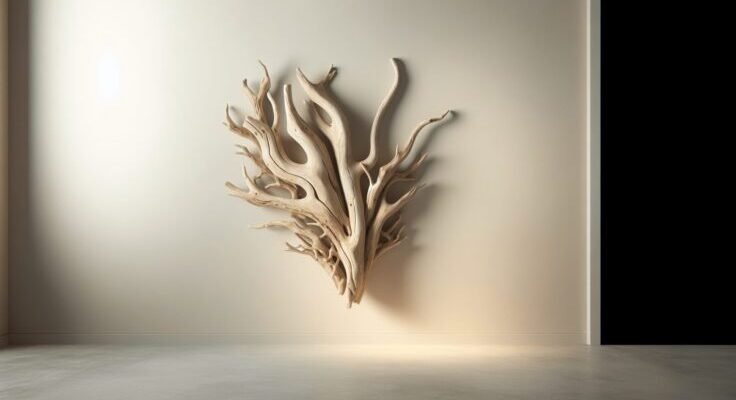
Driftwood birdhouses are quaint shelters for birds, crafted using pieces of driftwood. Driftwood, which is wood washed ashore by tides, comes in various shapes and sizes, often weathered by the elements, giving each piece unique textures and histories. This material is a perfect choice for birdhouses, thanks to its durability and natural aesthetic.
Driftwood birdhouses are more than just functional; they’re a piece of art. Each birdhouse tells a story, with every twist and knot signifying its journey through oceans, rivers, or lakes. When you choose a driftwood birdhouse, you’re not only gifting birds with a sturdy shelter but also adding a piece of nature’s artwork to your home.
The Art of Building with Driftwood
Understanding Driftwood’s Journey
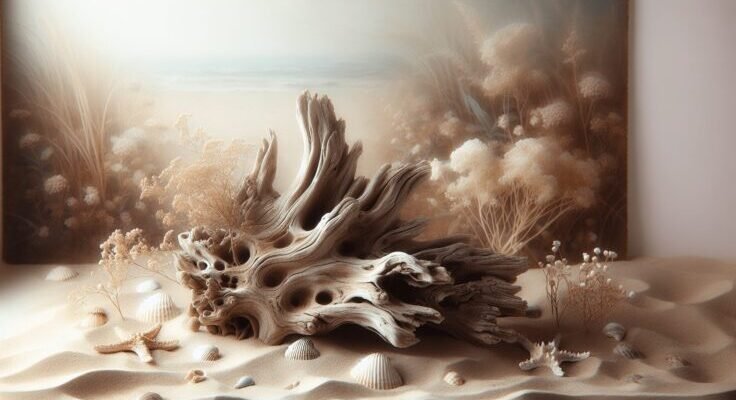
Before you can appreciate a driftwood birdhouse, it’s essential to understand where this wood comes from. Driftwood is typically debris carried by water currents, weathered through a natural process that often takes years. This process strips away the outer layers, leaving a beautifully smooth and polished surface that still retains some of the bark’s original character.
The journey of driftwood is what imparts its rustic charm. As it travels across bodies of water, it’s exposed to various environmental conditions that cleanse and reshape it. The resulting pieces are not only aesthetically pleasing but also environmentally friendly and sustainable.
Choosing the Right Pieces
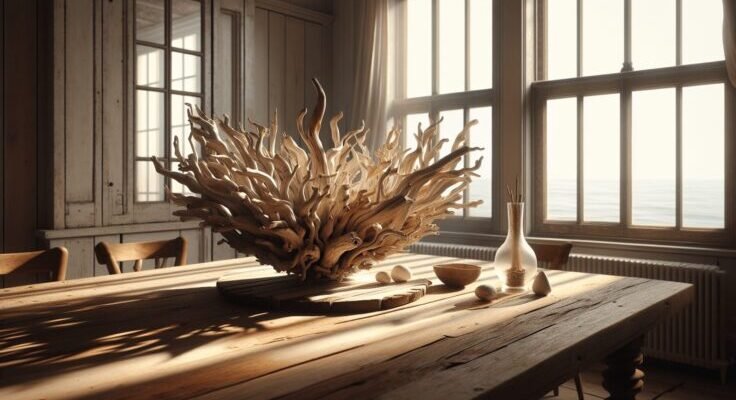
When selecting driftwood for a birdhouse, it’s crucial to choose the right pieces. Look for wood that is relatively hard and free from rot. The size and shape depend on the design you aim for, but generally, you’ll want pieces that can form a sturdy structure.
Consider mixing different hues and textures to create a visually appealing structure. Combining driftwood of different types can enhance the aesthetic of your birdhouse, adding depth and interest to the design.
Crafting a Driftwood Birdhouse
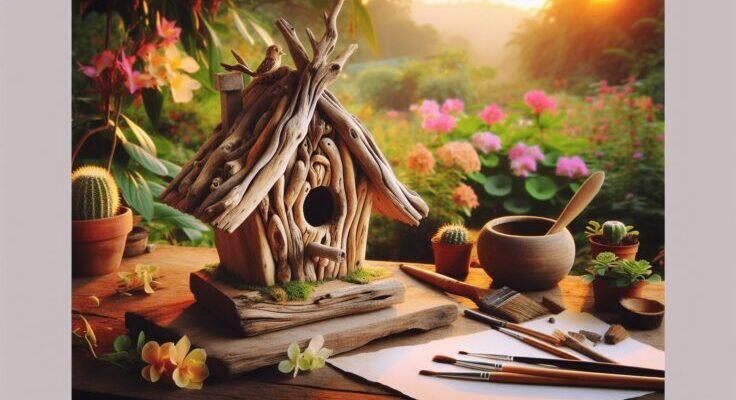
Building a driftwood birdhouse can be a rewarding project. Begin with a solid plan, keeping the needs of potential bird inhabitants in mind. These considerations include the size of the entrance hole, ensuring it’s suitable for the bird species in your area, and providing proper ventilation to keep the interior comfortable.
Materials You Might Need:
- Driftwood pieces
- Wood glue or non-toxic adhesive
- Small nails or screws
- Saw or cutting tool
- Sandpaper
Basic Steps:
Design Layout: Start by laying out your driftwood pieces to see how they fit together. This step will help you determine the best arrangement and highlight the natural beauty of the wood.
Cut and Shape: Use a saw to cut the pieces to your desired sizes and shapes. Sand down any rough edges to ensure a smooth finish.
Assemble the Structure: Begin assembling the base and walls of the birdhouse using wood glue or small nails to join the pieces. Secure them firmly but gently, preserving the driftwood’s natural look.
Add Details: Crafting the roof and entrance are next. Consider incorporating charming details like perches or artistic accents for an extra rustic touch.
Finishing Touches: After assembling the birdhouse, check for sharp edges and smooth them out. A light coat of natural beeswax or non-toxic sealant will enhance the driftwood’s appearance while protecting it from weather.
Incorporating Driftwood Birdhouses into Your Environment
Selecting the Right Location
The placement of your driftwood birdhouse is just as important as its design. Choose a spot that provides safety from predators and shelter from harsh weather conditions. Birdhouses should be placed at a height that prevents easy access to predators like cats or raccoons.
Creating a Habitat
Complement your birdhouses with native plants and feeders to create a bird-friendly environment. Native flora provides birds with food sources and nesting materials, encouraging them to stay and thrive in your garden.
Seasonal Maintenance
Like any outdoor structure, driftwood birdhouses require maintenance. Clean them periodically to remove debris and check for any weather damage. Seasonal maintenance ensures they remain a safe and inviting habitat for birds.
Promoting Birdwatching
Install your birdhouses in a spot visible from your windows or porch. This placement allows you to enjoy birdwatching, a relaxing and educational pastime. Observing the birds that visit your garden can provide immense satisfaction and joy.
Benefits of Using Driftwood Birdhouses
Eco-Friendly
Driftwood birdhouses are a sustainable choice. By using naturally weathered wood, you reduce the demand for new materials, making it an environmentally friendly option. Moreover, driftwood pieces are often locally sourced from shorelines, minimizing carbon footprint associated with transporting new wood.
Enhancing Natural Beauty
The unique look of driftwood complements natural surroundings. Its rustic appeal blends seamlessly into gardens and wooded areas, enhancing the overall beauty of outdoor spaces. The natural color palette of driftwood can merge with any garden, providing an organic look.
Attracting Diverse Bird Species
Using local wood can attract a variety of bird species native to your area, offering them a stable habitat. This approach supports biodiversity and helps maintain ecological balance, which is vital for healthy gardens and landscapes.

Creative Ideas for Driftwood Birdhouses
Customized Themes
Consider crafting birdhouses that reflect themes or seasons. Whether it’s a winter wonderland or a summer beach shack, themed birdhouses can add a playful touch to your garden.
Adding Artistic Elements
Incorporate artistic details, such as carvings or painted designs. These elements can personalize your driftwood birdhouse, making it a standout feature.
Multi-level Birdhouses
Create multi-level birdhouses to accommodate different bird species. These structures can be quite eye-catching and offer a practical home to a range of bird families.
Building a Community Around Driftwood Birdhouses
Sharing Your Craft
Share your driftwood birdhouse creations with friends, family, or the local community. Participate in craft fairs or social media groups dedicated to birdhouse designs. Exchanging ideas can spark creativity and lead to new, innovative designs.
Hosting Workshops
Consider hosting a workshop where others can learn how to make their own driftwood birdhouses. Sharing this skill can foster a sense of community and inspire others to appreciate and protect birds and their habitats.
Collaborations with Local Artists
Partnering with local artists can lead to unique birdhouse designs that combine different art forms. Collaborations can also expand your creative horizons and bring more visibility to your work.
Driftwood Birdhouses: A Journey Worth Taking
The journey toward creating or choosing a perfect driftwood birdhouse is filled with creativity, sustainability, and a deep connection to nature. It’s a path that enriches both the environment and your personal space, merging art, functionality, and ecological consciousness. Whether you’re building your own birdhouse or purchasing one from an artisan, each piece is an opportunity to blend craftsmanship with environmental stewardship.
Every driftwood birdhouse you create or choose is not just a home for birds but also a testament to the beauty of nature’s reclamation process. Embrace the storytelling behind each piece of wood and let these rustic havens bring life, beauty, and harmony to your surroundings.