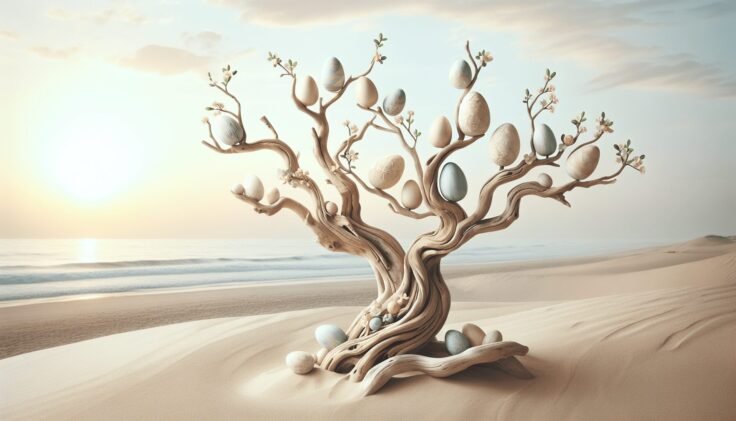
Driftwood Easter Tree
Discover how to craft a unique Driftwood Easter Tree to blend coastal charm with festive spirit. Enjoy a guide to build, personalize, and decorate your own creation!
Discover how to craft a unique Driftwood Easter Tree to blend coastal charm with festive spirit. Enjoy a guide to build, personalize, and decorate your own creation!

Discover how to incorporate driftwood into your Xmas decor for a unique coastal holiday. Learn to create eco-friendly trees, wreaths, garlands, and more!

Discover how to create and decorate a unique, eco-friendly driftwood Christmas tree. Add coastal charm to your holiday decor with our step-by-step DIY guide.
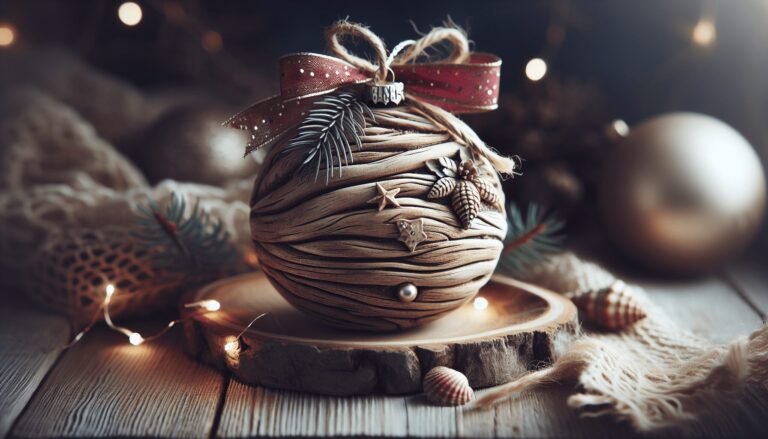
Transform your home with eco-friendly Driftwood Christmas Decor! Discover creative DIY projects that bring natural charm and seaside magic to your holiday celebrations.

Enhance your fish tank or terrarium with kathson Aquarium Driftwood Branches. Made from real wood, these chemical-free branches are safe for your pets. Create stunning moss trees or add a touch of nature to your home garden. Offered in a pack of 10, these durable branches are the perfect addition to your aquatic or arid environment.