Welcome to a world where nature’s beauty meets contemporary design with “Modern Driftwood Projects Unique.” In this captivating article, you’ll delve into innovative ways to transform humble driftwood into striking pieces of art and decor. Whether you’re a seasoned crafter or a DIY enthusiast, you’ll find inspiration and practical tips to create one-of-a-kind projects that showcase the raw, organic charm of driftwood with a modern twist. Get ready to infuse your living space with coastal vibes and refined rustic elegance through these amazing, unique driftwood creations. Have you ever gazed at a piece of driftwood and wondered about the stories it could tell or the dazzling projects it could become? Driftwood, with its unique shapes and textures, opens the door to creative and modern designs.

The Allure of Driftwood
Driftwood carries an enigmatic charm. Weathered by the forces of nature, each piece is a work of art in itself. It connects you with nature and can transform your living space with its organic and rustic appeal. But beyond its aesthetic value, driftwood is also a sustainable material, making it a perfect choice for eco-conscious projects.
Why Use Driftwood?
Using driftwood in your projects brings a slice of nature indoors. Each piece is unique, which means your creation will be one-of-a-kind. Furthermore, driftwood is incredibly versatile; it can be shaped, painted, or left in its natural beauty.
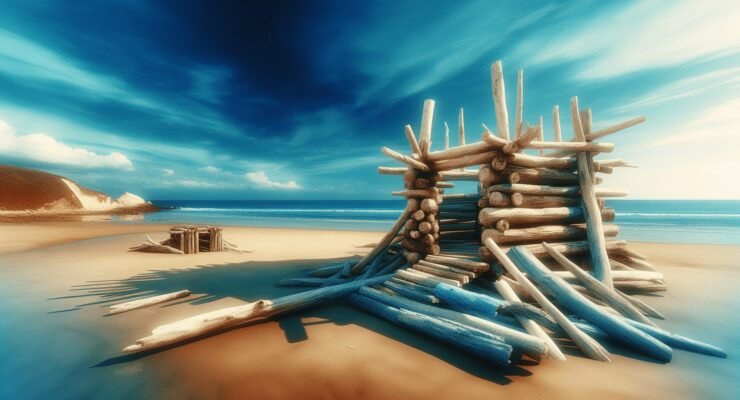
Where to Find Driftwood
While beachcombing is the most traditional way to find driftwood, there are other sources as well. Some artists and suppliers sell gathered driftwood pieces, often seasoning them for months to ensure they’re ready for use. You can also find driftwood in lakes or riverbeds, each giving their unique characteristics based on their origin.
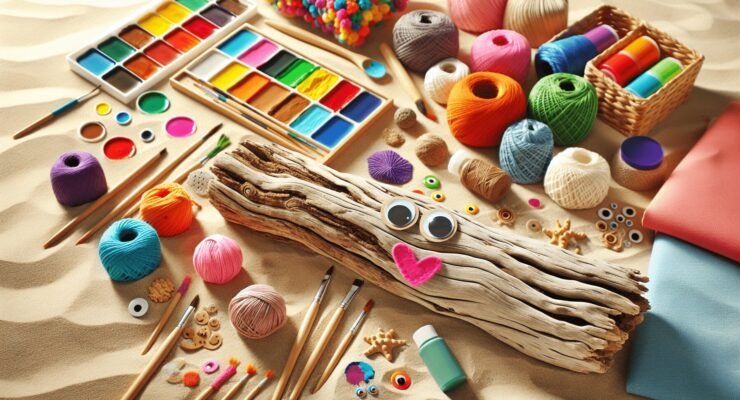
Getting Started with Driftwood Projects
Starting with driftwood can seem daunting, but don’t worry, you’re going to love the process. Here’s a simple guide to help you embark on this exciting journey.
Selecting the Right Driftwood
Not all driftwood is suitable for every project. Small, smooth pieces are great for crafting jewelry or ornaments, while larger, more rugged pieces make excellent sculptures or furniture.
Driftwood Characteristics
| Feature | Suitable For | Examples |
|---|---|---|
| Small and Smooth | Jewelry, Ornaments | Driftwood necklaces, Christmas decorations |
| Medium-sized | Wall art, Frames | Driftwood mirrors, photo frames |
| Large and Textured | Furniture, Sculptures | Coffee tables, abstract art pieces |
Preparing Driftwood
Before you can start any project, you need to prepare your driftwood. This involves cleaning, seasoning, and sometimes treating it to ensure durability and safety.
Cleaning Driftwood
Submerge the driftwood in fresh water for a few days to remove salt and any residual debris. Change the water regularly until it runs clear. For an extra step, you can scrub the wood with a brush to ensure it’s thoroughly clean.
Seasoning Driftwood
Once clean, allow the driftwood to dry completely. This process can take several weeks but is essential to prevent warping and ensure the wood’s durability.
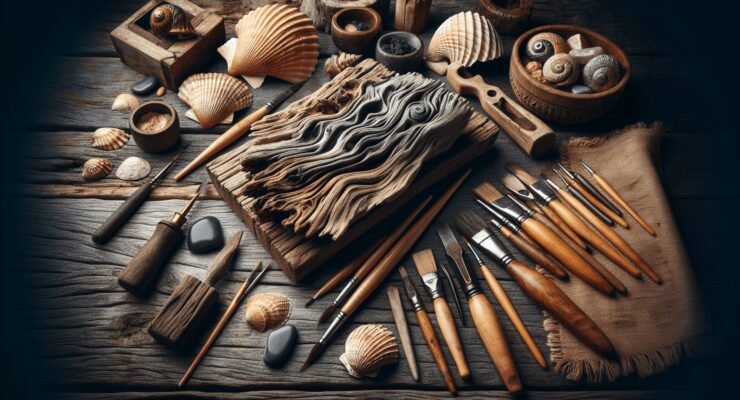
Tools You’ll Need
Working with driftwood requires some basic tools. Depending on your project, you might need:
- Sandpaper
- A handsaw or jigsaw
- Wood glue
- Screws and nails
- Paint and finishing supplies
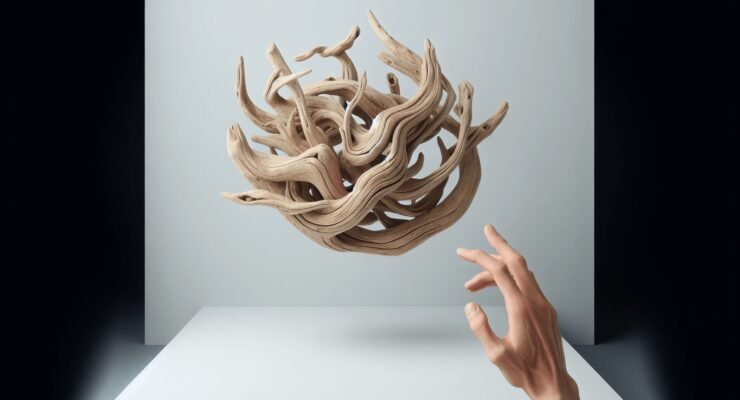
Unique Driftwood Projects
Now that you’re ready to start, here are some unique driftwood projects that add a modern yet rustic touch to any space.
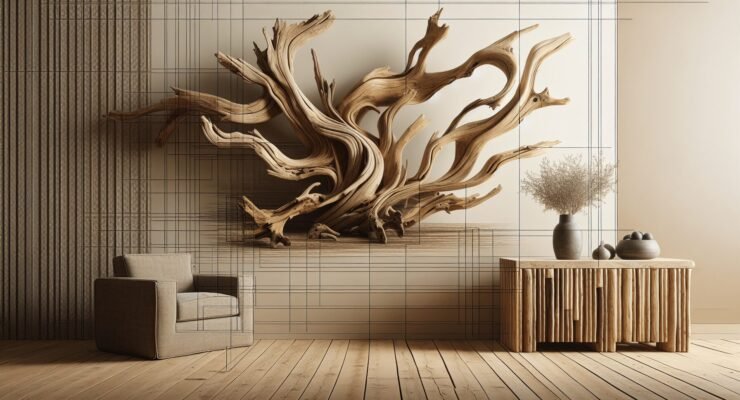
Driftwood Wall Art
Creating wall art with driftwood is a fantastic way to bring natural textures into your home. You can design beautiful compositions that range from abstract designs to more structured patterns.
How to Make Driftwood Wall Art
- Gather several pieces of driftwood that complement each other in size and shape.
- Arrange them on a flat surface until you’re happy with the design.
- Glue or nail the pieces together.
- Add hanging hardware to the back to easily mount it on a wall.
Driftwood Frames
A driftwood frame can add a rustic charm to your photographs or artwork.
Creating a Driftwood Frame
- Measure and cut driftwood pieces to fit around your photo or art.
- Sand the edges to smooth out any rough spots.
- Glue the pieces together at the corners and let them dry.
- Attach a backing and any hanging hardware needed.
Driftwood Mirrors
A mirror framed with driftwood is both functional and decorative.
Making a Driftwood Mirror
- Select a mirror size and gather driftwood pieces that will frame it.
- Arrange the driftwood around the mirror to form a frame.
- Secure the driftwood using strong adhesive or screws.
- Add backing to support the mirror and frame structure.
Driftwood Furniture
Transform larger pieces of driftwood into impressive furniture items like coffee tables, shelves, and benches.
Building Driftwood Furniture
- Select a solid base piece of driftwood.
- Use smaller pieces to create legs or additional structural support.
- Attach the pieces securely using wood screws and glue.
- Sand and finish the wood to ensure a smooth surface.
| Project | Materials | Tools |
|---|---|---|
| Wall Art | Various small-to-medium driftwood pieces | Sandpaper, Glue, Hanging hardware |
| Frames | Driftwood pieces, photo/art | Handsaw, Sandpaper, Glue, Photo frame backing |
| Mirrors | Driftwood, Mirror | Adhesive, Screws, Finishing materials |
| Furniture | Large driftwood pieces | Drill, Screws, Sandpaper, Wood finish |
Enhancing Your Driftwood Projects
For a more polished look, you can enhance your driftwood projects with various finishing techniques.
Staining and Painting
While the natural look of driftwood is appealing, staining or painting can add a touch of sophistication. Consider using natural, earth-toned stains to retain the rustic charm or go bold with vibrant colors.
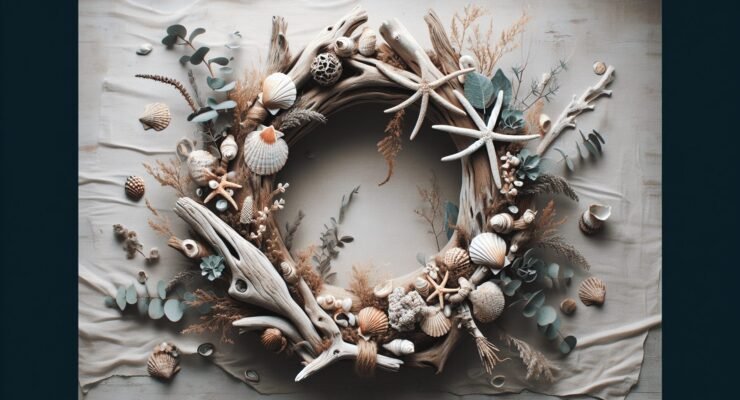
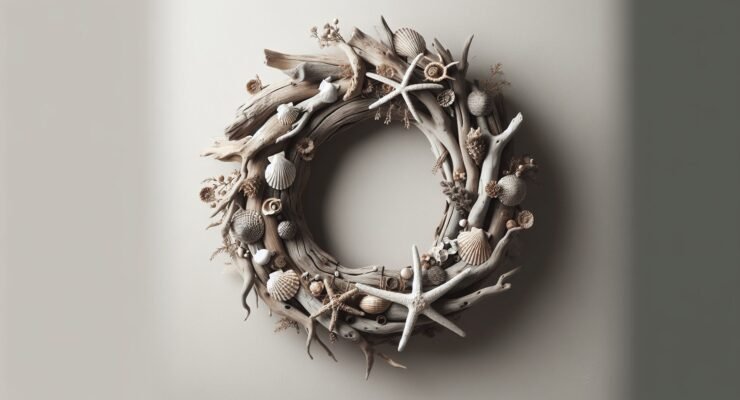
Adding Accessories
Incorporate elements like shells, stones, or other natural materials to complement your driftwood projects. These can be glued on or embedded into the wood to create intricate designs.
Sealing
Sealing your driftwood projects is crucial for longevity, especially if they will be outdoors or in humid environments. Use a clear sealant to protect the wood without altering its appearance.
Types of Sealants
| Sealant Type | Best For | Durability |
|---|---|---|
| Clear Polyurethane | Indoor use | High |
| Marine Varnish | Outdoor use | Very High |
| Natural Oils (e.g., Tung, Linseed) | Indoor decorative items | Moderate |
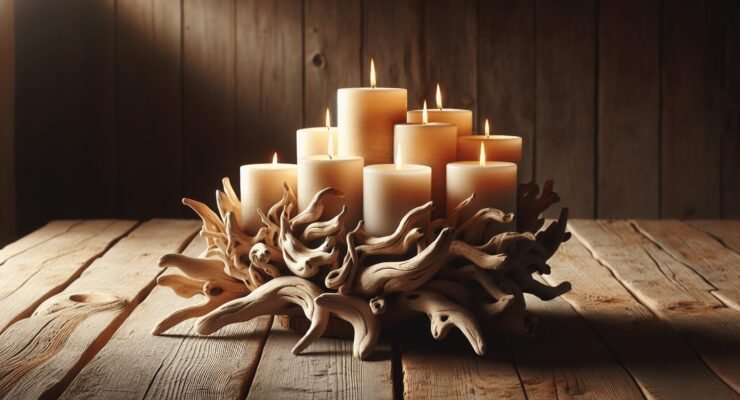
Lighting Integration
Driftwood can be used to create stunning, unique lighting fixtures. Imagine a driftwood lamp or chandelier casting warm, natural light in your home.
How to Integrate Lighting
- Choose a suitable piece of driftwood as the base.
- Decide on the type of lighting fixture you want (e.g., string lights, LED).
- Drill holes or carve channels where necessary to lay wiring.
- Secure the lights into the driftwood and conceal wires for a clean look.

Innovative Ideas Using Driftwood
Thinking outside the box can lead to new and innovative driftwood projects.
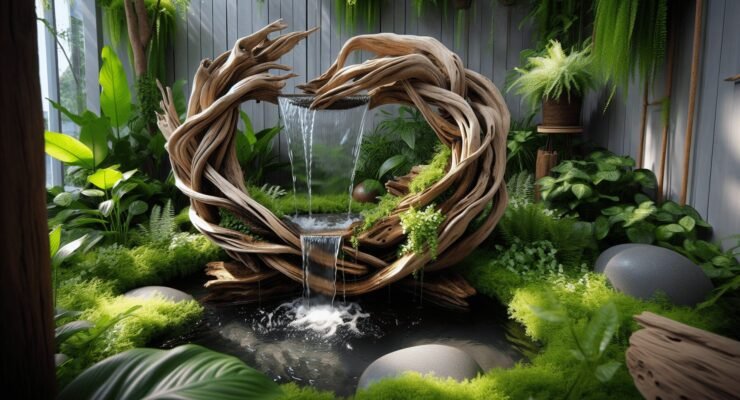
Driftwood Garden Features
Bring driftwood into your outdoor spaces by using it in gardens. It can be used to create unique planters, edging for garden beds, or even whimsical garden sculptures.
Garden Driftwood Projects
| Project | Description |
|---|---|
| Driftwood Planter | Use hollowed-out driftwood to create planters. |
| Garden Edging | Line driftwood along garden beds for a rustic border. |
| Sculptures | Create abstract sculptures for garden decor. |
Functional Art
Driftwood can be transformed into functional pieces of art, such as hooks and stands.
Functional Driftwood Projects
| Project | Description |
|---|---|
| Driftwood Hooks | Attach hooks to driftwood for use as coat or key hangers. |
| Driftwood Stands | Create stands for holding books, tablets, or other items. |
Driftwood Decor for Special Occasions
Use driftwood to add a natural touch to weddings or other events. Create centerpieces, signage, or even a unique backdrop.
Event Decor Ideas
| Project | Description |
|---|---|
| Centerpieces | Arrange small driftwood pieces with candles or flowers. |
| Signage | Paint or carve into driftwood for unique event signs. |
| Backdrops | Create a large driftwood backdrop for photo ops. |
Maintaining Driftwood Projects
To ensure your driftwood projects stand the test of time, regular maintenance is vital. Here are some tips to keep your creations looking fresh and beautiful.
Cleaning
Dust and clean your driftwood items periodically with a soft cloth. For deeper cleaning, use a damp cloth and mild soap.
Handling Repairs
Over time, driftwood pieces may loosen or develop minor cracks. These can usually be fixed with a touch of glue or by securing with additional screws.
Reapplying Sealant
Depending on use and exposure, you might need to reapply a sealant every few years. This helps maintain the driftwood’s integrity and appearance.
Conclusion
Creating modern driftwood projects is not only a fulfilling activity but also a way to bring a piece of nature into your home. Every project tells a unique story, endowed by the natural beauty and history of the driftwood itself. Whether you’re making wall art, frames, furniture, or even functional pieces, you’re bound to end up with something truly unique. Happy crafting, and may your DIY adventures with driftwood be as inspiring as the ocean waves that shaped it!