Welcome to “Driftwood Projects Unique DIY,” where you’ll discover the charm and creativity of transforming driftwood into stunning, one-of-a-kind pieces for your home and garden. You’ll learn how to turn found treasures into eye-catching decorations, from rustic picture frames to whimsical wall art. With easy-to-follow instructions and a bit of imagination, you’ll be amazed by how driftwood can bring a touch of nature and elegance into your spaces. Embrace the beauty of the natural world and get started on your next unique DIY project today!
Driftwood Projects: Unique DIY
Do you ever find yourself strolling along the beach, collecting pieces of driftwood and wondering what kind of creative projects you can conjure up with these natural treasures? If so, you’re not alone. Driftwood, with its weathered appearance and unique shapes, is a favorite medium among DIY enthusiasts for creating art and home decor that is both stunning and environmentally friendly.
In this article, you’ll discover unique DIY driftwood projects that will inspire you to turn beach-combing finds into beautiful, functional decor. Whether you’re a seasoned crafter or someone looking for a new way to bring the coastal vibe into your home, these projects are perfect for adding a natural, rustic touch to any space.

The Magic of Driftwood
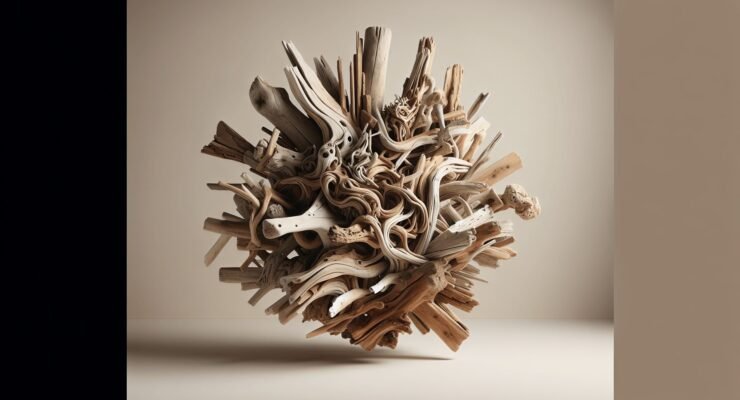
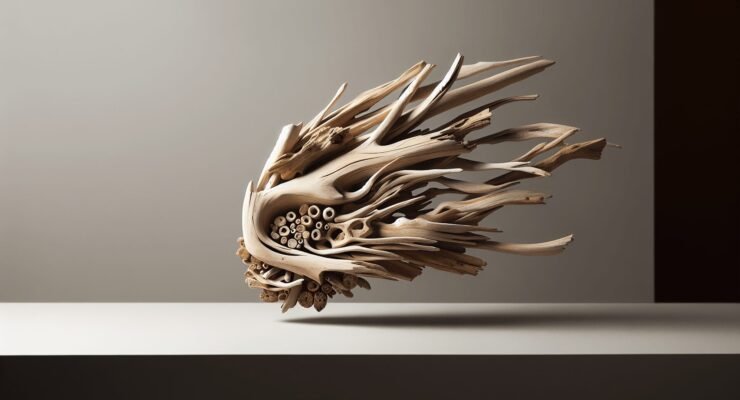
Driftwood isn’t just any old piece of wood; it’s a testament to the power of nature. Each piece has been shaped and smoothed by the forces of water and wind, giving it a distinctive look that’s hard to replicate. This uniqueness makes driftwood a highly sought-after material for creating one-of-a-kind home decor items.
Why Choose Driftwood?
There are several reasons why you might want to choose driftwood for your next DIY project:
- Sustainability: Utilizing driftwood means you’re reusing natural materials, thus reducing waste and minimizing your environmental footprint.
- Aesthetic Appeal: The natural, weathered look of driftwood integrates seamlessly into both modern and rustic decor styles.
- Versatility: Driftwood can be used in a variety of projects, from large furniture pieces to small decorative items.
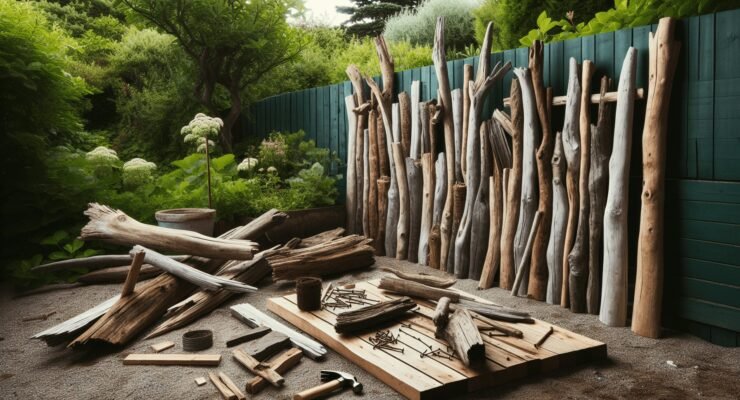
Preparing Your Driftwood
Before you can turn your driftwood into a masterpiece, you’ll need to prepare it properly. This involves cleaning, drying, and sometimes treating the wood to ensure it’s safe and ready for crafting.
Cleaning Driftwood
Cleaning driftwood involves removing any debris, salt, or organisms that may be clinging to it. Here’s a simple method to clean your driftwood:
- Rinse Thoroughly: Use fresh water to rinse off any sand, dirt, or salt.
- Scrub: Use a stiff brush to scrub the wood and remove any remaining debris.
- Soak: Soak the driftwood in a mixture of water and vinegar (1:1 ratio) for a couple of days. This helps to kill any bacteria or organisms.
- Rinse Again: After soaking, give the wood another good rinse with fresh water.
Drying and Treating Driftwood
It’s crucial to let your driftwood dry completely before starting any project. Here are the steps to dry and treat your driftwood:
- Drying: Place the driftwood in a dry, airy spot. Depending on the size and moisture content, this could take anywhere from a few days to a couple of weeks.
- Sun Drying: If possible, dry your driftwood in the sun. Sunlight helps to bleach and sanitize the wood naturally.
- Optional Treatments: For added preservation, you can treat the driftwood with a mixture of bleach and water (1:9 ratio). Rinse and dry thoroughly afterward.
Unique DIY Driftwood Projects
Now that your driftwood is prepped and ready, let’s dive into some unique DIY projects that you can create.
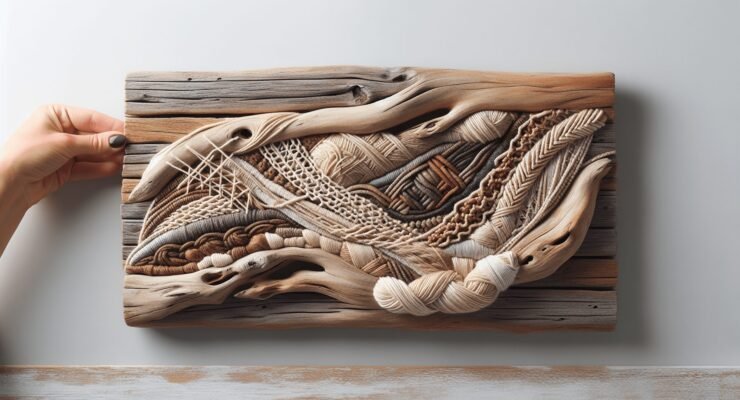
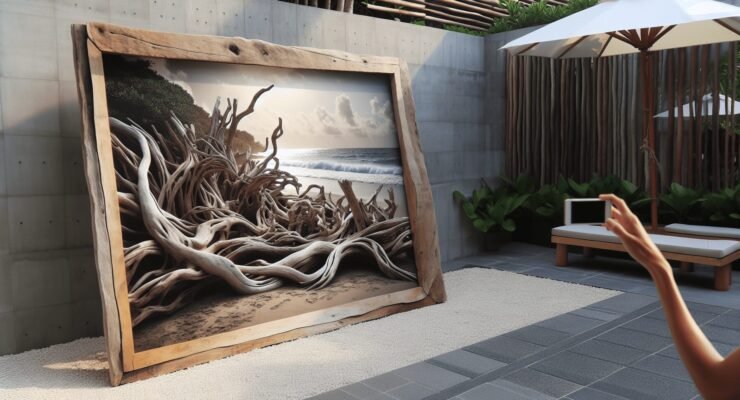
Driftwood Wall Art
A piece of driftwood wall art can be a stunning focal point in any room. You’ll need several pieces of driftwood, a backing board, and some screws or wood glue to assemble your art piece.
Steps to Create Driftwood Wall Art:
- Design Your Layout: Arrange the pieces on a flat surface until you’re happy with the design.
- Attach the Pieces: Use screws or a strong wood adhesive to attach each piece of driftwood to your backing board.
- Hang Your Art: Attach hanging hardware to the back of your board and display your new art piece on the wall.
Driftwood Mirrors
Incorporating driftwood into a mirror frame is a fantastic way to blend functionality with natural beauty.
Materials:
- A basic mirror
- Driftwood pieces
- Strong adhesive
- Backing board (if required)
Steps:
- Arrange Driftwood Around Mirror: Place your pieces around the mirror to find an arrangement you like.
- Attach Driftwood: Use strong adhesive to secure each piece to the mirror frame or backing board.
- Let Dry: Allow the adhesive to dry completely before hanging the mirror.
Driftwood Shelves
Create a unique shelving unit using larger pieces of driftwood. This project combines the rustic charm of natural wood with practical storage.
Materials:
- Large driftwood pieces
- Wooden or metal brackets
- Screws
- Drill
Steps:
- Choose Your Driftwood: Find strong, flat pieces that can support weight.
- Attach Brackets: Secure the brackets to the driftwood using screws and a drill.
- Install: Mount the shelves on your wall, ensuring they are level and secure.
Driftwood Candle Holders
Driftwood candle holders make beautiful centerpieces. Depending on the size and shape of your driftwood, you can create holders for small tea lights or larger pillar candles.
Steps:
- Select Driftwood: Choose pieces that are stable and lie flat.
- Drill Candle Holes: Use a spade bit to drill holes that fit your candles.
- Finish (Optional): Sand any rough edges and apply a clear sealant to protect the wood.
Driftwood Coat Rack
A driftwood coat rack can add a touch of rustic elegance to your entryway.
Materials:
- Large, sturdy piece of driftwood
- Coat hooks
- Screws
- Drill
Steps:
- Plan Hook Placement: Decide where you want to place your hooks and mark these spots on the driftwood.
- Attach Hooks: Secure the hooks to the driftwood using screws and a drill.
- Mount the Coat Rack: Attach hanging hardware to the back and install your new coat rack.
Final Touches and Tips
To elevate your driftwood projects, consider some final touches and tips that can add to both their appearance and longevity.
Finishing Touches
While driftwood looks beautiful in its natural state, applying a finish can help protect and enhance your projects. Here are some options:
- Clear Sealant: Keeps the wood looking natural while providing protection.
- Wood Stain: Enhances the wood grain and color, giving a richer appearance.
- Paint: Adds a pop of color or helps to match existing decor.
General Tips
- Safety First: Always use protective gear when cutting, sanding, or drilling into driftwood.
- Plan Ahead: Sketch out your designs before starting to avoid mistakes.
- Test Adhesives: Make sure any glue or sealant you use is compatible with driftwood.

Inspiration and Creativity
Don’t be afraid to think outside the box. Driftwood’s unique shapes and textures make it perfect for custom, imaginative projects. Here are some additional ideas to spark your creativity:
Driftwood Lamps
Transform driftwood pieces into the base for a floor or table lamp. This project requires some electrical know-how, but the result is a truly unique lighting solution.
Driftwood Picture Frames
Create custom picture frames by attaching small pieces of driftwood to a basic wooden frame. This makes a great personal touch for displaying your favorite photos.
Driftwood Tables
For more advanced crafters, consider building a coffee table or side table. Combine larger driftwood pieces with glass tops for a modern, beachy look.
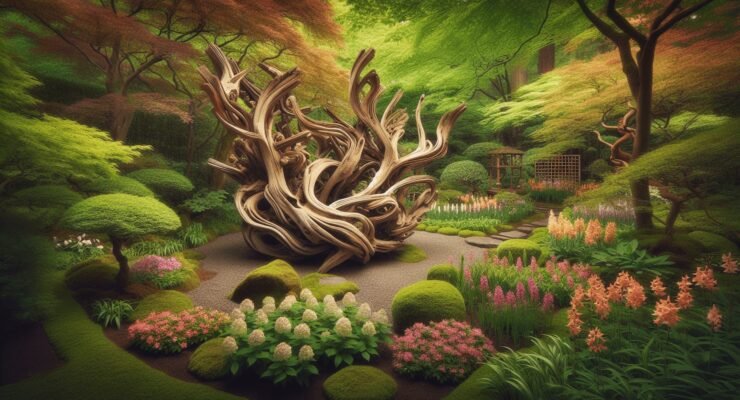
Driftwood Garden Decor
Use driftwood to create artistic garden decorations like planters, trellises, or garden pathways. The natural look of driftwood blends beautifully with outdoor settings.
Driftwood Project Examples Breakdown
Here’s a simple table to summarize and break down some of the driftwood projects and the level of difficulty associated with them:
| Project | Materials Needed | Difficulty Level | Approximate Time |
|---|---|---|---|
| Driftwood Wall Art | Driftwood pieces, backing board, screws/glue | Easy | 2-3 hours |
| Driftwood Mirror | Mirror, driftwood pieces, adhesive, backing board | Medium | 3-4 hours |
| Driftwood Shelves | Driftwood pieces, brackets, screws, drill | Medium | 2-3 hours |
| Driftwood Candle Holders | Driftwood pieces, spade bit, drill | Easy | 1-2 hours |
| Driftwood Coat Rack | Driftwood piece, coat hooks, screws, drill | Medium | 2-3 hours |
| Driftwood Lamps | Driftwood pieces, lamp kit, drill, electrical tools | Hard | 4-5 hours |
| Driftwood Picture Frames | Small driftwood pieces, basic frame, adhesive | Easy | 1-2 hours |
| Driftwood Tables | Large driftwood pieces, glass top, screws, brackets | Hard | 5-6 hours |
| Driftwood Garden Decor | Driftwood pieces, depends on project specifics | Varies | Varies |
Conclusion
Creating unique DIY driftwood projects is not only rewarding but also a wonderful way to incorporate natural elements into your home decor. From simple candle holders to intricate pieces of furniture, the possibilities are nearly endless.
So, next time you’re at the beach, gather some driftwood, let your creativity flow, and enjoy the satisfaction of making something truly unique and beautiful. Happy crafting!