Imagine you find a beautiful piece of driftwood on the beach and want to bring out its natural beauty even more by baking it. But wait, how exactly do you bake driftwood? In this short article, we will guide you through the simple steps to baking driftwood, allowing you to enhance its color, reduce any lingering odors, and preserve it for use in various DIY projects or as a unique home decor piece. So grab your driftwood, and let’s get started on this creative journey together!

Preparing the Driftwood
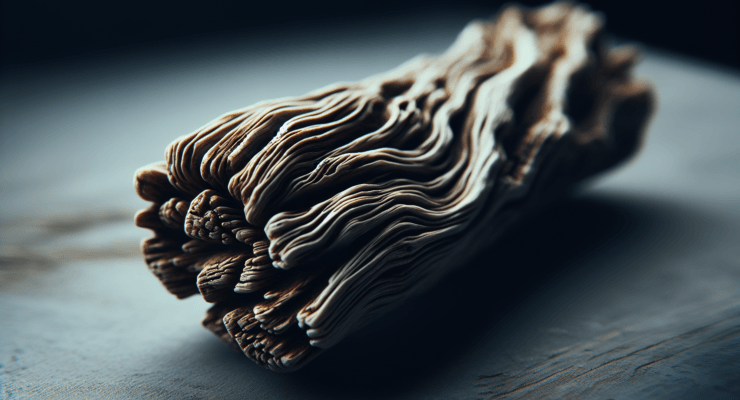
Choosing the right type of driftwood
When it comes to baking driftwood, it’s important to choose the right type. Look for pieces that are solid and sturdy, without any signs of rot or decay. The best driftwood for baking is hardwood, such as oak or maple, as it tends to be more durable and less prone to damage during the baking process.
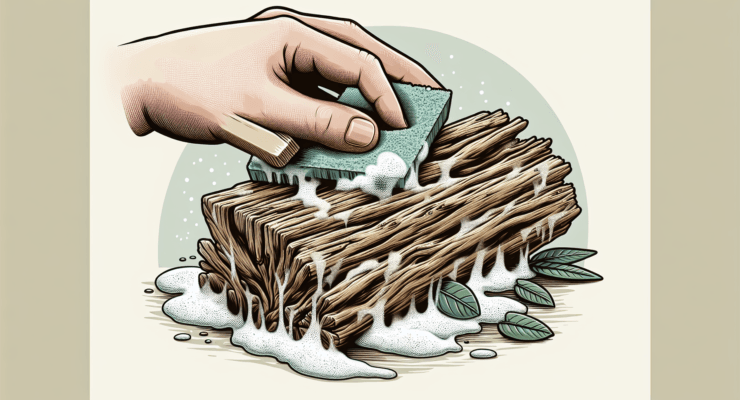
Cleaning the driftwood
Before baking, it’s crucial to clean the driftwood thoroughly to remove any dirt, sand, or debris that may be stuck to it. You can use a brush or a toothbrush to gently scrub the surface and ensure that it’s clean. If the driftwood is particularly dirty, you can also soak it in warm soapy water for a few hours before cleaning.
Drying the driftwood
After cleaning, make sure to dry the driftwood completely before baking. You can either let it air dry naturally in a well-ventilated area or use a clean cloth to dry it manually. It’s important to ensure that there is no moisture left in the driftwood, as it can affect the baking process and potentially cause the wood to crack or warp.
Gathering the Supplies
Baking sheet or tray
A baking sheet or tray is an essential item for baking driftwood. Make sure to choose a sturdy and heat-resistant one that can withstand the high temperatures of the oven.
Aluminum foil
Covering the baking sheet with aluminum foil not only protects it from any potential drips or stains but also makes the cleaning process much easier. Simply line the baking sheet with a sheet of aluminum foil before placing the driftwood on it.
Oven mitts
To protect your hands from the heat, it’s important to have a pair of oven mitts or heat-resistant gloves. The driftwood will be hot after baking, so using oven mitts is crucial when handling it.
Fine-grit sandpaper
Having some fine-grit sandpaper on hand is essential for preparing the driftwood before baking. It will help to smooth out any rough edges or surfaces, giving the driftwood a polished look.
Safety goggles
Wearing safety goggles is highly recommended when sanding the driftwood. It will protect your eyes from any loose particles or debris that may be generated during the sanding process.
Face mask
Using a face mask is important to avoid inhaling any dust or particles while sanding the driftwood. It will help protect your respiratory system and ensure a safer working environment.
Setting Up the Baking Area
Selecting a well-ventilated space
When setting up the baking area, it’s essential to choose a well-ventilated room or area. Opening windows or using a fan will help to circulate the air and prevent any buildup of fumes or odors.
Covering the baking sheet with aluminum foil
To protect the baking sheet and make cleanup easier, line it with a sheet of aluminum foil. Make sure to cover the entire sheet, ensuring that it’s well secured and won’t move during the baking process.
Preheating the oven
Before baking the driftwood, preheat your oven to a temperature suitable for the type of wood you’re using. Generally, a temperature of around 200-225 degrees Fahrenheit (93-107 degrees Celsius) works well for baking driftwood. However, be sure to refer to specific instructions for the type of wood you have.
Ensuring safety measures
Before starting the baking process, it’s important to ensure that all safety measures are in place. Put on your safety goggles and face mask, and make sure your oven mitts or heat-resistant gloves are easily accessible. Safety should always be a top priority when working with hot objects and sanding materials.
Preparing the Driftwood for Baking
Initial sanding
After gathering all the necessary supplies and setting up the baking area, it’s time to prepare the driftwood. Begin by using the fine-grit sandpaper to gently sand the surface of the driftwood. This will help remove any rough patches or splinters, ensuring a smooth and even finish.
Removing any loose debris
Before placing the driftwood on the baking sheet, make sure to remove any loose debris or particles that may have accumulated during sanding. Use a soft brush or cloth to wipe away any remaining dust or sanding residue.
Rinsing the driftwood
Once the driftwood is sanded and free from loose debris, rinse it under running water to remove any remaining dust or particles. This step will further clean the surface and prepare it for the baking process. Allow the driftwood to air dry completely before proceeding to the next step.

Baking the Driftwood
Placing the driftwood on the baking sheet
Carefully place the prepared driftwood on the lined baking sheet, making sure it lies flat and is evenly spaced. Avoid overcrowding the baking sheet, as this can affect the airflow and baking process.
Setting the oven temperature
Refer to the specific instructions for your driftwood type and set the oven temperature accordingly. Remember that a low and slow baking process is essential to prevent the wood from cracking or warping. Generally, a temperature between 200-225 degrees Fahrenheit (93-107 degrees Celsius) works well for baking driftwood.
Monitoring the baking process
Keep a close eye on the driftwood as it bakes in the oven. Set a timer and periodically check for any signs of discoloration or overheating. Adjust the oven temperature if necessary to ensure a slow and steady baking process.
Turning the driftwood halfway through
To ensure even baking and prevent any uneven discoloration, gently turn the driftwood halfway through the baking process. This will allow both sides to receive equal heat exposure and achieve a consistent finish.
Checking for readiness
After the recommended baking time has elapsed, remove a small piece of driftwood from the oven and allow it to cool. Check its texture and color to determine if it has reached the desired dryness and coloration. If not fully baked, return the driftwood to the oven for a little longer.
Post-Baking Steps
Allowing the driftwood to cool
Once the driftwood has been baked to perfection, carefully remove it from the oven using your oven mitts or heat-resistant gloves. Place it on a heat-resistant surface and allow it to cool completely before handling or applying any protective coating.
Inspecting for any remaining moisture
Before applying any protective coating, inspect the driftwood for any signs of remaining moisture. The wood should be completely dry to ensure proper adhesion of the protective coating. If any moisture is detected, allow the driftwood to air dry for a few more hours before proceeding.
Applying a protective coating
To enhance the longevity and natural beauty of the baked driftwood, consider applying a protective coating. There are various options available, such as clear sealants or wood finishes. Choose a product that is suitable for the type of wood used and follow the manufacturer’s instructions for application.
Alternative Baking Methods
Using a hot air gun
If you prefer not to use an oven, an alternative method is to use a hot air gun. This handheld device emits hot air, allowing you to direct the heat onto the driftwood. Similar to baking, take the necessary safety precautions and follow the same preparation and post-baking steps.
Using a microwave oven
Another alternative method for baking driftwood is using a microwave oven. However, this method is only suitable for smaller pieces of driftwood due to the limited space inside a microwave. Place the driftwood on a microwave-safe plate and microwave it in short intervals to avoid overheating.
Creative Ideas with Baked Driftwood
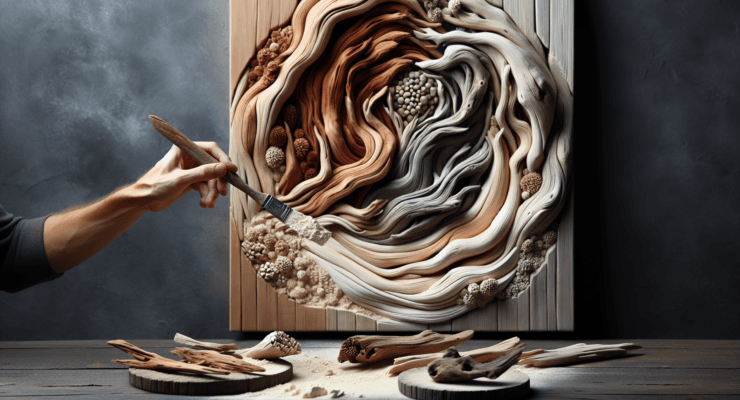
Creating driftwood sculptures
Baked driftwood can be transformed into stunning sculptures. Use your imagination and creativity to create unique shapes and forms with the driftwood pieces. Whether it’s a whimsical animal figure or an abstract design, the possibilities are endless.
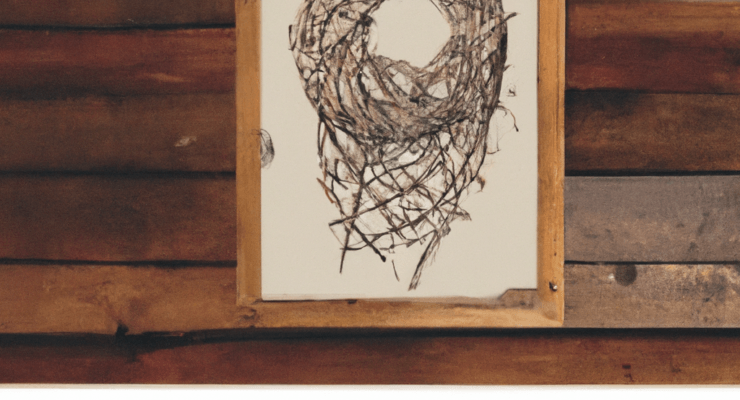
Designing driftwood wall art
Baked driftwood makes for beautiful wall art. Arrange the pieces in an aesthetically pleasing pattern or create a captivating centerpiece. You can leave the driftwood in its natural color or paint it to match your interior decor.
Crafting driftwood candle holders
Give your candles a charming and rustic touch with baked driftwood candle holders. Use a drill to create holes in the driftwood pieces that are deep enough to hold tea lights or small candles. Place them strategically around your home to create a warm and inviting ambiance.
Safety Considerations
Using proper protective equipment
Always ensure you are wearing the necessary protective equipment when baking driftwood. This includes safety goggles, a face mask, and oven mitts or heat-resistant gloves. Protecting your eyes, respiratory system, and hands is essential for a safe baking experience.
Working in a well-ventilated area
Baking driftwood can release fumes and odors. To avoid any potential health hazards, make sure to work in a well-ventilated area. Open windows or use a fan to keep the air circulating and minimize the buildup of fumes.
Avoiding exposure to chemicals
When selecting a protective coating for your baked driftwood, choose products that are safe for indoor use and avoid toxic chemicals. Read the labels carefully and opt for environmentally friendly options to safeguard your health and the environment.
Conclusion
Reflecting on the unique beauty of baked driftwood
Baking driftwood is an excellent way to preserve its natural beauty and extend its lifespan. The baking process enhances the wood’s color and texture, making it an appealing material for various creative projects.
Exploring endless possibilities for its use
With baked driftwood, the possibilities are truly endless. Whether you’re interested in crafting sculptures, designing wall art, or creating candle holders, the unique charm of baked driftwood adds a touch of nature and rustic elegance to any space. Let your imagination soar and enjoy the journey of working with this beautiful material.