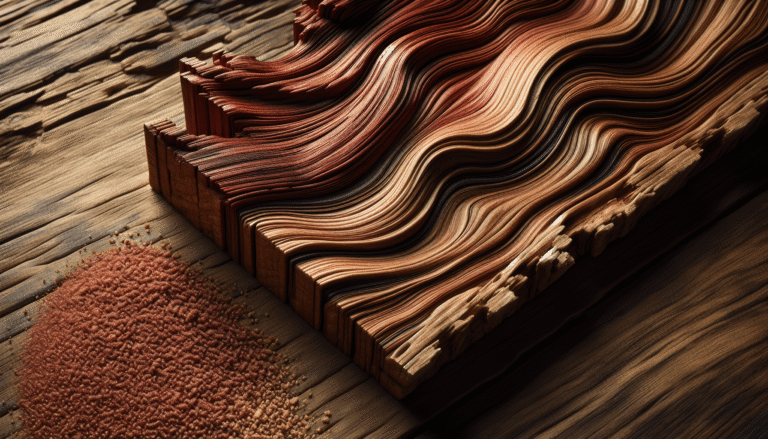
Driftwood Minwax Stain On Red Oak
Discover how to transform red oak with Driftwood Minwax stain for a coastal vibe. Achieve a rustic, weathered finish with this detailed application guide.
Discover how to transform red oak with Driftwood Minwax stain for a coastal vibe. Achieve a rustic, weathered finish with this detailed application guide.
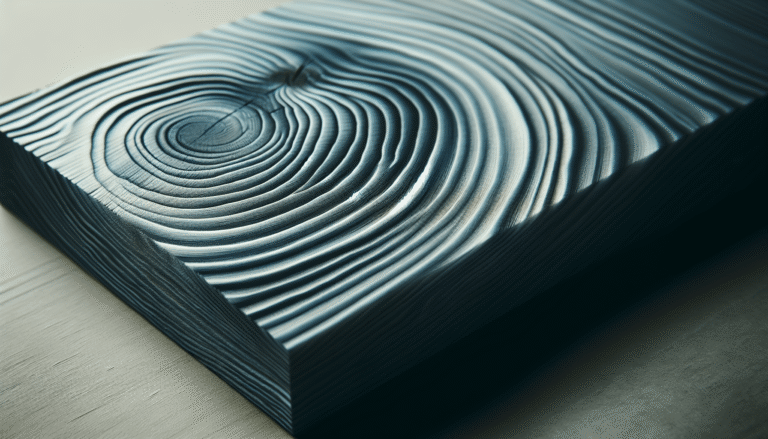
Transform ordinary pine into stylish decor with Driftwood Minwax stain. Achieve a serene, rustic look. Discover the secrets to a perfect beachy finish on pine.

Discover the elegance of Koch Cabinets Driftwood Stain—a versatile, eco-friendly option to revamp cabinetry with rustic charm and modern sophistication.
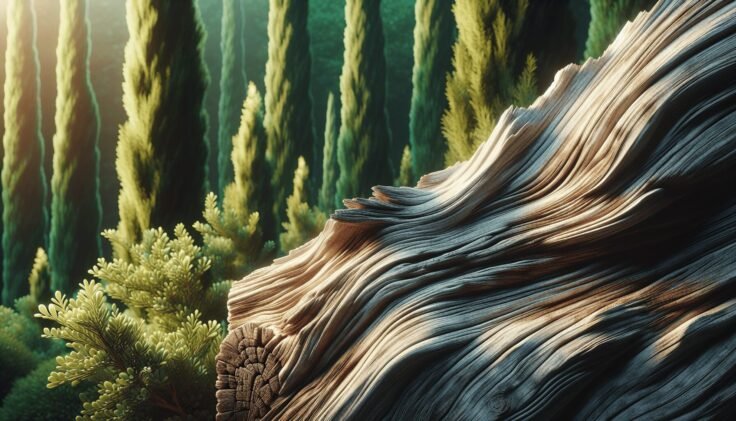
Discover how to give cypress wood a rustic, aged look with driftwood stain. Learn techniques and benefits for both indoor and outdoor projects. Effortless charm!

Discover how driftwood stain transforms ash wood into a stunning blend of rustic charm and modern elegance, enhancing your furniture with a unique, weathered finish.

Discover the rustic charm of alder wood with Minwax Driftwood Stain. Our guide offers tips for achieving an elegant driftwood finish on your creative projects.

Discover how to achieve a stunning driftwood stain on alder. Transform your woodworking projects with this rustic finish. Perfect for DIY enthusiasts & pros alike!

Transform your hickory cabinets with driftwood stain for a stylish, modern look. Discover tips and techniques in our comprehensive guide.

Learn how to achieve a rustic coastal look with driftwood stain on hickory wood. Discover tips for a smooth application, enhancing natural beauty and decor ideas.