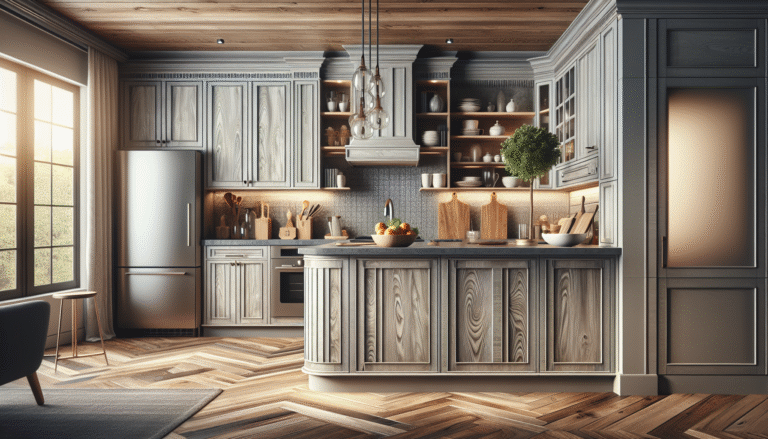
North Timber Driftwood Gray Shaker Cabinets
Transform your kitchen with North Timber Driftwood Gray Shaker Cabinets; modern aesthetics merge with timeless design for a versatile, enduring upgrade.
Transform your kitchen with North Timber Driftwood Gray Shaker Cabinets; modern aesthetics merge with timeless design for a versatile, enduring upgrade.
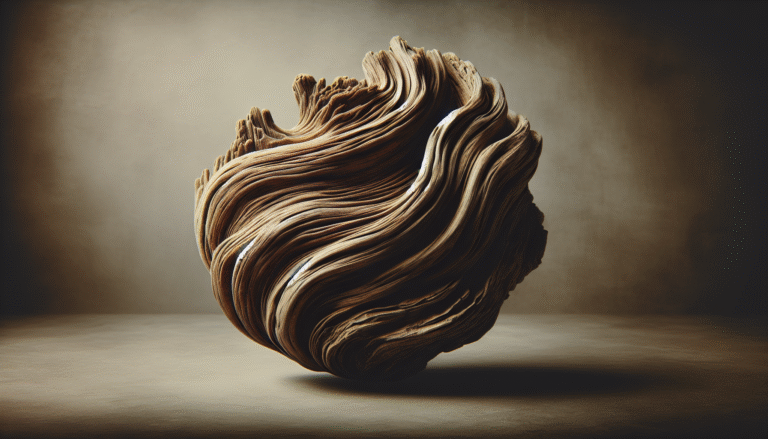
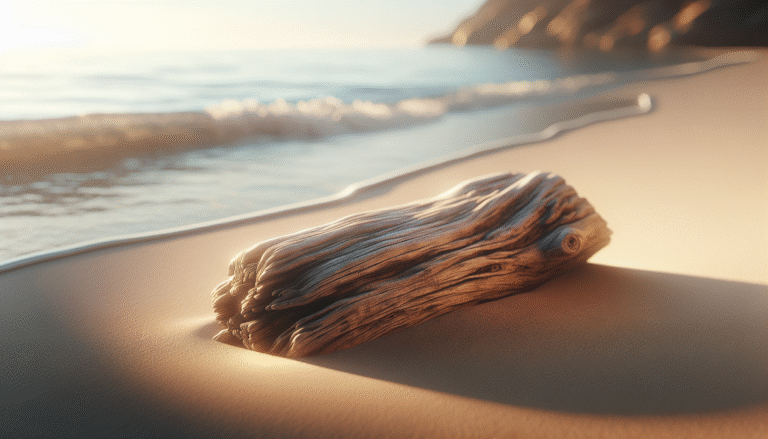
Discover the versatility of Noble Driftwood by Valspar: a perfect blend of cool grey and warm beige to elevate any space with style and elegance.
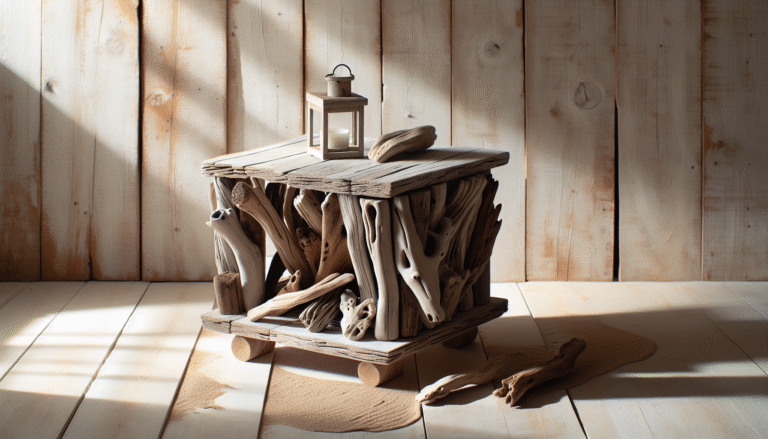
Create a serene bedroom with a DIY driftwood nightstand. Learn to craft this unique, ocean-inspired piece with our step-by-step guide for a personal touch.
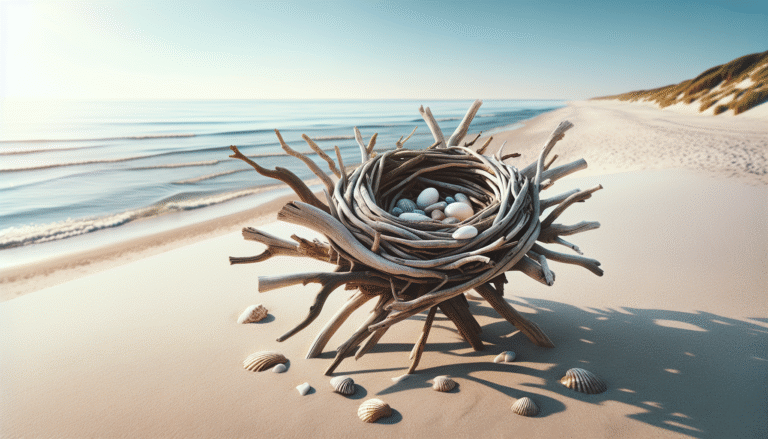
Discover the allure of driftwood nests, natural sculptures formed by wind and tide, blending environmental significance, artistic creativity, and conservation awareness.
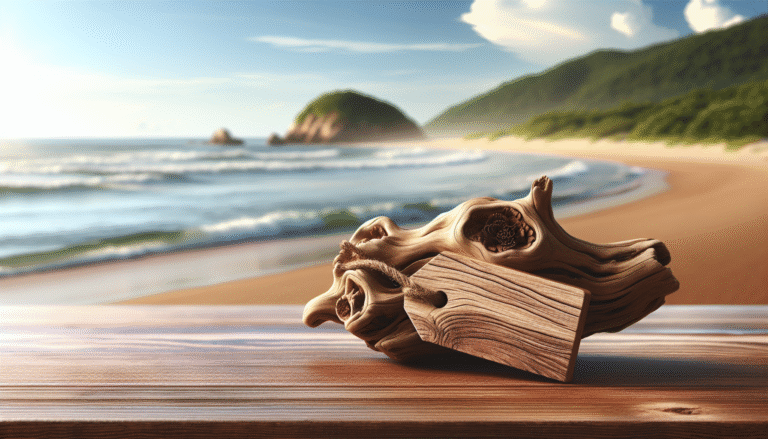
Discover the rustic charm of driftwood name tags. Perfect for events or home décor, these eco-friendly tags add a unique, natural touch to any setting.
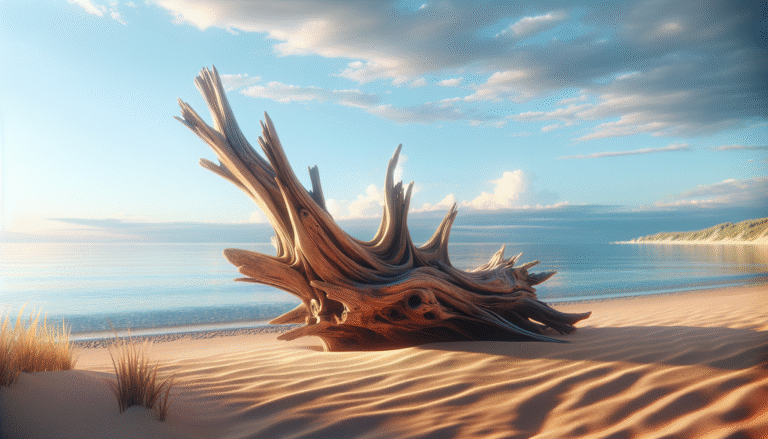
Discover the journey of driftwood and learn how to memorialize these natural treasures by naming them. Explore artistic, cultural, and spiritual connections.
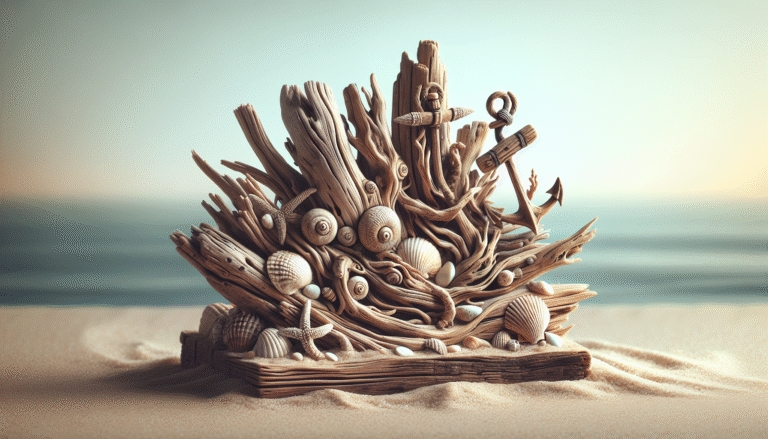
Transform driftwood into stunning nautical crafts that bring coastal charm to your home. Discover eco-friendly projects and unleash your creativity with nature!
Learn how to craft a unique driftwood name sign with our step-by-step guide. Perfect for personalized home decor, incorporating nature’s beauty with creativity.
Discover the timeless elegance of Driftwood Muebles! Transform any space into a tranquil coastal haven with unique, eco-friendly decor that tells a story.
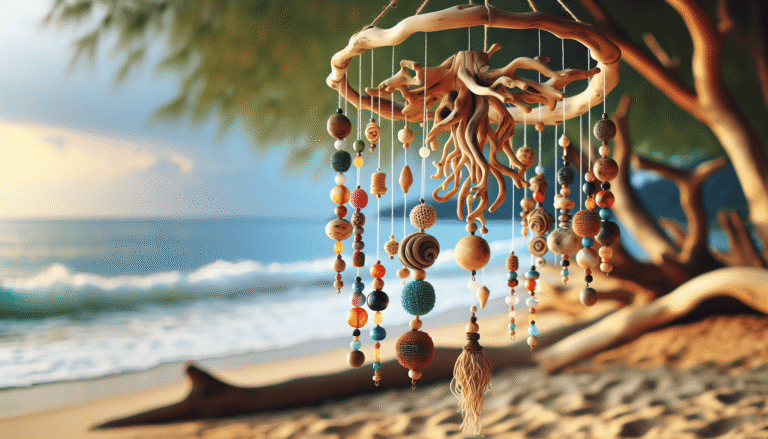
Create a serene seaside retreat with a DIY driftwood mobile decorated with beads. Express your creativity while crafting a unique, eco-friendly decor piece.