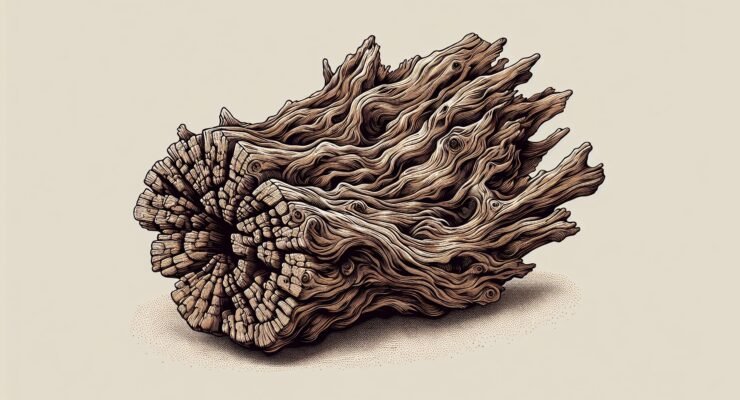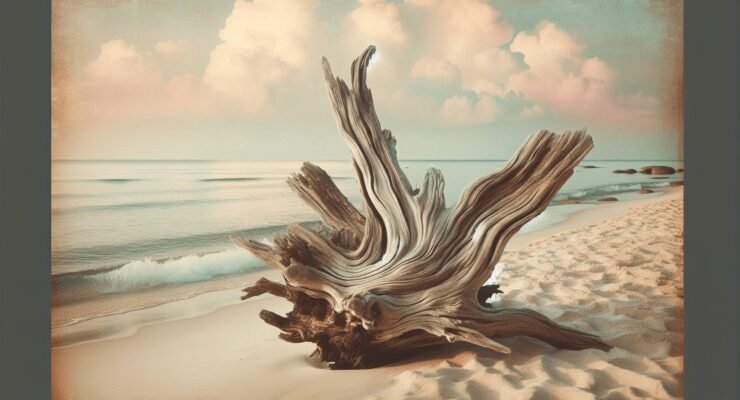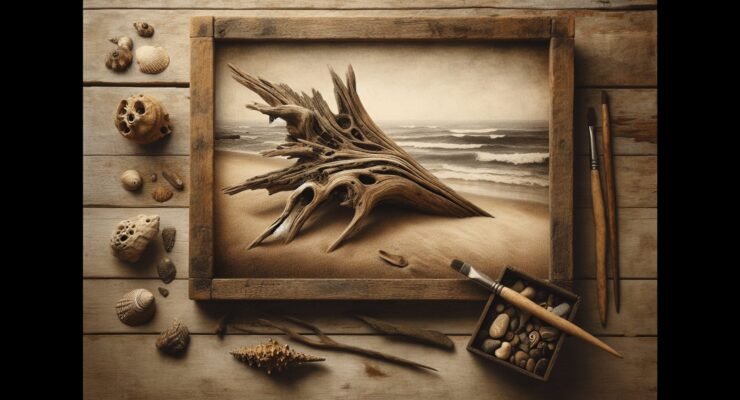
Ever stumbled upon a piece of driftwood during a peaceful walk along the shore and wondered how to bring its natural beauty into your home? “DIY With Driftwood Projects” is your gateway to turning these ocean treasures into stunning decor pieces. You’ll discover how easy and fun it is to create unique, rustic home accents and furniture with just a bit of creativity and some basic tools. Let’s dive into the endless possibilities of driftwood DIY and transform your living spaces with a touch of seaside charm! Have you ever strolled along the beach and been captivated by the unique, weathered look of driftwood scattered along the shore? If so, you’re not alone! Driftwood has a rustic charm that’s hard to resist, making it an ideal material for all sorts of DIY projects. Whether you’re an experienced crafter or just looking for a new hobby, this guide will walk you through some incredible DIY driftwood projects that you can tackle.

Why Use Driftwood for DIY Projects?
Driftwood is more than just free beach décor; it’s a material that’s versatile and eco-friendly. Each piece is unique, having been naturally sculpted by the elements. Plus, using driftwood in your projects helps clean up the beaches and repurpose materials that would otherwise go to waste. Here’s why driftwood should be your material of choice:
- Uniqueness: No two pieces of driftwood are the same, giving your projects an exclusive touch.
- Sustainability: Using naturally weathered wood is eco-friendly.
- Durability: The natural elements season the wood, making it robust and long-lasting.
Preparing Driftwood for DIY Projects
Before diving into crafting, it’s important to properly prepare your driftwood. This ensures that your projects are safe, durable, and as beautiful as possible. Follow these steps to prepare your driftwood:
Cleaning the Driftwood
First, you need to clean your driftwood to remove any salt, sand, and grime.
- Rinse: Use a hose to thoroughly rinse off any surface debris.
- Soak: Submerge the driftwood in a bucket of fresh water for 1-2 weeks, changing the water every few days.
- Scrub: After soaking, use a stiff brush to scrub away any remaining grime.
Drying the Driftwood
Once cleaned, the driftwood needs to be properly dried to prevent mold and decay.
- Air Dry: Lay the driftwood out in a sunny, well-ventilated area to air dry. This may take a few weeks, depending on the size and thickness of the wood.
- Oven Dry (Optional): For faster drying, you can place the driftwood in an oven at a low temperature (around 200°F) for several hours. Always keep an eye on it to prevent burning.
Treating the Driftwood
- Seal (Optional): Apply a coat of wood sealant if you want to keep the wood’s appearance for a longer time. This helps preserve the wood and protects it from further wear and tear.
- Bleach: For a whiter appearance, you can apply a diluted bleach solution (1:1 ratio of bleach to water) and let it sit for 10-15 minutes before rinsing and drying the wood again.
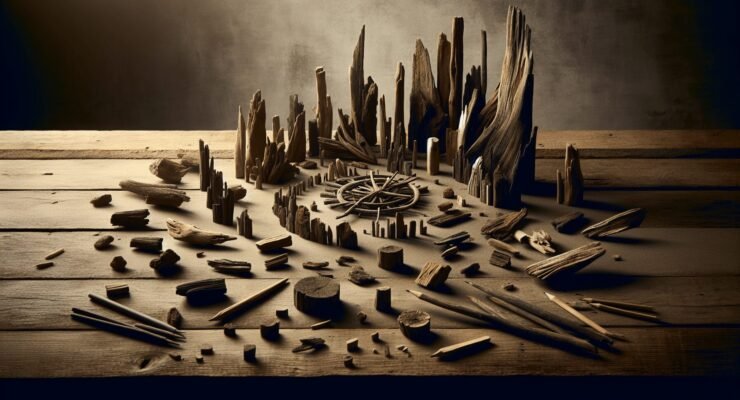
DIY Driftwood Projects to Try
Now that your driftwood is ready, let’s dive into some fun and creative projects. Here’s a list of various DIY driftwood projects that can add a touch of nature to your home.
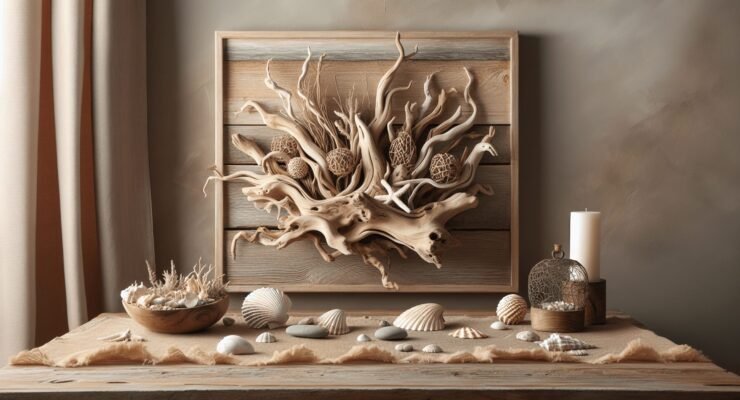
Driftwood Wall Art
One of the simplest yet most impactful projects you can try is creating wall art with driftwood.
Materials Needed:
- Driftwood pieces
- Hot glue gun or wood glue
- Picture frame or canvas
- Optional: Paint, stencils, and other decorative elements
Steps:
- Design: Lay out your driftwood pieces on the canvas or inside the picture frame to create a design.
- Glue: Once you’re happy with your layout, glue each piece of driftwood in place.
- Decorate: Use paint, stencils, or other decorative elements to enhance your design.
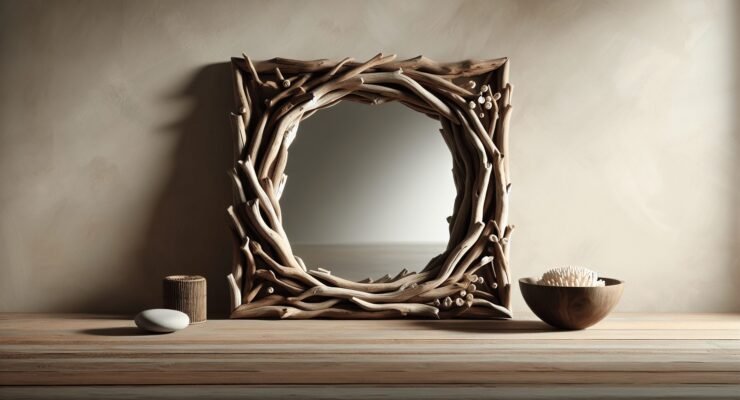
Driftwood Mirror Frame
A driftwood mirror frame not only looks stunning but also adds a coastal vibe to any room.
Materials Needed:
- Round or square mirror
- Driftwood pieces
- Wood glue or heavy-duty adhesive
- Saw (optional)
Steps:
- Layout: Arrange the driftwood pieces around the mirror to create a frame. You might need to saw some pieces to fit.
- Attach: Use the heavy-duty adhesive to attach the driftwood pieces to the outer edge of the mirror.
- Cure: Let the glue cure completely before hanging the mirror.
Driftwood Table
A driftwood table can be a stunning centerpiece for your living room or outdoor space.
Materials Needed:
- Driftwood sticks or branches
- Tabletop (glass, wood, etc.)
- Saw
- Sandpaper
- Wood glue and screws
Steps:
- Measure & Cut: Measure and cut the driftwood to the desired length for the table legs. Sand any rough edges.
- Assemble Base: Arrange the driftwood sticks to form a stable base. Use wood glue and screws to secure them in place.
- Attach Tabletop: Place and secure the tabletop onto the driftwood base.
Driftwood Candle Holders
Driftwood candle holders can add a rustic touch to your home décor.
Materials Needed:
- Driftwood pieces
- Drill with a forstner bit
- Candles (tea lights or votives)
- Sandpaper
Steps:
- Drill Holes: Use the drill to make holes in the driftwood pieces large enough to hold your candles.
- Smooth Edges: Sand the edges of the holes to remove any splinters.
- Insert Candles: Place your candles into the holes and enjoy your new candle holders.
Driftwood Coat Rack
Create a functional and stylish coat rack with your collected driftwood.
Materials Needed:
- Large driftwood branch
- Hooks
- Screws
- Drill
Steps:
- Attach Hooks: Attach hooks to the driftwood branch at evenly spaced intervals.
- Mount: Use screws and a drill to mount the driftwood coat rack to your wall.
- Hang Coats: Hang up your coats and enjoy your new, rustic coat rack.
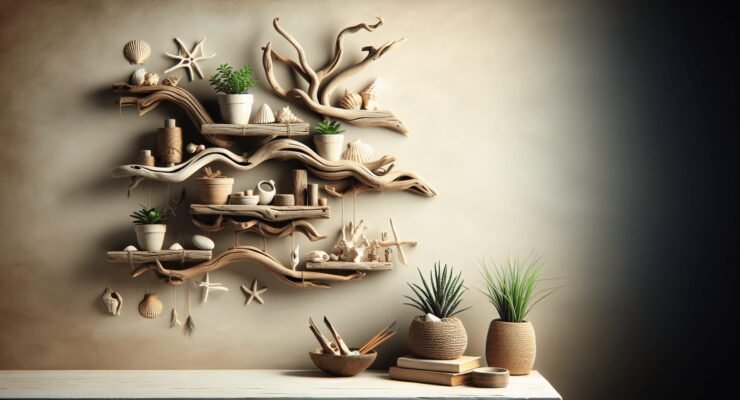
Driftwood Shelf
A driftwood shelf can serve as a unique display area for your favorite items.
Materials Needed:
- Flat driftwood pieces (for the shelf)
- Smaller pieces (for the brackets)
- Screws
- Drill
- Level
Steps:
- Measure & Cut: Measure and cut your driftwood to the desired length and size for your shelf and brackets.
- Assemble: Use screws and a drill to attach the shelf to the brackets.
- Mount: Mount the shelf onto your wall, making sure it’s level.
Driftwood Photo Display
Use driftwood to create a charming display for your favorite photos.
Materials Needed:
- Driftwood branch
- Twine or string
- Small clothespins or clips
- Photos
- Hooks
Steps:
- Attach String: Tie the string or twine to both ends of the driftwood branch, creating a hanging mechanism.
- Clothespins: Attach clothespins or clips to the string.
- Display: Hang the driftwood branch and clip your favorite photos to the string.
Enhancing Your Driftwood Projects
Adding a personal touch to your driftwood projects can make them even more special. Here are some tips for customization:
Painting and Staining
You can paint or stain your driftwood to match your home décor or personal style.
Materials Needed:
- Paint or wood stain
- Paintbrush
- Sandpaper
Steps:
- Sand: Lightly sand the surface of the driftwood to help the paint or stain adhere better.
- Paint/Stain: Apply your chosen paint or stain evenly across the driftwood.
- Dry: Allow it to dry completely before using or mounting.
Adding Hardware
Incorporate hardware for functionality and design.
Materials Needed:
- Hooks
- Handles
- Screws
- Drill
Steps:
- Mark Placement: Determine where you want to place your hardware and mark the spots.
- Attach: Use screws and a drill to attach the hardware securely.
Incorporating Other Natural Elements
Add other natural elements like shells, stones, or sea glass to enhance the nautical theme.
Materials Needed:
- Shells, stones, or sea glass
- Hot glue gun or heavy-duty adhesive
Steps:
- Plan Layout: Arrange your additional elements on the driftwood to create a design.
- Attach: Use the hot glue gun or adhesive to secure the elements in place.

Safety Tips for Working with Driftwood
While crafting with driftwood is generally safe, there are some precautions you should take to ensure your safety:
Ventilation while Gluing or Painting
Always work in a well-ventilated area when using adhesive or paint to avoid inhaling fumes.
Proper Tool Handling
Make sure to handle all tools, such as saws and drills, with care to prevent injury.
Protective Gear
Wear protective gear like gloves and safety glasses when cutting, sanding, or drilling.
Conclusion
DIY driftwood projects are a fantastic way to bring a piece of the beach into your home, all while being eco-friendly and budget-conscious. The unique, weathered look of driftwood adds a rustic charm to any project, making it truly one-of-a-kind. With a little creativity and some basic tools, you can create stunning driftwood art, furniture, and décor that you’ll be proud to show off.
So, next time you find yourself at the beach, keep an eye out for some driftwood. Who knows? Your next amazing DIY project might be just a piece of driftwood away! Happy crafting!