Have you ever strolled along a beach, felt the sand beneath your feet, and stumbled upon a piece of driftwood? Its unique, weathered character tells a story of time spent navigating the waves, and it might have caught your creative eye with its rustic charm. Now, imagine turning those pieces of driftwood into beautiful, handcrafted items for your home. This article will guide you through a friendly journey into the world of driftwood DIY projects, where nature meets creativity.
Understanding Driftwood
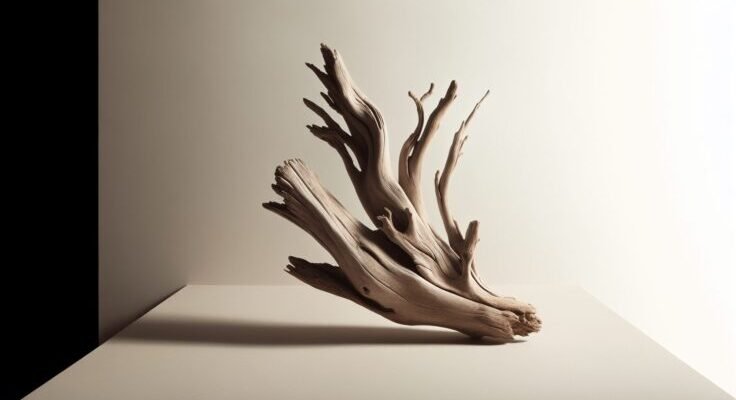
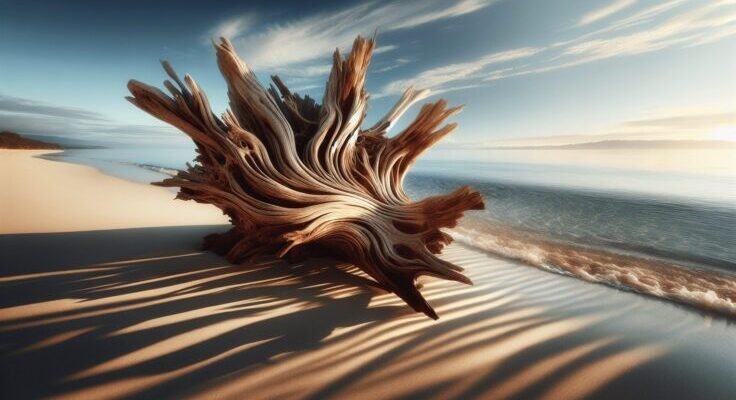
Driftwood is not merely wood washed up on the shore; it’s nature’s artwork. Over time, it transforms from a piece of timber into a unique material filled with character. Understanding driftwood’s journey helps appreciate the beauty and potential it offers for DIY projects.
The Journey of Driftwood
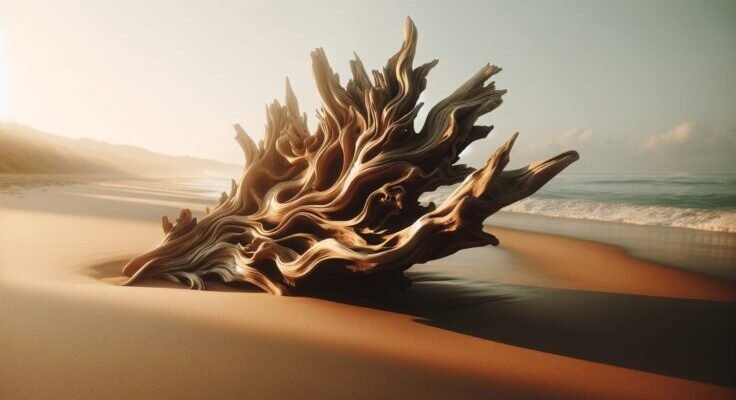
Driftwood begins its journey in forests, where trees are felled and transported by streams and rivers. These pieces of wood then end up in the ocean or a lake, where they are shaped by wind, water, and time. This natural process can take years, during which the wood is sculpted by the elements. When it finally rests on a shoreline, it carries with it stories of a long and dynamic journey.
Characteristics of Driftwood
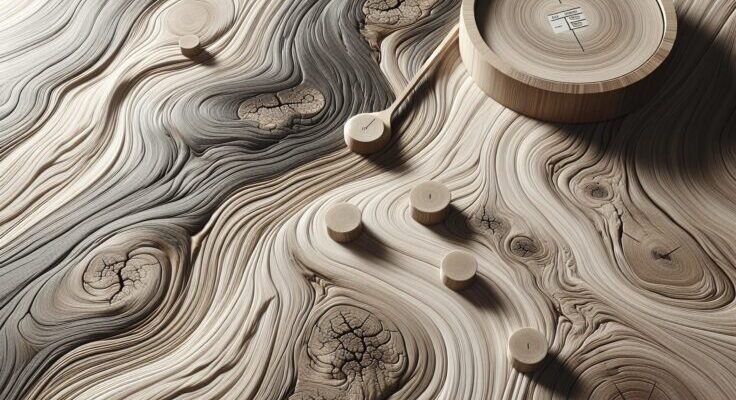
Each piece of driftwood is unique, with its own texture, color, and form. You might notice how the water and sun have bleached it, giving it a soft, muted color palette. Its porous surface often reveals the grain of the wood, and the irregular shapes can inspire creative uses in design. This uniqueness makes driftwood a favorite among artists and DIY enthusiasts alike.
Preparing Driftwood for Projects
Before you start working on your driftwood projects, there are essential steps to prepare the wood to ensure it’s clean, safe, and ready for your creative touch.
Cleaning Driftwood
Once you’ve gathered your driftwood pieces, the first step is to clean them thoroughly. Salt, sand, and other residues need to be removed. Start by washing the driftwood with fresh water and a stiff brush. This scrubbing will help release any surface debris.
Disinfecting and Drying
After cleaning, it’s crucial to disinfect the driftwood. Soak the wood in a solution of water and bleach (a ratio of about 9:1 water to bleach) for a few hours. This will kill any bacteria and sterilize the wood. After soaking, rinse thoroughly and let it dry completely. Place the pieces in the sun for several days or use an indoor space with good ventilation to dry them.
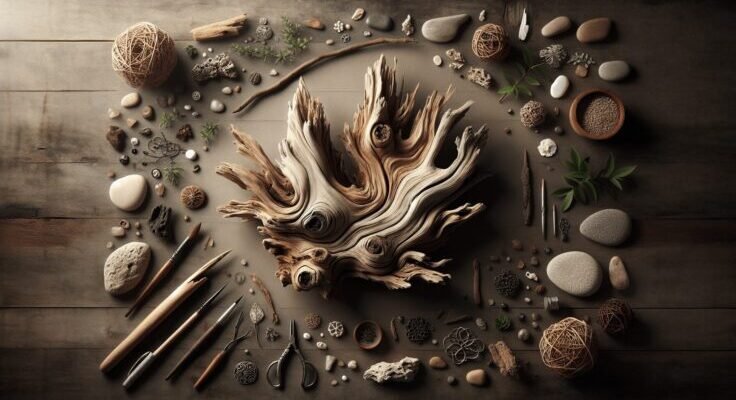
Selecting the Right Pieces
Choosing the right pieces of driftwood depends on the project you’re planning. Look for pieces with interesting shapes, textures, and sizes that fit your vision. The character of each piece can influence the final outcome, so take your time selecting your treasures.

Driftwood Diy Project Ideas
Now that you have a batch of clean, dry driftwood, let’s explore some exciting DIY project ideas that you can start right away. These projects range from simple to slightly more complex but are all rewarding in their own right.
Driftwood Wall Art
Creating wall art is one of the most popular uses for driftwood. You can craft anything from abstract pieces to structured designs, all of which add a natural elegance to any room.
Abstract Designs
For abstract art, choose several pieces of driftwood with unique shapes and textures. Arrange them on a canvas or directly on the wall, playing with the lines and forms they create. Use a hot glue gun to attach the wood to your chosen base securely. This project is all about creativity—let the pieces guide your design.
Structured Pieces
Alternatively, you can create more structured designs like waves or geometric shapes. Use a template to arrange your driftwood pieces, then glue them in place. This type of project can give you a beautiful, nature-inspired pattern that becomes a conversation starter in your home.
Driftwood Furniture
Driftwood can also be turned into beautiful, rustic furniture pieces. Though this might require more tools and skills, the results are well worth the effort.
Driftwood Coffee Table
To create a driftwood coffee table, gather larger pieces of driftwood for the legs and a flat piece or a glass top for the surface. Sand the edges of the wood for a smooth finish. Assemble the pieces using wood glue and screws, ensuring everything is stable and secure. The natural form of the driftwood adds a rustic charm and elegance to your living space.
Driftwood Shelves
For a simpler project, consider making shelves. Select a few flat driftwood pieces of similar size. Attach brackets to the underside of each piece and mount them to the wall. These shelves can hold books, plants, or other decorative items, bringing a natural touch to your home.
Driftwood Mirrors
A driftwood mirror can beautifully combine functionality with nature-inspired design. Start with a simple frameless mirror and gather driftwood pieces to create an intricate frame.
Creating the Frame
Lay the mirror flat and arrange pieces of driftwood around its edge. Once satisfied with your arrangement, use a strong adhesive to attach each piece to the mirror. Let it dry thoroughly before hanging. This project can turn a plain mirror into a stunning focal point.
Driftwood Candle Holders
Candle holders made with driftwood can add warmth and ambiance to your space. The natural texture of driftwood pairs beautifully with the soft glow of candlelight.
Crafting Candle Holders
Select pieces of driftwood that have flat, stable bases. Drill holes into the wood, sized to fit tea lights or votive candles. Ensure the holes are not too deep to prevent the candle from being submerged. The result is a cozy and inviting piece perfect for dinner tables or living areas.
Driftwood Picture Frames
Why not frame your cherished memories with something equally unique? Driftwood picture frames are a simple yet striking way to display photos.
Assembling Picture Frames
Select pieces of driftwood that, when arranged, create a rectangular or square shape the size of your desired frame. Use strong adhesive or small screws to connect the pieces at each corner. Once assembled, attach a backing board and your chosen picture. This handcrafted frame emphasizes the personal touch of the memories it holds.
Driftwood Plant Holders
Driftwood plant holders offer a way to bring both earthy materials and lush greenery into your home, creating a soothing and natural environment.
Building Plant Holders
Look for driftwood pieces that can naturally support a small pot or plant. Securely attach the plant to the driftwood using twine or a decorative holder. For hanging planters, choose lightweight plants and driftwood to easily hang them from the ceiling or a wall. These holders can add a touch of nature to any room.
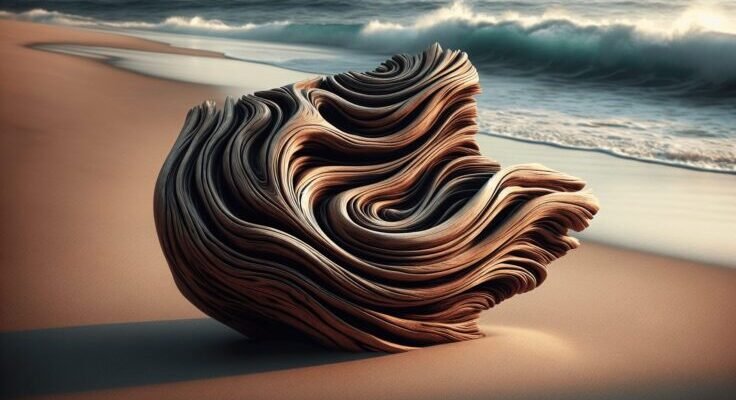
Driftwood Sculptures
For those who enjoy more artistic endeavors, creating sculptures from driftwood can be both challenging and rewarding. Your sculptures can take any form, like animals, abstract shapes, or thematic expressions.
Crafting Sculptures
Select a mix of driftwood sizes and shapes that inspire you. Use tools such as a saw, chisel, and sandpaper to shape your sculpture. Bond the pieces with glue or screws, experimenting as you go. Each sculpture is as unique as the materials, allowing your creativity to lead the way.
Tips for Success
Undertaking driftwood DIY projects can be immensely fulfilling, but there are a few tips to keep in mind to ensure success.
Safety First
Always prioritize safety. Use gloves when handling driftwood to avoid splinters, and wear protective eyewear when cutting or drilling. Be cautious with tools and materials to prevent injuries.
The Right Tools
Ensure you have the right tools on hand for your project. Basic tools like a saw, drill, sandpaper, and adhesive are often essential. For more complex projects, additional power tools might be necessary.
Patience and Creativity
Patience is key when working with natural materials like driftwood. Plans might need to change as you adapt to the material’s quirks. Embrace the unique characteristics of each piece, allowing them to guide your creative process.

Caring for Driftwood Creations
Proper care of your driftwood creations extends their life and keeps them looking their best. As these natural materials can be susceptible to elements, a few simple maintenance steps can ensure their longevity.
Regular Cleaning
Dust your driftwood pieces regularly using a soft cloth. For more intricate projects, a gentle vacuum or compressed air can help reach small crevices. Avoid wetting the wood too often, as moisture can cause damage over time.
Sealant Protection
Applying a protective sealant can help preserve your driftwood creations, especially if they are placed outdoors. A clear, matte sealant maintains their natural appearance while providing a barrier against moisture and pests.
Indoor vs. Outdoor
Consider the conditions your driftwood projects will be exposed to. Indoor settings prolong their life, while outdoor displays might need more frequent maintenance. Be mindful of extreme weathers, which can affect driftwood’s integrity over time.
Driftwood DIY projects offer an opportunity to blend nature and creativity in truly unique ways. Whether you’re crafting something simple or embarking on a complex creation, these projects allow you to bring a piece of the natural world into your home. So next time you find yourself on a beach, remember to collect a few pieces of driftwood—they might just become a part of your next artistic journey. Let each piece tell its story and allow your imagination to bring it new life.