• Skip to main content
  • Skip to primary sidebar
  • Terms and Conditions
  • Privacy Policy
  • Contact

Driftwood 4 Us

Just About Driftwood

Shell Art

Driftwood She’ll Art

May 12, 2025 by admin

Have you ever gazed at a piece of driftwood, washed ashore by the tides, and wondered about the stories it could tell? Driftwood shell art is a captivating craft that combines the beauty of nature with the creativity of human imagination. It’s about taking those weathered pieces of wood and transforming them into stunning works of art, often incorporating shells and other natural elements. Let’s journey into this fascinating world, where sea meets art, and discover how you can create your own masterpiece.
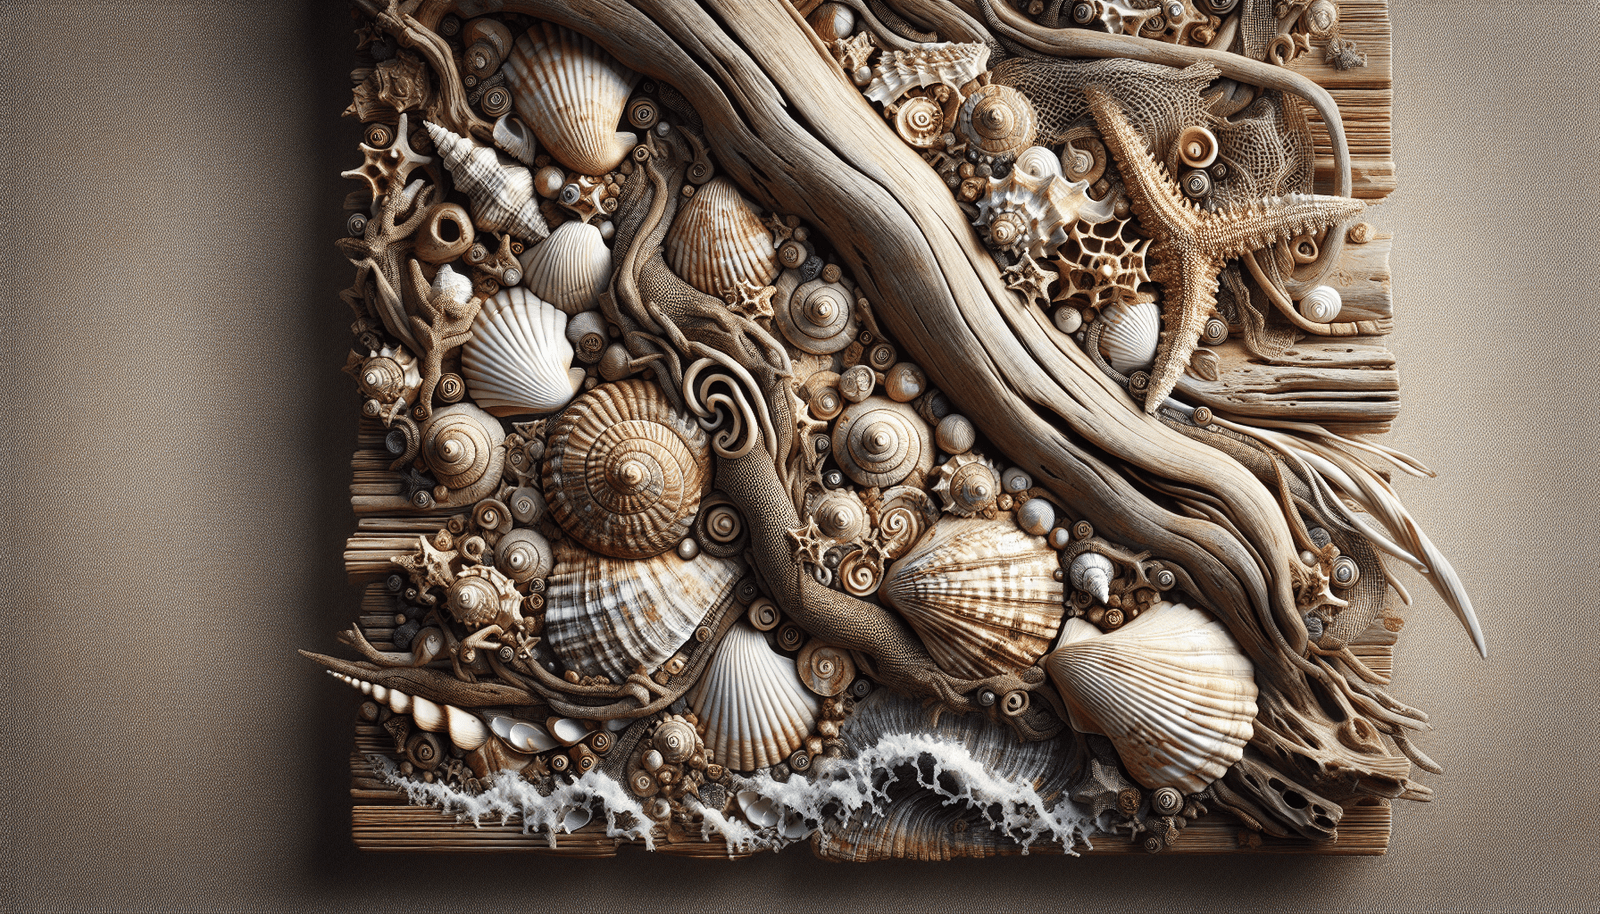
Driftwood She’ll Art

Understanding Driftwood Shell Art

Driftwood shell art is a delightful form of artistic expression that celebrates the natural beauty of the sea. It involves using pieces of driftwood, which are often plentiful along beaches, and pairing them with seashells and other found objects to create unique sculptures, wall hangings, and other decorative items. This form of art is not only a creative outlet but also a sustainable practice, as it makes use of natural materials that have already been discarded by nature.

Origins of Driftwood Shell Art

Though it’s hard to pinpoint exactly when driftwood shell art began, it’s safe to say that it has long been a part of coastal cultures around the world. The pieces of wood that you find on the shore have traveled great distances, shaped and smoothed by the ocean. This form of art pays homage to that journey, turning what’s often seen as waste into treasures.

Why Choose Driftwood Shell Art?

The charm of driftwood shell art lies in its inherent uniqueness. Each piece of driftwood is one-of-a-kind, with its own texture, size, and shape. When you couple that with shells, each with their distinct colors and forms, the possibilities for creativity are endless. This art form allows you to bring a piece of the sea into your home, offering a rustic and natural decoration that can’t be replicated exactly.

Getting Started with Driftwood Shell Art

Embarking on the journey to creating driftwood shell art can seem daunting, but with a few basic steps and some creativity, you’ll be well on your way to making beautiful art. Before you begin, it’s essential to gather your materials and understand the basics of handling them.

Selecting Your Driftwood

The first step is to find the perfect pieces of driftwood for your project. Keep in mind that driftwood comes in all shapes and sizes, from tiny sticks to large branches. When selecting driftwood, consider the size and shape that will fit your envisioned piece. Look for pieces that have interesting textures or shapes, as these can add character to your artwork.

Tips for Finding Driftwood

  • Location: Visit beaches, riverbanks, or lakeshores, where driftwood is commonly found.
  • Seasonal Collection: Driftwood is often more abundant after storms, as turbulent waters wash more wood ashore.
  • Sustainability: Be mindful not to collect driftwood from protected areas or disturb wildlife habitats.

Cleaning and Preparing Driftwood

Once you’ve gathered your driftwood, cleaning it is crucial to remove any salt, sand, dirt, or small organisms that may be present. Here’s how:

  1. Rinse Thoroughly: Use fresh water to rinse your driftwood and remove surface debris.
  2. Soak in a Solution: Soak the driftwood in a mixture of water and bleach (a 9:1 water to bleach ratio) for a day or two to kill any bacteria and lighten the wood, if desired.
  3. Dry Completely: Allow the driftwood to dry completely in the sun. This helps maintain its shape and prevents mold or mildew growth.

Choosing and Preparing Shells

Just like driftwood, shells are a key component of this art form. When selecting shells, look for various sizes and colors that can complement each other and the driftwood you’ve chosen. Clean the shells by soaking them in a solution of water and vinegar to remove any residue.

Tools and Supplies You’ll Need

Before you start crafting, gather the essential tools and supplies needed for driftwood shell art:

  • Adhesives: A strong adhesive or glue gun is necessary to secure the shells to driftwood.
  • Sealant: To preserve your art, consider using a sealant that protects the materials from dust and fading.
  • Additional Decor: Consider embellishments like beads, feathers, or small stones to enhance your creation.
  • Protective Gear: Gloves and a dust mask to protect your skin and lungs while working with natural materials.

Techniques for Creating Driftwood Shell Art

Now that you have your materials, it’s time to explore various techniques that can be employed to bring your driftwood shell art to life. Your creativity is your most powerful tool, but some tested methods can guide you to stunning results.

Basic Driftwood Shell Crafting Techniques

  • Arranging: Lay out all your materials in front of you, and try different configurations before settling on one that feels right.
  • Layering: Experiment with layering shells on top of each other or on the driftwood to add depth to your work.
  • Combining Elements: Use additional elements like rope or twine to tie pieces together or create hanging art.

Tips for Securing Pieces

Properly securing your shells and driftwood is essential for durability. Always ensure the surfaces are clean and dry before applying adhesive. Glue guns are excellent for smaller projects, while stronger epoxy adhesives work well for heavier or outdoor pieces. Be generous with adhesive application but careful not to overdo it, as excess glue can seep out and affect the aesthetics of your piece.

Creating Specific Projects

To guide you further, here are some ideas and step-by-step processes for creating specific driftwood shell art projects:

Driftwood Shell Wind Chime

Materials Needed:

  • Several pieces of small driftwood
  • Variety of shells
  • String or fishing line
  • Drill
  • Hook for hanging

Steps:

  1. Arrange Driftwood: Lay your driftwood in a line and drill small holes where you’d like to connect them.
  2. Connect with String: Use string to tie the driftwood together, creating a cascading effect.
  3. Attach Shells: Drill tiny holes in the shells and hang them from the wood using fishing line.
  4. Add a Hook: Secure a hook at the top for easy hanging.

Driftwood Shell Wall Art

Materials Needed:

  • Large piece of flat driftwood
  • Assorted shells
  • Strong adhesive
  • Optional: Decorative extras (beads, small stones)

Steps:

  1. Prepare the Surface: Ensure the driftwood surface is clean and dry.
  2. Design Layout: Place your shells on the driftwood without glue, experimenting with different arrangements.
  3. Secure Shells: Once satisfied, use adhesive to secure the shells in place.
  4. Seal and Protect: Apply a clear sealant to protect your art.

Tips for Mastering Driftwood Shell Art

As you continue to explore driftwood shell art, there are a few tips and tricks that can help enhance your creations and ensure your artworks are both beautiful and durable.

Embrace Imperfections

One of the most attractive aspects of driftwood shell art is its natural and rustic appearance. Don’t be afraid to leave pieces slightly imperfect. These imperfections add to the charm and authenticity of the piece.

Experiment with Colors and Textures

Nature offers a rich palette of colors and textures, so take advantage of this in your art. Mix and match different types of shells and driftwood. Adding subtle hues with paints or stains can also customize your piece further while maintaining a natural look.

Sustainability and Ethical Consideration

While creating art, it’s essential to be mindful of the environment. Collect materials responsibly, without disturbing ecosystems or overharvesting. Reuse and recycle materials whenever possible to create meaningful art without contributing to waste.

Caring for Your Driftwood Shell Art

Your art should last for years with proper care, even though it’s made from natural materials. Here’s how to maintain it:

  • Keep out of direct sunlight to prevent fading.
  • Dust regularly with a soft cloth.
  • Avoid high humidity areas to prevent mold.
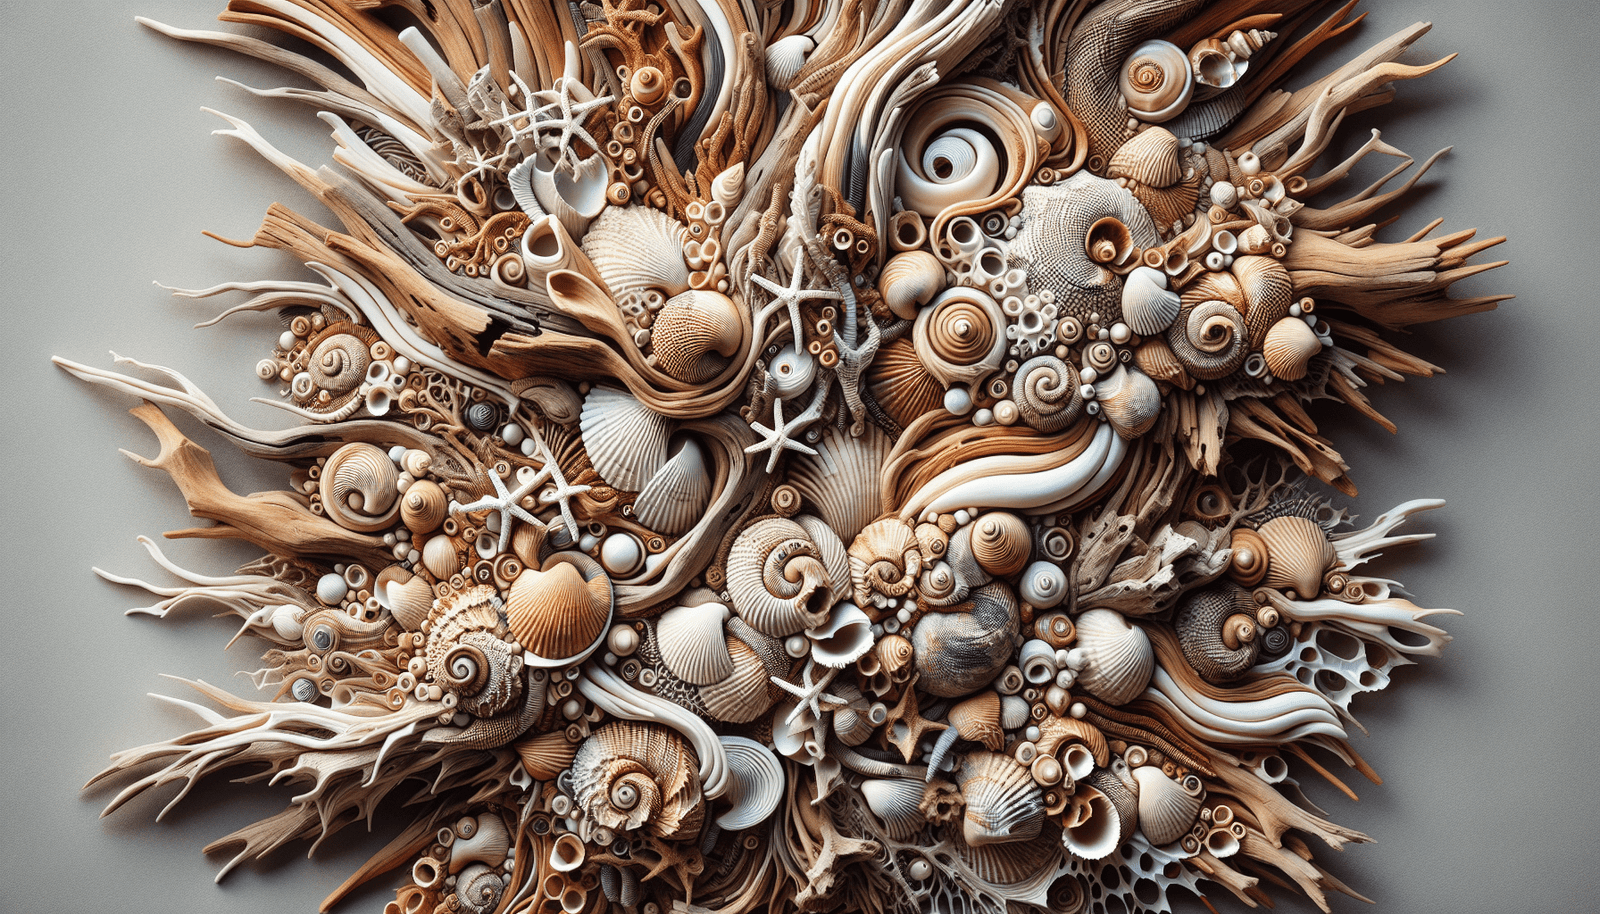
Driftwood She’ll Art

Connecting with the Driftwood Shell Art Community

Engaging with others who share your passion for driftwood shell art can be rewarding. Whether you seek inspiration, guidance, or camaraderie, connecting with a community of like-minded individuals can elevate your craft.

Finding Inspiration Online

Social media platforms and crafting websites offer a multitude of resources and ideas. Platforms like Pinterest and Instagram are great for discovering creative ideas and tutorials, while forums and groups on platforms like Facebook can connect you with others who share your passion.

Joining Workshops and Exhibitions

Participating in workshops can refine your techniques and expose you to new methods and ideas. Similarly, exhibiting your work in local art fairs or exhibitions can share your creations with a broader audience, offering feedback and recognition.

Sharing Your Craft

Document your progress and share your creations with your community through blogs, vlogs, or social media. Sharing encourages others to pick up the craft and can inspire them to participate in sustainable art practices.

Conclusion

Driftwood shell art allows you to transform naturally discarded beach treasures into remarkable pieces of art. As you embark on this creative journey, remember that each piece you create carries a part of the sea’s story. By practicing sustainability and embracing your artistic instincts, you can craft works that are not only beautiful but also meaningful. Now it’s your turn to let the ocean’s call inspire your next masterpiece in driftwood shell art. Your artistic adventure awaits!

Filed Under: Driftwood Ideas Tagged With: crafts, DIY, Driftwood, home decor, Shell Art

Driftwood Shell Wall Art

June 27, 2024 by admin

In the world of DIY decor, nothing captures the essence of coastal charm quite like driftwood shell wall art. Imagine adorning your home with pieces that embody the soothing vibes of the beach, using natural elements like weathered driftwood and delicate seashells. This guide will inspire you to create your own driftwood shell wall art, transforming simple materials into beautiful, personalized masterpieces that bring the serene beauty of the seaside right into your living space. Have you ever strolled along the beach, picking up intriguing pieces of driftwood and shells, and wondered how you could transform those treasures into a beautiful piece of art for your home? If so, you’re in the right place! Creating driftwood shell wall art is a delightful way to bring the serene beauty of the seaside into your living space.

The Allure of Driftwood and Shells

Nature offers some of its most exquisite art in the form of driftwood and shells. These natural materials are not only captivating to look at but also have sentimental value, often serving as tangible memories of your beachside adventures.

What Makes Driftwood Special?

Driftwood is wood that has been washed onto the shore by the action of winds, tides, or waves. Each piece is unique, having been shaped and smoothed by the ocean over time. Driftwood pieces can come in various sizes, shapes, and textures, making them perfect for various artistic projects.

The Charm of Shells

Shells, the hard, protective outer layer of sea creatures, come in numerous shapes, sizes, and colors. Like driftwood, no two shells are alike, making them ideal for adding unique touches to your artwork. From spiraled conch shells to tiny, intricate sand dollars, there’s a vast array of options to choose from.

Planning Your Driftwood Shell Wall Art Project

Before you dive into crafting, a bit of planning will go a long way in ensuring your artwork turns out just as you envision it.

Gather Your Materials

Make a checklist of all the materials you’ll need for your project. This can include:

  • Driftwood pieces: Look for various sizes and shapes.
  • Shells: Collect a diverse range of shells.
  • Adhesives: Hot glue gun, epoxy, or craft glue.
  • Backboard: A sturdy surface like a wooden panel or canvas to mount your driftwood and shells.
  • Tools: Pliers, scissors, tweezers, and any other tools you might need.
  • Optional extras: Paint, varnish, or other decorative items.

Here’s a simple table to help you keep track of your materials:

MaterialQuantityNotes
DriftwoodVariousDifferent shapes and sizes
ShellsVariousDiverse types and colors
AdhesivesSufficientHot glue gun, epoxy, craft glue
Backboard1Wooden panel or canvas
ToolsAs neededPliers, scissors, tweezers
Optional ExtrasAs desiredPaint, varnish, decorative items

Choose Your Design

Decide on the design or layout of your artwork. Do you want a symmetrical pattern, an abstract arrangement, or perhaps a scene like a shoreline? Sketching out a rough design on paper can help you visualize your final piece.

Prep Your Supplies

Clean your driftwood and shells thoroughly. Driftwood may need to be soaked in water and scrubbed to remove any salt or sand, while shells can be cleaned with a mixture of water and mild dish soap. Allow all materials to dry completely before you start crafting.

Driftwood Shell Wall Art

Step-by-Step Guide to Creating Driftwood Shell Wall Art

Now that you’re prepared, let’s walk through the process of creating your beautiful driftwood shell wall art.

Step 1: Plan Your Layout

Lay out your driftwood and shells on your work surface in the general arrangement you have in mind. This helps you get a feel for how everything will look once it’s mounted. Don’t be afraid to experiment with different arrangements until you’re satisfied.

Step 2: Prepare Your Backboard

If you’re using a wooden panel or canvas, you may want to paint or varnish it first to give it a more finished look. This is optional, but it can add an extra touch of elegance to your piece.

Step 3: Start Mounting the Driftwood

Begin by adhering the driftwood pieces to your backboard. Use a strong adhesive like a hot glue gun or epoxy to ensure they stay in place. Start with the larger pieces and work your way down to the smaller ones. Hold each piece firmly in place for a few seconds to ensure it adheres properly.

Step 4: Add the Shells

Once your driftwood is securely mounted, start arranging and gluing the shells in your desired pattern. Tweezers or pliers can help you place the smaller shells with precision. Be sure to use enough adhesive to keep the shells in place but avoid over-gluing, which can be messy.

Step 5: Final Touches

After all the driftwood and shells are in place, add any final touches you like. This could be extra decorative elements like small pebbles, sea glass, or even a light coat of varnish to make your artwork shine.

Displaying Your Driftwood Shell Wall Art

Once your piece is complete, it’s time to display it! Here are a few tips for showcasing your new artwork.

Choose the Right Spot

Pick a location where your driftwood shell wall art can be a focal point. This could be a living room wall, above a fireplace, or in a hallway. It’s an excellent conversation starter and adds a natural, beachy vibe to any space.

Securely Hang Your Art

Ensure your art is securely hung to prevent it from falling. Depending on the weight and construction of your piece, you may need heavy-duty picture hangers or wall anchors. Always follow the instructions for any hanging hardware you use.

Complement Your Decor

Your driftwood shell wall art can complement other natural elements in your decor. Consider pairing it with other beach-themed decorations like sand-filled vases, nautical ropes, or a collection of smaller seashells displayed in glass jars.

Driftwood Shell Wall Art

Tips and Tricks for Creating Stunning Driftwood Shell Wall Art

As you become more experienced with creating driftwood shell wall art, you’ll learn some handy tips and tricks that can make the process smoother and more enjoyable.

Experiment with Different Techniques

Don’t be afraid to try new techniques. For example, you might try incorporating other natural materials, like sand or pebbles, into your artwork. You might also experiment with different adhesives to see which works best for your materials.

Mix and Match

Combining driftwood and shells with other artistic elements can lead to unique and visually stunning results. For instance, you could add small pieces of coral, sea glass, or even incorporate some lighting to add a beautiful glow to your artwork.

Personalize Your Art

Adding personal touches to your wall art can make it even more special. Consider including shells you’ve collected from different beaches you’ve visited or pieces of driftwood that hold sentimental value.

Environmental Considerations

When collecting materials for your artwork, it’s essential to be mindful of the environment. Here are some tips to ensure your hobby is eco-friendly.

Responsible Collecting

Only take what you need, and avoid disturbing natural habitats. Remember that driftwood and shells play a crucial role in coastal ecosystems, providing homes and nutrients for various marine life.

Sustainable Alternatives

If you can’t find natural materials or if collecting them is prohibited in your area, consider purchasing sustainably sourced driftwood and shells from reputable suppliers. There are many online stores that sell eco-friendly materials specifically for crafting purposes.

Benefits of Creating Driftwood Shell Wall Art

Engaging in this creative hobby offers numerous benefits, both for you and your living space.

Therapeutic and Stress-Relieving

Crafting can be a wonderful way to relax and unwind. The concentration and creativity involved can take your mind off everyday stresses, providing a therapeutic and enjoyable experience.

Unique Home Decor

Creating your own wall art ensures you have a piece that is truly unique. Unlike mass-produced decor items, your driftwood shell wall art is one-of-a-kind, reflecting your personal style and creativity.

A Hobby with Sentimental Value

Using materials you’ve collected yourself adds sentimental value to your artwork. Each piece can serve as a reminder of happy times spent at the beach, making it more meaningful and special.

Conclusion

In creating driftwood shell wall art, you’re not only making a beautiful piece of decor, but you’re also preserving memories of your beachside adventures. This art form allows you to bring a slice of nature into your home, creating a serene and tranquil environment.

So go ahead, gather your materials, unleash your creativity, and start crafting your own driftwood shell wall art. Not only will you end up with a stunning piece to adorn your walls, but you’ll also enjoy the process of bringing a bit of the ocean’s charm into your living space.

Happy crafting!

Filed Under: Driftwood Ideas Tagged With: Beach Crafts, Driftwood, Handmade, Shell Art, Wall Decor

Primary Sidebar

Driftwood4us.com, is a participant in the Amazon Services LLC Associates Program, an affiliate advertising program designed to provide a means for sites to earn advertising fees by advertising and linking to amazon.com.