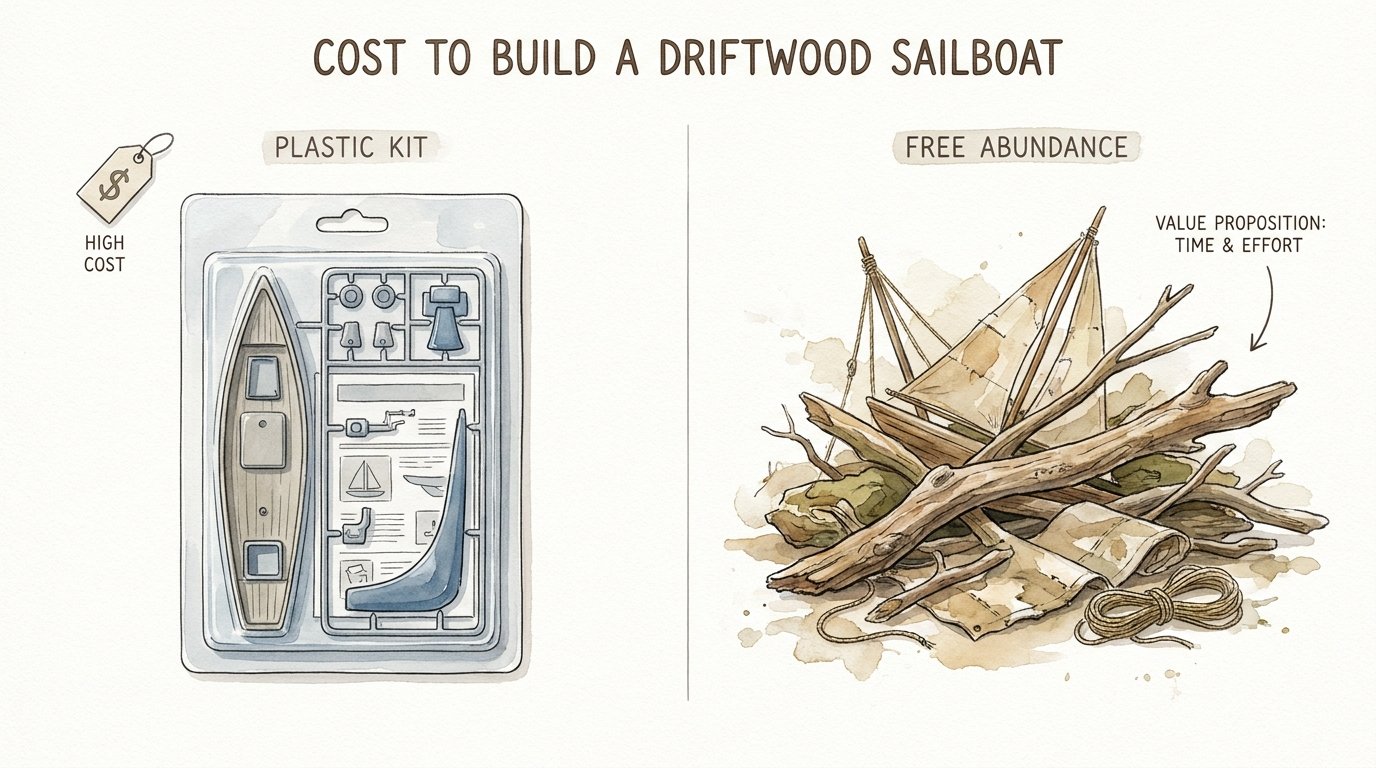
Cost To Build A Driftwood Sailboat
The best materials in the world aren’t behind a credit card; they are behind the next high tide. Why pay a premium for a plastic imitation of a boat when the ocean is literally throwing the real thing at your feet for free? Building with driftwood isn’t just about saving money—it’s about the hunt.


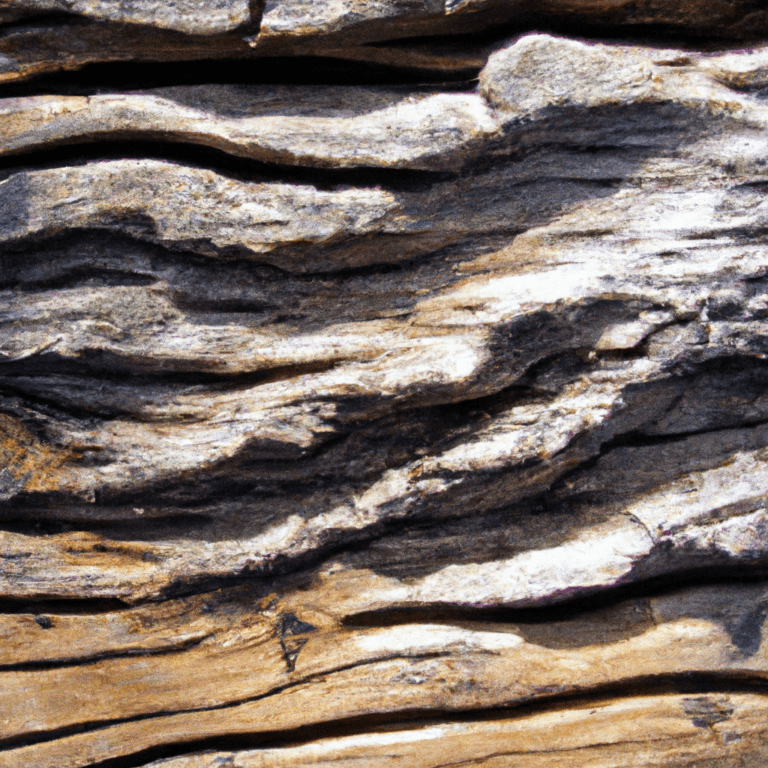
Walking the shoreline after a storm is the ultimate sourcing trip. You aren’t just looking for wood; you are looking for a story written by salt, sand, and time. Every silvered log has already survived a gauntlet of currents and crushing depths. If it made it to the beach in one piece, it has earned its right to be part of your next project.
This guide will take you through the gritty reality of turning shore-scavenged timber into a vessel. Whether you are crafting a high-end desktop model that smells of the North Atlantic or a small, functional shallows-runner, the principles of pioneer grit remain the same.
Cost To Build A Driftwood Sailboat
The cost of building a driftwood sailboat is essentially the price of your own labor and a handful of hardware store essentials. Unlike a modern fiberglass kit that can run you thousands of dollars before you even hit the water, a driftwood build relies on what others have discarded.
In a practical sense, the “cost” is measured in miles walked and hours spent drying out the brine. If you are building a small, decorative piece or a functional miniature, your financial investment can be as low as $10 to $50. This covers the “connective tissue” that the ocean doesn’t provide, such as marine-grade adhesives, bronze fasteners, or a spool of high-tensile twine.
For those attempting a larger, functional “punt” or “scow” using scavenged timbers, the costs might rise to $200 for specialized sealants or a reclaimed canvas sail. However, the core structure—the frames, the planking, and the mast—comes entirely from the high-tide line. You are trading your wallet for your wits, using the ocean’s own refuse to build a tribute to it.
How to Scout and Prep Your Timber
The hunt is the most critical phase of the build. You cannot simply grab the first log you see. You need wood that has been “seasoned” by the sea but hasn’t yet surrendered to rot.
The Selection Process
- The Thud Test: Strike a piece of wood with a stone or another branch. A sharp, resonant “crack” means the interior is still dense and structural. A dull “thud” suggests the wood is waterlogged or pithy with rot.
- Weight Assessment: If a piece of wood is much heavier than it looks, it is still “green” or saturated with water. While you can dry it, look for “silvered” wood that feels surprisingly light; this indicates the salt has already begun the curing process for you.
- Species Recognition: On the Pacific coast, look for Western Red Cedar or Douglas Fir. On the Atlantic, seek out White Oak or Larch. These species are naturally resistant to decay and were the gold standard for shipwrights for centuries.
Curing the Brine
Driftwood is rarely ready to work the moment it hits your workshop. It is impregnated with salt and often harbors a miniature ecosystem of “shipworms” (Teredo navalis) or sand gnats.
Start by scrubbing the wood with a stiff-bristled brush to remove sand and loose bark. Many builders recommend a 1:9 bleach-to-water soak for at least 12 hours to kill bacteria and pests. Once cleaned, the wood must be dried. While some use an oven at 250°F for small pieces, the best results come from “sticking” the wood—stacking it in a shaded, well-ventilated area for several weeks to let the moisture escape naturally without cracking the grain.
Construction: Building with Pioneer Grit
Building with driftwood requires a different mindset than working with dimensional lumber from a big-box store. Nothing is square. Nothing is straight. You must work *with* the curves the ocean gave you.
The Foundation (The Hull)
In small-scale builds, your hull is often a single, stable piece of timber. For larger projects, you may need to “scarf” two pieces together. A scarf joint involves cutting matching long angles into two pieces of wood so they overlap, creating a single, longer structural member. Traditionally, these are secured with “trunnels” (tree nails)—wooden pegs that expand when wet to create a permanent, mechanical bond.
Setting the Mast
Find a straight, slender branch—ideally Douglas Fir or Sitka Spruce—that has maintained its flexibility. To mount it, drill a hole into your hull base slightly smaller than the diameter of the mast. Use a “snug-fit” technique rather than relying solely on glue. If you are building a larger craft, you will need a “mast step”—a reinforced block at the bottom of the hull that distributes the leverage of the wind across the entire frame.
Rigging and Sails
The pioneer didn’t have access to Dacron or ripstop nylon. Use what you have. A discarded heavy-duty men’s shirt, a vintage linen handkerchief, or a piece of old canvas tarpaulin makes for a sail with “soul.” Secure these to your mast using jute twine or hemp rope. If you want the sail to hold a specific shape, you can “starch” the fabric or coat it in a light layer of beeswax and linseed oil to give it weather resistance.
Benefits of Driftwood Building
Choosing scavenged materials over modern kits offers more than just a lower price tag. It provides a level of character and resilience that “virgin” wood simply cannot match.
- Pre-Weathered Resilience: Driftwood has already survived the harshest environment on Earth. If it hasn’t warped or shattered after months in the surf, it is unlikely to do so in your home or on a lake.
- Unique Aesthetic: No two pieces are the same. The “silvering” effect caused by UV rays and salt creates a patina that modern stains can only hope to imitate.
- Low Environmental Impact: You are removing debris from shorelines and repurposing waste. Every driftwood boat is a small victory for the circular economy.
Challenges and Common Mistakes
The biggest mistake a beginner makes is rushing the drying process. If you seal wood that still has a high internal salt or moisture content, it will eventually rot from the inside out or “bloom” with white salt crystals that ruin your finish.
Another common pitfall is ignoring the grain direction. Driftwood often has “interlocked” grain from being twisted in currents. If you try to plane it like a piece of flat pine, you will tear the fibers. Use sharp chisels and take small, patient passes. Always check for “hidden” sand or rocks embedded in the wood, as these will instantly dull your tools.
Limitations: When Driftwood May Not Work
Driftwood is not ideal for high-performance racing or long-term deep-sea voyages in its raw state. The salt content that makes it beautiful also makes it difficult to bond with certain modern epoxies. If you are building a vessel that *must* be 100% watertight, the unpredictability of scavenged wood can be a liability.
Environmental laws are also a constraint. In states like Michigan, it is illegal to remove “downed woody debris” from state land to protect local ecosystems. Always check your local Department of Natural Resources (DNR) regulations before heading out with a truck. Many areas allow “personal use” amounts (typically under 50 lbs), but commercial harvesting is often strictly prohibited.
Practical Tips for Success
To get the most out of your beachcombing, follow these best practices used by serious shoreline craftsmen:
- The Post-Storm Window: The best wood appears 24 to 48 hours after a significant storm surge. This is when the “deep” timber—wood that has been at sea for years—finally washes up.
- Tool Choice: Use hand tools where possible. A drawknife and a spoke shave are much better at following the natural “flow” of a driftwood branch than a power sander.
- Mechanical Fasteners: Always use bronze or stainless steel eye screws. Standard steel will react with the salt still present in the wood fibers and “bleed” rust stains across your hull.
Advanced Considerations: Ballast and Balance
If you want your driftwood boat to actually sit correctly in the water, you have to consider its “center of effort.” Driftwood is often unevenly dense. You may find that your boat lists to one side because one half of the log was more waterlogged than the other.
Serious practitioners solve this by using “found ballast.” Scout the same beach for heavy, smooth stones. You can hollow out a small section of the hull’s underside and “set” these stones into the wood. This lowers the center of gravity and ensures your craft stands tall against a breeze rather than tipping the moment the sail fills.
Examples of Driftwood Craft
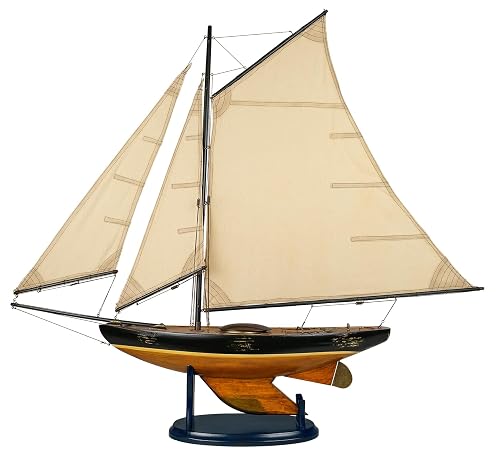
Imagine a 14-inch “shallows skiff” built from a single piece of storm-tossed cedar found on the Oregon coast. The hull is shaped with a simple hatchet and finished with a rasp. The mast is a sun-bleached branch of Douglas fir, stepped into a hole drilled with a hand-brace. The sail is a square of heavy canvas from an old drop cloth, rigged with basic twine and two small bronze eyelet screws.
This boat doesn’t just look like a maritime relic; it functions. Because it is made of cedar, it is naturally buoyant and resistant to the very water it was born from. The total cost? Less than $15 for the hardware, but the value is in the 20 miles of shoreline hiked to find the perfect “sheer” in the wood.
Final Thoughts
Building with driftwood is a return to a more honest form of craftsmanship. It forces you to look at the world not as a consumer, but as a scavenger and a pioneer. You learn to see the potential in a twisted root and the strength in a salt-cured spar.
The result of this process is a vessel that carries the spirit of the sea in its very grain. It is a reminder that the best things in life aren’t manufactured in a factory—they are polished by the tides and waiting for someone with the grit to go out and find them.
Don’t be afraid to fail on your first few attempts. The ocean is an infinite supplier, and every mistake is just an excuse to head back to the beach for another hunt. Applying these lessons will give you a craft that no store-bought kit can match: a boat with a history as deep as the water itself.
Sources
1 sandypointboatworks.com (https://sandypointboatworks.com/boat-building-articles-journals/boat-building-articles/wood-types-and-uses) | 2 hawk-hill.com (https://www.hawk-hill.com/how-to-clean-driftwood/) | 3 diydriftwood.com (https://diydriftwood.com/driftwood-refinishing-techniques/) | 4 gcwmultimedia.com (https://www.gcwmultimedia.com/diy-driftwood-sailboat/) | 5 hamstersahoy.com (https://www.hamstersahoy.com/knowledge-base/boat-building-techniques/woodwork-joinery/traditional-wooden-boat-joinery-techniques-building-strong-timber-joints-that-last.html) | 6 pbo.co.uk (https://www.pbo.co.uk/expert-advice/boat-wood-a-complete-guide-for-yacht-owners-81059) | 7 99wfmk.com (https://99wfmk.com/michigan-driftwood-collection-rules/) | 8 cornell.edu (https://www.law.cornell.edu/regulations/california/14-CCR-4306) | 9 youtube.com (https://www.youtube.com/watch?v=v1ECYXizQk0)