Diy Driftwood Mirror Frame Tutorial
Is your home decor telling a story of factory assembly lines or a century of ocean travel? Modern furniture is built to be replaced. That ‘coastal’ mirror you bought online is actually sawdust and glue held together by a prayer. I went to the beach and found a frame that has been sculpted by the Pacific for twenty years—strong, salt-cured, and impossible to replicate in a factory.
[affiai]True craftsmanship isn’t found in a warehouse; it’s reclaimed from the shoreline with a bit of grit and a lot of patience. When you look at a piece of wood that has survived gales, tides, and the relentless sun, you aren’t just looking at lumber. You are looking at a survivor. Creating a DIY driftwood mirror is about more than aesthetics. It is a refusal to accept the flimsy, veneered world we live in.
This guide will show you how to take raw, weathered timber and turn it into a legacy piece. We will dive deep into the science of salt-cured wood, the mechanics of structural adhesives, and the exact steps needed to build a mirror frame that will outlast any piece of particle-board furniture in your home. Let’s get to work.
Diy Driftwood Mirror Frame Tutorial
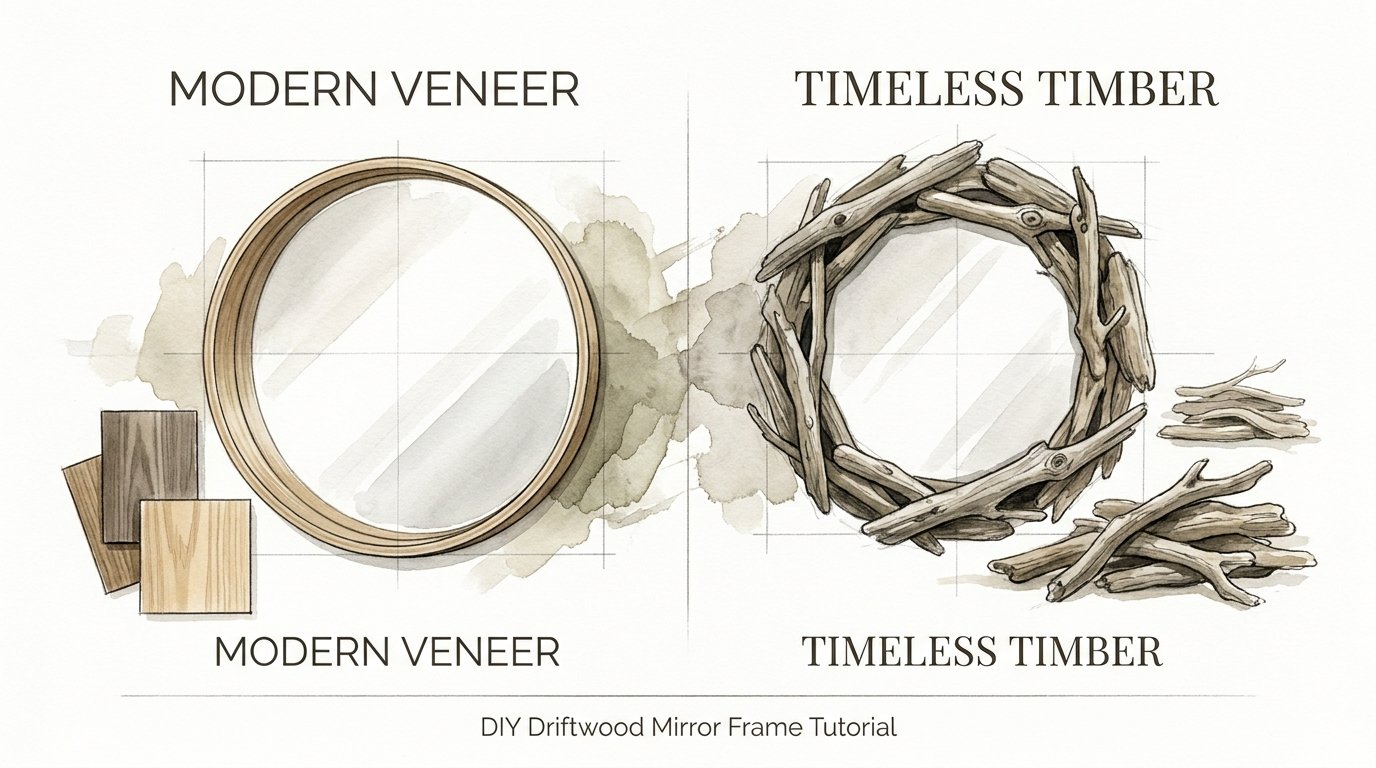
A driftwood mirror frame is a functional art piece constructed from wood that has been naturally weathered by a body of water. This isn’t your standard weekend craft. It is a process of curation and structural engineering. Unlike MODERN VENEER, which uses paper-thin slices of wood over a substrate of compressed dust, a driftwood frame uses solid, salt-toughed timber that has already undergone a brutal natural curing process.
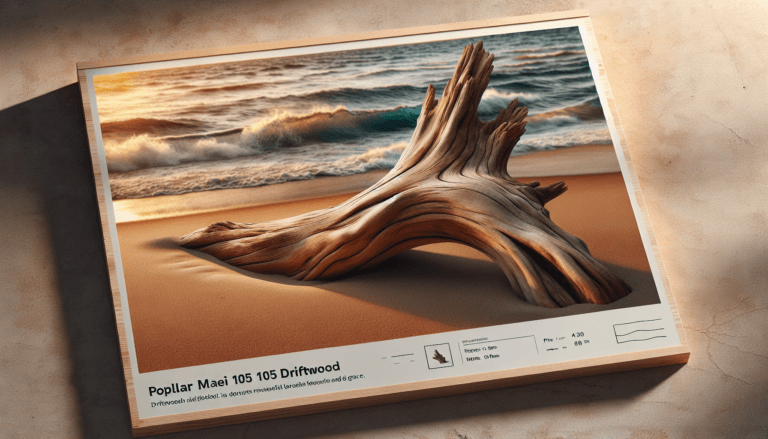
Driftwood exists because nature is the ultimate woodworker. When a tree falls into the ocean or a river, the water strips away the bark and the soft sapwood. What remains is the heartwood—the densest, most resilient part of the tree. The sun bleaches it, the salt cures it, and the rocks shape it. By the time it reaches your hands, it has been refined by forces that no factory can simulate.
In real-world interior design, these mirrors serve as “biophilic” focal points. They bring the chaos and organic texture of the outdoors into a sterile indoor environment. Whether you are aiming for a rugged mountain cabin vibe or a refined coastal look, the driftwood mirror acts as a bridge between the wild world and your living room. It is a conversation starter that demands respect because every branch tells a different story of survival.
How It Works: The Path from Shore to Wall
Building a mirror frame that doesn’t collapse under its own weight requires a systematic approach. You cannot simply glue sticks to glass and expect them to stay. The process begins with sourcing, moves through sanitation, and ends with a multi-layered assembly strategy.
Step 1: Scavenging and Sourcing
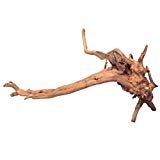
The best driftwood is found at the high-tide line after a storm. Look for pieces that feel “bone dry” and light for their size. If a piece is heavy and soggy, it hasn’t finished its journey. You want “salt-cured” timber—wood that has been soaked in brine and then dried by the sun. This salt prevents rot and makes the wood incredibly stable.
Collect twice as much wood as you think you need. You aren’t just looking for sticks; you are looking for pieces that “fit” together like a puzzle. Bring a sturdy bag and a pair of gloves. Shorelines can be unforgiving on the hands, and you may encounter hidden shards of sea glass or jagged rocks.
Step 2: The Cleaning and Sanitation Ritual
Found wood is beautiful, but it often brings guests. Marine bacteria, sand fleas, and boring beetles may be hiding in the pores. You must sanitize the wood before it enters your home. Start by scrubbing each piece with a stiff-bristled brush to remove sand and dried salt.
Submerge the wood in a large tub filled with a 1:10 solution of bleach and fresh water. Let it soak for 12 to 24 hours. This kills any organisms and lightens the wood to that classic silver-grey “sun-bleached” tone. Once the soak is done, rinse the pieces thoroughly with fresh water.
Step 3: Drying and Stabilizing
Freshly rinsed driftwood is saturated. If you glue it now, the wood will shrink as it dries, and your frame will pull itself apart. Place the wood in a well-ventilated area, away from direct heat. Let it air dry for at least a week. For the patient craftsman, a month is better.
The science here is simple: salt damage—or “salt kill”—actually changes the wood fibers. As salt water evaporates from the cells, salt crystals form and physically push the fibers apart, creating that “fuzzy” or textured surface we love. Allowing the wood to reach equilibrium with your home’s humidity is the only way to ensure a lasting bond.
Step 4: Creating the Substrate
You need a foundation. A driftwood mirror isn’t built on the glass; it’s built on a plywood or MDF “backing board.” Cut a piece of 1/2-inch plywood into the shape of your desired mirror, but make it 4 to 6 inches wider on all sides. This “border” is where your wood will be anchored.
Paint this border a dark color—charcoal or black is best. This ensures that any small gaps between the driftwood pieces look like natural shadows rather than raw plywood. Secure your mirror to the center of this board using specialized mirror mastic or Loctite PL 520. Standard construction adhesive can eat through the silver backing of a mirror over time, so use the right stuff.
Step 5: The Layout and First Layer
Lay your mirror flat on a table. Start arranging your largest, flattest pieces of driftwood around the perimeter. This is the structural layer. You want these pieces to sit as flush as possible against the plywood.
Apply a generous bead of high-strength construction adhesive or Gorilla Glue to the back of each piece. Press it down and hold it for a minute. For heavy pieces, you can drive a small wood screw from the back of the plywood into the driftwood to “pin” it in place. Hide the screw heads by countersinking them into the plywood.
Step 6: Layering for Depth
Once the base layer is secure, start building upwards. Use smaller, more character-filled pieces to cover the gaps. For this second layer, a high-heat hot glue gun is your best friend. It provides an immediate bond, allowing you to “sculpt” the frame in three dimensions.
Overlap the edges of the mirror glass slightly with some of the driftwood. This hides the seam between the glass and the wood, making it look like the mirror grew out of the timber. Keep adding pieces until no plywood or black paint is visible from the front or sides.
Benefits of the Handcrafted Approach
Choosing to build a driftwood mirror over buying a mass-produced alternative offers several measurable advantages. It is the difference between owning a piece of history and owning a piece of trash.
Unrivaled Structural Longevity
Solid driftwood that has survived decades in the ocean is remarkably stable. It has already done all the warping and shrinking it is ever going to do. When properly mounted to a plywood substrate, these frames can last for generations. Unlike TIMELESS TIMBER, modern veneer furniture often peels or chips when exposed to humidity. Driftwood, by contrast, thrives in varied environments.
Biophilic Design and Mental Wellness
Studies in interior design suggest that “biophilic” elements—decor that mimics natural patterns—can lower stress and improve focus. The chaotic, fractal patterns of driftwood provide a visual complexity that factory-made items lack. Looking into a mirror framed by the ocean feels different than looking into one framed by plastic.
Zero-VOC and Eco-Friendly
By reclaiming wood from the shore, you are removing “waste” from the environment and turning it into a carbon-sink. Most modern furniture is off-gassing formaldehyde and other volatile organic compounds (VOCs) from the glues used in particle board. A driftwood frame is as clean as the sea air it came from.
Challenges and Common Mistakes
Working with organic materials isn’t always a walk on the beach. If you ignore the rules of the wood, the wood will punish you.
Mistake 1: Skipping the Sanitization
The biggest mistake beginners make is bringing “raw” wood into the house without a bleach soak. Within weeks, you might find tiny piles of “frass” (sawdust) under your mirror—a sign that powderpost beetles are eating your project from the inside out. Always sanitize.
Mistake 2: Relying on Hot Glue for Structure
Hot glue is great for the top “decorative” layer, but it is not a structural adhesive. Over time, the weight of the wood combined with temperature changes in your home can cause the hot glue to become brittle and snap. Always use a professional-grade construction adhesive for the base layer that connects to the plywood.
Mistake 3: Poor Weight Management
A finished driftwood mirror is heavy. A medium-sized frame can easily weigh 40 to 60 pounds. If you use a simple nail or a cheap picture wire, you are asking for a disaster. You must plan for your hanging hardware before you finish the assembly.
Limitations of Driftwood Crafting
Every material has a breaking point. Driftwood is no exception. Understanding where this method fails is as important as knowing where it succeeds.
Environmental Sensitivity
While driftwood is tough, it is extremely porous. If you place an unsealed driftwood mirror in a small, windowless bathroom with a high-heat shower, the wood will act like a sponge. It can absorb enough moisture to promote mold growth or cause the plywood backing to delaminate. In high-humidity areas, you must seal the wood with a matte polyurethane or linseed oil.
Material Availability
You are at the mercy of the tides. You might go to the beach and find nothing but plastic trash, or you might find enough wood for ten mirrors. This lack of predictability makes it a poor choice for someone on a strict deadline. You cannot rush the ocean.
Scaling Issues
Building a small 12-inch mirror is easy. Building a 7-foot floor mirror requires serious engineering. The sheer volume of wood needed for large projects increases the weight exponentially. At a certain scale, you may need to switch from a plywood substrate to an aluminum frame to keep the piece manageable.
Practical Tips and Best Practices
If you want your mirror to look like a gallery piece rather than a middle-school art project, follow these professional-grade tips.
* The “Rule of Three”: When layering wood, try to create three distinct depths. A flat base, a middle layer for gap-filling, and a “hero” layer of gnarled, twisted pieces on top.
* Sanding Strategy: Never sand the face of the driftwood—you’ll destroy the natural patina. Only sand the “back” side of the pieces that need to sit flush against the plywood.
* Mirror Cleaning: Clean the mirror glass before you start gluing. It is much harder to wipe away Windex streaks once you have a maze of jagged branches overhanging the edges.
* Use a “Bumper” board: If your mirror is very thick, glue small 1/2-inch wood blocks to the bottom corners of the plywood backing. This keeps the mirror level against the wall and prevents it from tilting downward.
Advanced Considerations: Going Beyond the Basics
For the practitioner who has mastered the basic frame, there are ways to elevate the craft into the realm of high-end furniture design.
Integrated LED Backlighting
By mounting a strip of LED lights to the back of the plywood substrate (facing the wall), you can create a “halo” effect. The light catches the jagged edges of the driftwood from behind, emphasizing the texture and making the mirror appear to float. This is particularly effective in entryways or dimly lit hallways.
Inlays and Mixed Mediums
Consider mixing your driftwood with other beach-combed treasures. Sea glass, worn river stones, or even rusted nautical hardware can be embedded into the gaps. Use a clear epoxy resin to “lock” these items into place, creating a mosaic effect that complements the raw timber.
The “French Cleat” Mounting System
Standard hooks are insufficient for a heavy driftwood piece. A French Cleat (or Z-Bar) is a two-piece interlocking aluminum bracket. One piece is screwed into the wall studs, and the other is attached to the back of the mirror. This distributes the weight across the entire width of the frame and ensures the mirror stays perfectly level and flush against the wall.
Comparison: Hand-Built Driftwood vs. Mass-Market Alternatives
| Feature | DIY Driftwood Mirror | Mass-Market ‘Coastal’ Mirror |
|---|---|---|
| Material | Solid, salt-cured heartwood. | Resin or veneered MDF. |
| Longevity | Decades; heirloom quality. | 5-10 years before peeling. |
| Repairability | High; pieces can be replaced. | Low; once it chips, it’s trash. |
| Cost | Low (material is free). | Moderate to High ($200+). |
| Uniqueness | One-of-a-kind. | Thousands made in a mold. |
Examples and Realistic Scenarios
Imagine a small, sun-drenched cottage in the Pacific Northwest. The owner finds a massive, twisted cedar root on the beach after a November gale. Instead of burning it, they spend two weeks cleaning and drying the wood.
By mounting a 24-inch round mirror to a black-painted plywood circle and radiating the cedar “fingers” outward, they create a sunburst mirror that spans four feet. Because they used a French cleat system anchored into two wall studs, the 55-pound piece is rock-solid. This mirror doesn’t just show a reflection; it anchors the entire room in a sense of place and history.
Contrast this with a “coastal” mirror purchased from a big-box store. It looks okay from ten feet away, but up close, the “wood” grain is a printed sticker. Within a year of hanging in a humid hallway, the edges start to curl and the glue holding the resin “branches” begins to fail. The DIY approach required more sweat, but the result is a piece of soul for the home.
Final Thoughts
Creating a driftwood mirror is a lesson in the value of the discarded. It teaches us that something beaten by the waves and bleached by the sun isn’t “broken”—it is seasoned. By taking the time to clean, prep, and engineer a proper frame, you are creating a bridge between the raw power of nature and the comfort of your home.
This project demands patience and a willingness to get your hands dirty, but the reward is a piece of furniture that no factory can replicate. It is a stand against the “disposable” culture of modern decor. When you hang your finished mirror on the wall, you aren’t just decorating; you are preserving a story of the ocean.
Don’t be afraid to experiment with different wood species or sizes. Every shoreline offers a new set of materials. Start small, master the adhesives, and soon you’ll be looking at your home through a frame that has seen a century of tides. Get out to the beach and find your first piece of timber today.
Sources
1 wikihow.com (https://www.wikihow.com/Preserve-Driftwood) | 2 quora.com (https://www.quora.com/How-is-furniture-made-from-driftwood-different-from-other-wooden-furniture) | 3 youtube.com (https://www.youtube.com/watch?v=gRA92B93tCQ) | 4 usda.gov (https://www.fpl.fs.usda.gov/documnts/techline/Techline_06-2011-001.pdf) | 5 mirrorworld.co.uk (https://www.mirrorworld.co.uk/PDF/Hanging%20a%20mirror%20using%20Z-Bars.pdf)