Diy Driftwood Pigment Grinding Tools
The secret to professional-grade paint isn’t the brush; it’s the precision of the grind. Art is only as good as its materials. While standard tools leave your pigments gritty and dull, a precision-carved driftwood mortar allows you to grind minerals to a micron level. This isn’t just a bowl; it’s a specialized tool for the artist who refuses to settle for ‘good enough’.
[affiai]You may have spent hours foraging for the perfect earth ochre or vibrant azurite, only to find that your final paint feels like sandpaper on the canvas. Standard kitchen mortars are designed for culinary bruising, not the rigorous pulverization required for fine art. By crafting your own tools from seasoned, salt-cured driftwood, you reclaim control over the very texture of your work.
Understanding the relationship between the hardness of your tool and the resilience of your mineral is the first step toward mastery. This guide will walk you through selecting the right timber, stabilizing the grain, and achieving a grind that rivals industrial chemical mills.
Diy Driftwood Pigment Grinding Tools
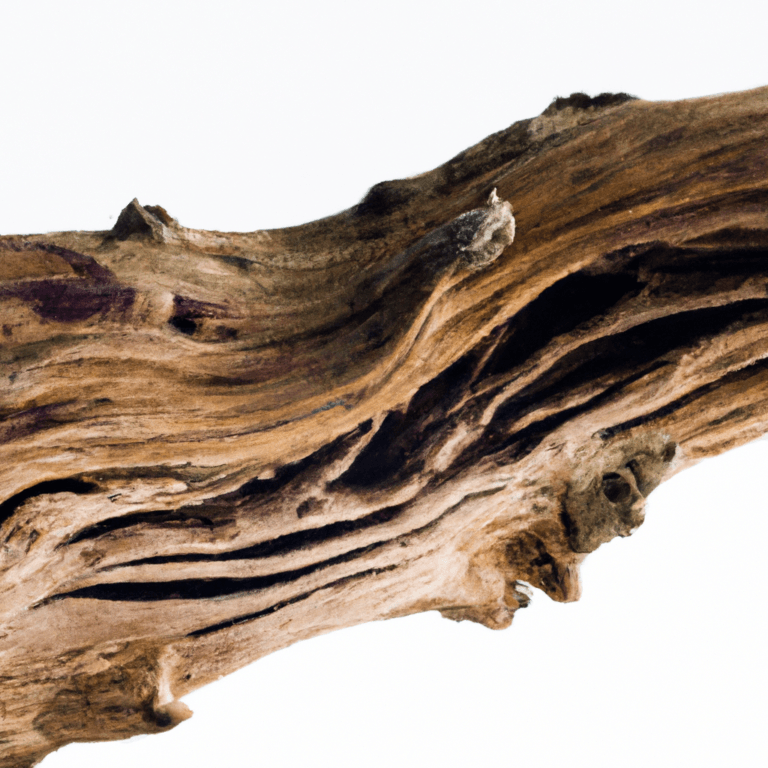
Diy driftwood pigment grinding tools are specialized implements made from scavenged timber found along coastlines or riverbeds. Unlike fresh-cut lumber, driftwood has undergone a natural seasoning process, often involving years of saturation in salt water followed by intense sun-bleaching. This process leaches out unstable sap and sugars, leaving behind a dense, often mineralized cellulose structure.
In the world of paint making, these tools serve as the primary interface between raw earth and liquid medium. A mortar and pestle set functions through a combination of impact and attrition. The mortar holds the raw material, while the pestle applies concentrated pressure to fracture the crystalline structure of minerals like hematite or malachite.
Real-world application for these tools goes beyond mere hobbyist interest. Traditional pigment makers, from Renaissance apprentices to indigenous artists, have long relied on wooden mortars for processing softer earth pigments. Wood offers a chemical neutrality that certain metal tools lack, ensuring that your vibrant blues don’t turn muddy due to iron contamination.
Visualizing the concept is simple: think of the driftwood as a vessel that has survived the most brutal elements of nature. If a piece of oak has survived a decade at sea, it possesses a structural integrity that—when properly carved and sealed—can withstand the thousands of circular strokes required to reach a micron-level finish.
How to Select and Prepare Your Driftwood
The first step in creating a functional grinding tool is the forage. Not all driftwood is created equal, and choosing the wrong piece will lead to a tool that shatters under the first hammer blow. You are looking for high-density hardwoods that have been “salt-cured” by the ocean.
Identifying the Right Species
Look for “heavy” driftwood. If a small piece feels surprisingly weighty for its size, it likely has a high Janka hardness rating. In North America, species like Live Oak, Hickory, or Black Ironwood make the best candidates. If you are foraging in tropical areas, seek out Lignum Vitae, often called the “Tree of Life” for its legendary density and self-lubricating oils.
Avoid “punky” wood. If you can dent the surface with your thumbnail, it is too soft for mineral grinding. You want wood that rings with a clear, metallic tone when struck against a rock. This indicates a tight grain and high mineral content absorbed from the water.
Seasoning and Drying
Even though the wood looks dry, it often harbors deep-seated moisture or salt crystals that can cause cracking once you start carving. Before you put a chisel to the surface, you must oven-dry or kiln-dry your find. Place the wood in an oven at 220°F for several hours, weighing it periodically. Once the weight stops dropping, the moisture is gone.
The Carving Process
Traditional mortars are carved using a gouge and mallet, but for the precision required in pigment grinding, a lathe is often preferred. You want the interior of the bowl to be a perfect hemisphere. Any flat spots or irregularities will trap large pigment particles, preventing you from reaching a uniform micron size.
The pestle should be carved from the same species of wood to ensure equal wear. The head of the pestle must match the curvature of the mortar bowl exactly. This maximize the surface area of the grind, ensuring that every rotation is working toward pulverization rather than just moving the powder around.
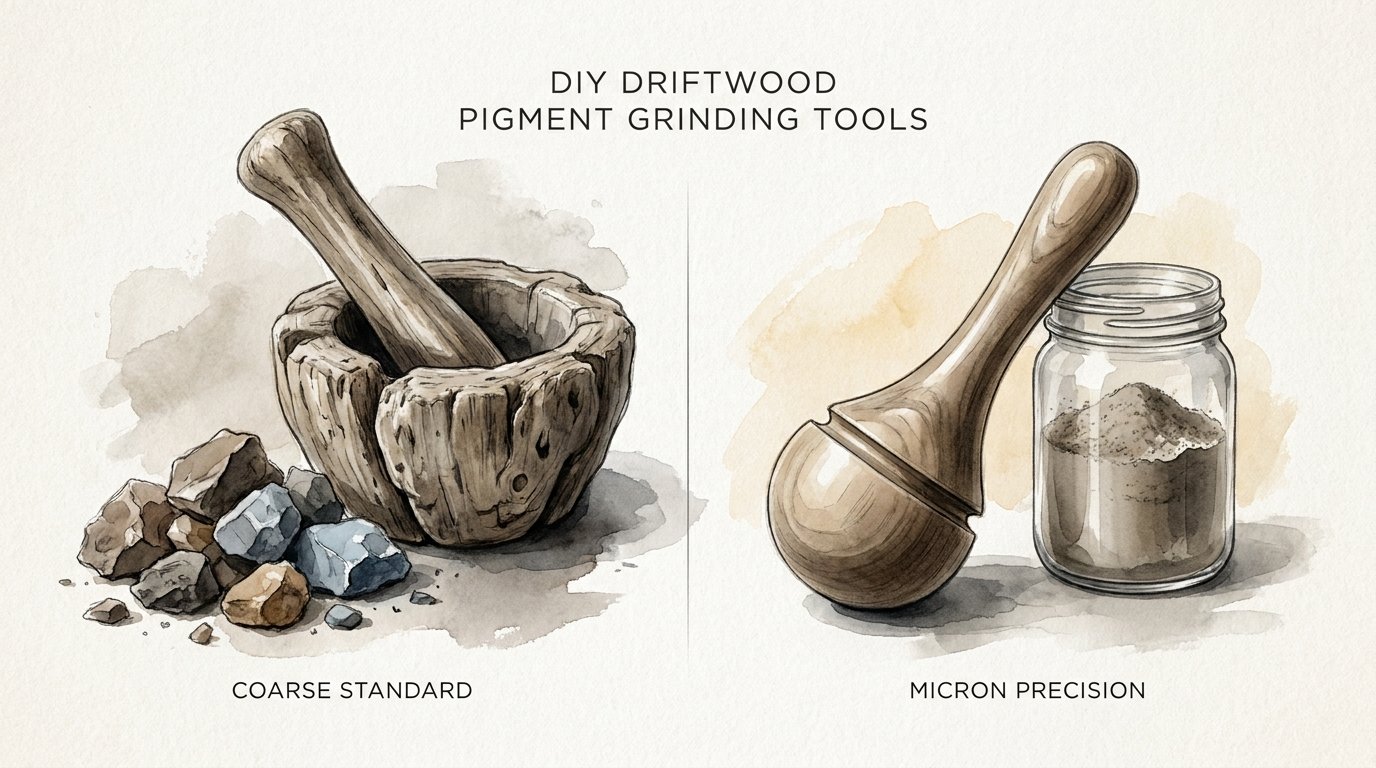
The Science of Micron Precision vs. Coarse Standard
In the world of professional paint, particle size is everything. Coarse standard grinding usually results in particles between 50 and 100 microns. At this size, the paint will look “sandy” and the binder will not be able to encapsulate the pigment properly, leading to cracking over time.
Micron precision aims for particles under 20 microns. At this level, the pigment behaves like a liquid when mixed with oil or gum arabic. It flows smoothly from the brush and reflects light with a depth that “coarse” paint can never achieve. Achieving this with wood requires a “stabilization” phase.
| Feature | Coarse Standard (Basic Wood) | Micron Precision (Stabilized Driftwood) |
|---|---|---|
| Particle Size | 50–100 Microns | 5–20 Microns |
| Surface Texture | Gritty/Abrasive | Velvety/Creamy |
| Light Refraction | Dull/Scattered | Vibrant/True |
| Durability | Low (Prone to chipping) | High (Resin-reinforced) |
Benefits of Using Driftwood Tools
Using a wooden mortar for pigments offers unique advantages that stone or glass cannot replicate. The primary benefit is tactile feedback. Wood is a “warm” material; as you grind, you can feel the vibration of the particles through the handle. This allows you to sense exactly when the grit has turned into a fine flour.
Another advantage is the lack of contamination. Granite mortars often shed tiny flecks of stone into your pigment, which can change the color profile of delicate minerals. A properly sealed driftwood tool is essentially a solid block of reinforced cellulose, providing a clean environment for the pigment.
Portability is a major factor for the foraging artist. Stone mortars are heavy and prone to cracking if dropped. A driftwood set is lightweight enough to carry into the field, allowing you to process raw ochre right at the source of the find.
Challenges and Common Mistakes
One of the most frequent errors is failing to stabilize the wood before use. Raw wood, even hardwood, is porous. If you try to grind a wet pigment (like a lake pigment or a washed clay), the wood will absorb the color, staining the tool forever and potentially contaminating your next batch.
Another challenge is the “Mohs Scale Mismatch.” Wood, no matter how hard, is usually softer than many minerals. If you try to grind Quartz (Mohs 7) in an Oak mortar (Janka 1360), you will simply grind the wood into the quartz. Limit your wooden tools to minerals with a Mohs hardness of 4 or lower, such as Ochre, Siderite, or soft Malachite.
Mistakes in the shape of the bowl are also common. If the bottom of the mortar is too flat, the pigment will hide in the “corners” where the pestle cannot reach. This results in an uneven grind where large chunks remain hidden in a sea of fine powder.
Limitations and Environmental Constraints
Driftwood tools are not universal solutions. They are best suited for “soft” earth colors and final finishing grinds. For the initial crushing of hard rocks, you will still need a cast iron or heavy stone mortar to break the material down to the size of coarse sand.
Environmental factors like humidity can also play a role. If you live in a very dry climate, your wooden mortar may develop “check cracks” over time. This is why regular maintenance with food-safe mineral oils or natural waxes is essential to keep the wood supple and the seal intact.
Advanced Considerations for the Serious Practitioner
For those looking to push their tools to the limit, vacuum stabilization is the gold standard. By placing your carved driftwood into a vacuum chamber submerged in a heat-activated resin (such as Cactus Juice), you pull all the air out of the wood fibers and replace it with liquid plastic.
Once baked, the wood is no longer wood; it is a hybrid material as hard as epoxy but with the aesthetic of foraged timber. This allows you to grind harder minerals and use water-based levigation techniques without the risk of the wood warping or molding.
Serious practitioners also use a technique called “levigation” alongside their grinding. After grinding in your driftwood mortar, you mix the powder with water and let it settle. The heaviest, coarsest particles sink first, while the finest “micron-level” particles remain suspended. By pouring off the top layer, you ensure that only the most precise pigment makes it into your paint.
Practical Tips and Best Practices
* Season your tool: Before the first use, grind a handful of clean, white sand in the mortar. This will “knock down” any loose wood fibers and smooth out the carving marks.
* Cleaning: Never soak your wood mortar. Wipe it out with a dry cloth, or if needed, use a damp cloth followed by immediate drying.
* Color Dedication: If possible, have one mortar for “warm” colors (reds/yellows) and another for “cool” colors (blues/greens) to avoid muddying your palette.
* The “Circular Sweep”: Don’t just pound the pigment. Use a firm, circular motion, pressing the pestle against the side walls of the mortar. This “shear force” is what actually reduces particle size.
* Masking: Always wear a dust mask when grinding. Even natural pigments can be toxic or irritating if inhaled as a fine dust.
Example Scenario: Processing Raw River Ochre
Imagine you have found a chunk of raw, red iron oxide along a riverbank. It is clumpy and full of sand. First, you use a stone to break the large chunk into pea-sized gravel.
Next, you move the material to your stabilized driftwood mortar. You begin with a slow, heavy pounding to turn the gravel into sand. Once the material is sandy, you switch to a rhythmic, circular grinding motion. You spend 30 minutes rotating the pestle, feeling the resistance fade as the grains break down.
Finally, you perform a “streak test” on a piece of ground glass. If the pigment leaves a smooth, unbroken line of color with no visible grains, you have reached the micron level. This powder is now ready to be mulled with linseed oil for a professional-grade oil paint.
Final Thoughts
Crafting your own pigment grinding tools from driftwood is more than a DIY project; it is a return to the foundational roots of art. By understanding the physics of the grind and the chemistry of the wood, you bridge the gap between foraged earth and finished masterpiece.
The journey from a weathered piece of beach timber to a precision-engineered mortar requires patience and “pioneer grit.” However, the reward is found in every brushstroke—a depth of color and a smoothness of application that commercially produced tools simply cannot provide.
As you begin your own experiments, remember that the tool is an extension of the hand. Treat your driftwood with respect, stabilize it with care, and it will reward you with a lifetime of vibrant, professional-grade pigments. Explore the shores, find your timber, and start grinding.
Sources
1 kiddle.co (https://kids.kiddle.co/Mortar_and_pestle) | 2 lostincolours.com (https://www.lostincolours.com/foraging-for-pigments-from-local-rocks/) | 3 theshrimpfarm.com (https://www.theshrimpfarm.com/posts/transform-your-tank-choosing-the-best-aquarium-driftwood-for-a-natural-aquascape/) | 4 penturners.org (https://www.penturners.org/threads/can-i-harden-driftwood-without-a-pressure-pot.161283/) | 5 youtube.com (https://www.youtube.com/watch?v=Z2jEdjYEd1M) | 6 hebronoutdoors.co.uk (https://hebronoutdoors.co.uk/blog/processing-pigments) | 7 carved.com (https://www.carved.com/blogs/life-at-carved/how-to-stabilize-wood-in-4-easy-steps) | 8 jonsbushcraft.com (https://www.jonsbushcraft.com/mortarandpestle.htm) | 9 woodturnerscatalog.com (https://woodturnerscatalog.com/blogs/blog/wood-stabilizing-v-2) | 10 cookly.me (https://cookly.me/magazine/cooking-guide/wooden-vs-stone-mortar-and-pestle/) | 11 eevblog.com (https://www.eevblog.com/forum/mechanical-engineering/mortar-and-pestle-hardness-vs-material/)