Driftwood Shelving For Home Organization
Your home isn’t too small; it just lacks the organic logic that the coastline has been using for eons. We try to force our lives into square boxes, but nature doesn’t work in 90-degree angles. Use the natural geometry of driftwood to create shelving that actually works with your items, not against them. Turn your daily chaos into a tidal system of beauty.
[affiai]There is a specific kind of honesty in a piece of wood that has been hammered by the Pacific or seasoned by the Atlantic. It has already survived the worst the planet has to throw at it—salt, sun, and the relentless grinding of sand. When you bring that material into your home, you aren’t just adding a shelf; you are bringing in a survivor. This isn’t about the flimsy, mass-produced particle board you find in a big-box store. This is about structural integrity that comes from the elements themselves.
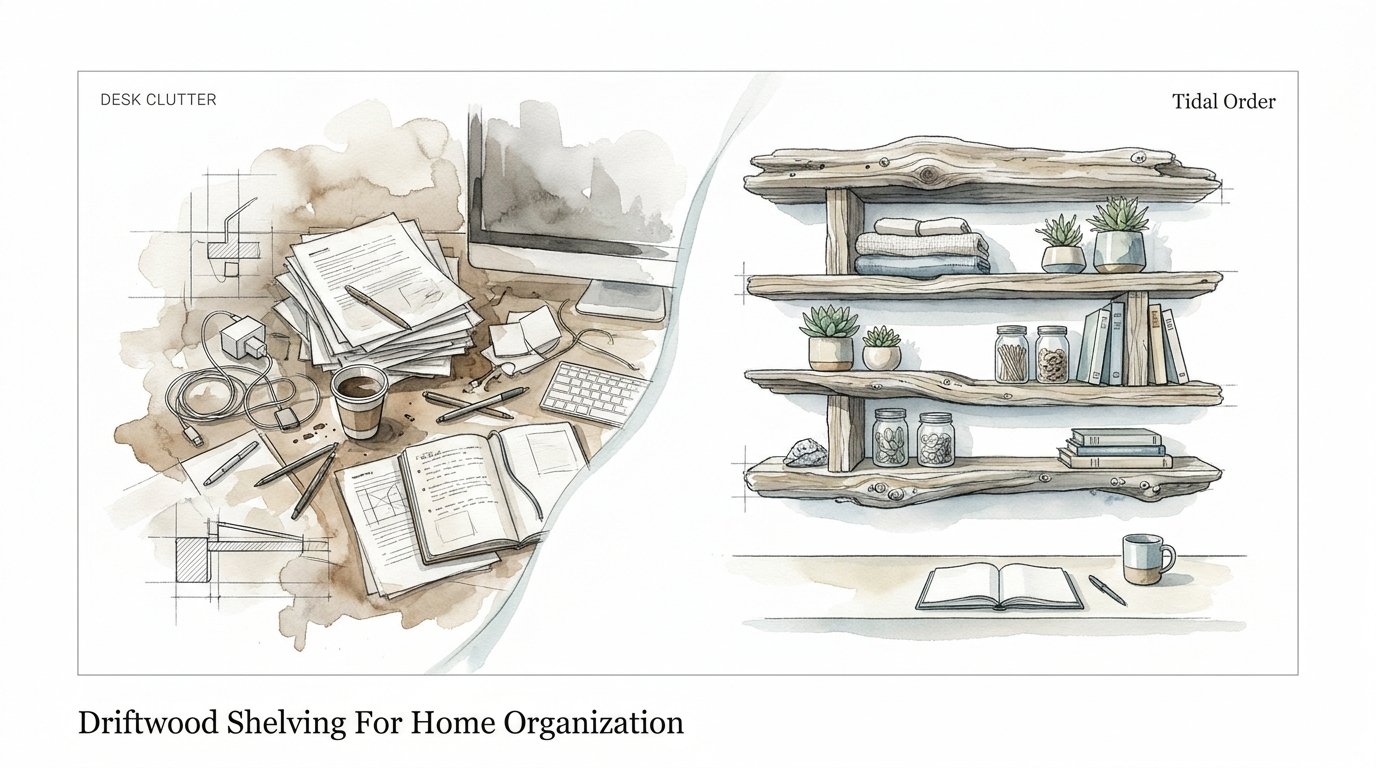
To the modern eye, a shelf is a flat plane designed to hold a certain number of identical objects. But your life isn’t identical, and neither are your tools. A well-placed piece of driftwood recognizes the uneven weight of a heavy iron skillet or the delicate lean of a favorite book. It offers a “tidal order” that moves with you, rather than forcing you to conform to a rigid grid. Let’s look at how to master this rugged, pioneer-style organization.
Driftwood Shelving For Home Organization
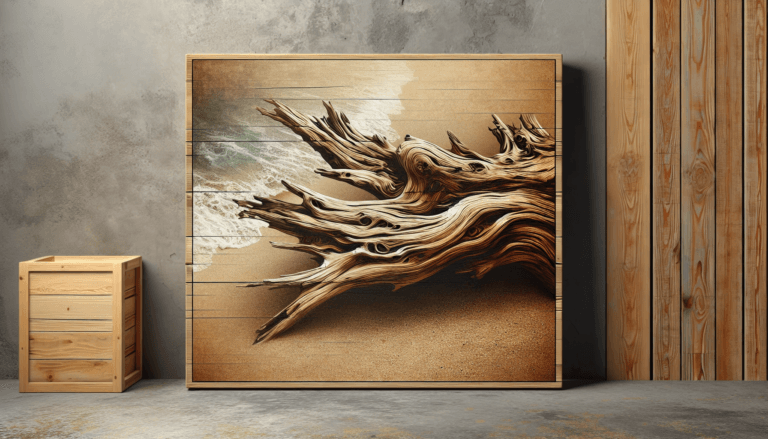
Driftwood shelving is the practice of using salvaged timber—washed clean by water and cured by the sun—as functional storage surfaces. It is an intersection of resourcefulness and art. While standard lumber is harvested for its predictability, driftwood is sought for its character. Each piece has a story told through its knots, its silver-gray patina, and its smoothed-over scars. It represents a shift from “desk clutter” toward a more natural, fluid system of placement.
In the real world, this works because driftwood is often denser and more dimensionally stable than “green” lumber. The time it spent submerged in water, particularly saltwater, has leached out the sugars and resins that typically attract rot or pests. What remains is a skeletal structure of cellulose and lignin that has been effectively “pressure-treated” by the ocean. It thrives in kitchens, entryways, and workspaces where you need a material that can handle humidity and weight without bowing like cheap plywood.
Think of driftwood shelving as a way to bridge the gap between your interior and the outdoors. It fits perfectly in “naturecore” or biophilic design schemes, where the goal is to reduce stress by surrounding oneself with organic textures. Whether you are using a single massive plank for a mantel or several smaller branches for a spice rack, you are employing a logic that prefers the curve to the line.
The Sourcing Ethos: Finding Your Timber
Before you can build, you must forage. This is the part of the process that requires a pioneer’s patience and a citizen’s respect for the law. You cannot simply back a truck onto any beach and start loading. Sourcing driftwood is a conversation between you and the local ecosystem, and it must be done with care.
Understanding Local Laws
Legal regulations for driftwood collection vary wildly by region. In many parts of the United States, such as Oregon and California, state laws generally permit the taking of “ornamental” driftwood for personal use, but they set strict limits. For instance, you are often limited to one piece per day or a total weight of 50 pounds. Using power tools like chainsaws or bringing vehicles onto the sand is almost universally prohibited in state and national parks to protect the shoreline from erosion and habitat destruction.
Identifying Structural Potential
Not every piece of wood on the beach is a shelf. You are looking for hardwoods like oak, walnut, or maple that have spent enough time in the water to lose their bark but haven’t become “punky” or soft. Give the wood a hard poke with a screwdriver. If the tool sinks in easily, the wood is decaying and won’t hold a mounting screw. You want wood that rings when you tap it—a sign of density and health. Look for pieces with at least one relatively flat face, which will save you hours of work during the installation phase.
Preparation: From Saltwater to Interior Standard
Bringing a piece of the ocean into your living room requires a thorough decontamination process. Driftwood isn’t just wood; it’s a mobile home for sand, salt, and microscopic organisms. If you skip the cleaning phase, you risk introducing moisture-wicking salt or wood-boring insects into your drywall.
Step 1: The Initial Scrub
Start outside. Use a stiff-bristled brush to remove the dry sand, loose splinters, and any lingering barnacles. If the wood has deep crevices, a blast of air or a pressure washer on a low setting can help dislodge hidden debris. Do not use detergents yet; you want to see the raw state of the timber first.
Step 2: The Bleach or Soda Soak
To truly sanitize the wood, you must submerge it. A popular and effective method is a 24-hour soak in a 1:10 solution of bleach and fresh water. This kills any fungal spores or bacteria that survived the sun. Alternatively, some artisans prefer a “soda bath” using washing soda (sodium carbonate) to lighten the wood and help leach out stubborn tannins—the natural chemicals that can cause the wood to “bleed” a tea-colored stain onto your walls later.
Step 3: The Curing Process
Drying is the most critical step. If you mount wet driftwood, it will warp as it dries in your climate-controlled home. Allow the wood to air dry in a well-ventilated, shaded area for at least two weeks. For smaller pieces, you can accelerate this by placing them in an oven at 200°F for two to four hours, which also serves as a final heat-sterilization against pests. However, be careful with fast drying; rapid moisture loss can cause deep cracks (checks) to form in the grain.
Structural Engineering: Mounting the Irregular
Standard shelves use standard brackets. Driftwood, with its undulating thickness and unpredictable center of gravity, requires a more bespoke approach. You aren’t just hanging a board; you are anchoring a sculpture.
Floating vs. Bracketed Support
For a clean, minimalist look, floating shelf hardware is the gold standard. This involves drilling deep, precise holes into the back of the driftwood and sliding it onto steel rods anchored into the wall. However, this requires the wood to be at least 1 to 2 inches thick at the mounting points. If your driftwood is thinner or more branch-like, industrial pipe fittings or “L-brackets” offer a rugged, visible alternative that adds to the pioneer aesthetic. Steel pipe straps are particularly useful for securing irregular, rounded branches that won’t sit flush against a flat bracket.
The Stud Rule
Never rely on drywall anchors for driftwood. The wood itself is heavy, and the “lever arm” effect of the shelf’s depth puts immense strain on the mounting points. You must anchor your hardware directly into the wall studs. If the studs don’t align with where you want your shelf, consider mounting a “backer board”—a separate piece of flat lumber secured to the studs—and then attaching your driftwood to that board. This distributes the load and ensures your “tidal system of beauty” doesn’t become a floor-bound disaster.
Benefits: The Logic of Organic Design
Why choose driftwood over a clean-cut oak board from the mill? The benefits are both practical and psychological. In a world of digital perfection, the flaws of foraged wood provide a necessary anchor to the physical world.
- Unrivaled Durability: Salt-cured wood is naturally resistant to the rot that plagues softwoods in humid environments like bathrooms or kitchens.
- Sustainability: You are using “waste” material. There is no carbon footprint from logging or industrial processing; there is only the energy you spent walking the beach.
- Biophilic Impact: Studies show that natural textures in the home reduce cortisol levels. Looking at a piece of wood shaped by the sea is inherently more calming than looking at plastic laminate.
- Custom Fit: Driftwood often has natural nooks and “fingers” that can act as built-in hooks for keys, mugs, or hats, eliminating the need for extra hardware.
Common Mistakes and How to Avoid Them
The transition from “beach find” to “functional shelf” is fraught with potential errors. Most of these stem from treating driftwood like it is just another piece of lumber from the hardware store.
Mistake: Failing to Leach the Salt. Salt is hygroscopic, meaning it pulls moisture out of the air. If you don’t soak your driftwood in fresh water long enough, the salt will remain in the fibers. On a humid day, your shelf will literally “sweat,” potentially damaging the items you place on it and causing the wood to feel clammy or damp.
Mistake: Ignoring the “Pith.” In many branches, the very center of the wood (the pith) is soft and spongy. If you drill your mounting holes into this area, your screws will eventually pull out. Always aim your hardware into the denser, outer layers of the wood (the heartwood) for maximum grip.
Mistake: Over-Sanding. Beginners often try to sand driftwood until it looks like a 2×4. This destroys the very texture that makes the wood valuable. Use a high-grit sandpaper (220 or higher) only to smooth out dangerous splinters, but leave the “sculpted” valleys and ridges intact. You want the history to remain visible.
Limitations: When Driftwood May Not Be Ideal
While we advocate for the “tidal system,” there are certain scenarios where organic shelving fails the utility test. A balanced understanding of these constraints is necessary for any serious practitioner.
Environmental limitations are the biggest hurdle. In extremely dry climates, driftwood that was “born” in a high-humidity coastal zone can become brittle and crack significantly. If your home uses heavy central heating in the winter, the sudden drop in moisture can cause the wood to split along its natural grain lines. Additionally, because driftwood is rarely perfectly flat, it is a poor choice for “heavy-duty” libraries where you need to stack hundreds of uniform books. The books will lean, and the weight will be distributed unevenly, potentially compromising the mounting hardware over time.
There is also the matter of load-bearing capacity. Because every piece is unique, you cannot rely on standard span tables to tell you how much weight the wood can hold. You have to use your intuition and over-engineer your supports. If you need a shelf to hold a 50-pound television, driftwood is likely too unpredictable for the job.
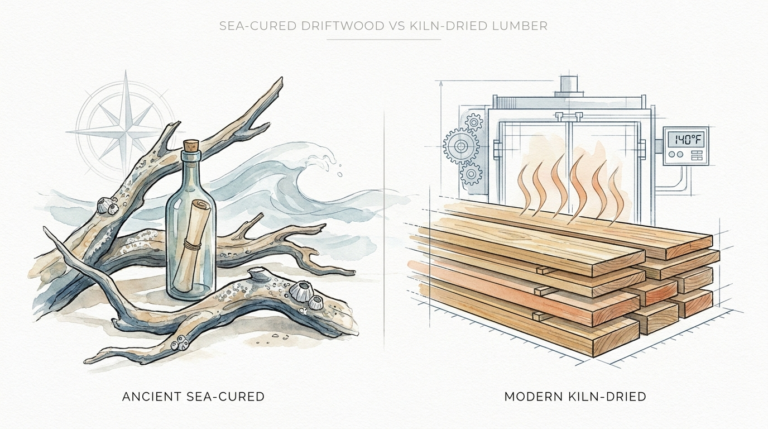
Comparison: Driftwood vs. Industrial Lumber
To help you decide which material fits your project, consider this comparison based on measurable factors like effort, cost, and soul.
| Feature | Driftwood Shelving | Standard Industrial Lumber |
|---|---|---|
| Material Cost | Free (sustainably foraged) | Moderate to High |
| Preparation Time | High (cleaning, soaking, drying) | Low (pre-cut and dried) |
| Durability | Exceptional (salt-cured) | Variable (species dependent) |
| Installation | Complex (irregular shapes) | Simple (90-degree logic) |
| Aesthetic | Organic, one-of-a-kind | Uniform, predictable |
Practical Tips and Best Practices
Applying these techniques immediately will ensure your project lasts as long as the wood did in the ocean. Efficiency in this craft comes from respecting the material’s past while preparing it for its future in your home.
- Use Linseed Oil: After cleaning and drying, driftwood can look “thirsty” and chalky. A light coat of boiled linseed oil or tung oil will bring back the depth of the grain without adding a plastic-like shine.
- Level the Items, Not the Wood: Because the wood is irregular, the top surface might not be perfectly flat. Use small “shims” or even subtle carvings on the wood’s surface to create flat “landing zones” for your items.
- Check for “Hitchhikers”: Even after a soak, inspect the wood for shipworms or borers. Look for tiny, perfect circles on the surface. If you see fresh sawdust (frass), the wood needs more heat treatment before it enters your home.
- Secure with Straps: For very round pieces, use copper or black iron pipe straps. They look intentional and industrial, and they provide a grip that a standard flat bracket cannot match.
Advanced Considerations: The Physics of the Cantilever
For the serious practitioner, understanding the physics of your shelf is the difference between a functional installation and a wall-damaging failure. Most driftwood shelves act as a cantilever—a beam supported at only one end.
The “leverage” exerted on your wall studs increases exponentially as the shelf gets deeper. If you have a piece of driftwood that sticks out 10 inches from the wall, the force pulling on the top screw is much higher than on a 5-inch shelf. To compensate, ensure your mounting rods or brackets penetrate the wall stud by at least 2.5 inches. If the wood is particularly dense (like water-logged oak that has dried), consider “blocking”—opening the drywall to add horizontal wood supports between the studs—before you finish your wall. This allows you to screw into solid timber at every single point along the back of the shelf.
Example Scenario: The Entryway Catch-all
Imagine a 3-foot section of a sun-bleached cedar branch, roughly 4 inches in diameter. It has several smaller offshoots that were snapped off by the tide, leaving smooth 2-inch “pegs.”
By mounting this branch horizontally at shoulder height in your entryway using two heavy-duty lag bolts into the studs, you create a multi-functional organization station. The main body of the branch serves as a narrow ledge for mail. The “pegs” become natural hooks for your car keys and a dog leash. Because the branch isn’t a flat board, it doesn’t collect the dust and “junk drawer” clutter that a standard console table would. It forces a certain “tidal order”—you only keep what fits the branch. This is the practical application of nature’s logic in a modern home.
Final Thoughts
Driftwood shelving is more than a weekend DIY project; it is a commitment to a different way of living. It challenges the idea that our homes should be sterile environments composed of flat surfaces and right angles. By bringing in wood that has been shaped by the sea, you are acknowledging that beauty often comes from struggle and that organization doesn’t have to mean rigidity.
The process of finding, cleaning, and mounting these pieces requires grit and patience. You must learn to work with the wood’s natural curves rather than trying to sand them away. But the result is a home that feels anchored, resilient, and deeply personal. Each shelf is a unique record of a tree’s journey from the forest to the sea and finally to your wall.
Start small. Find a single piece that speaks to you on your next walk along the coast. Follow the steps to sanitize and dry it, and then find its place on your wall. Once you experience the “tidal order” of an organic system, the square boxes of the modern world will never look the same again.
Sources
1 hawk-hill.com (https://www.hawk-hill.com/diy-floating-driftwood-shelf/) | 2 mymumthedreamer.com (https://mymumthedreamer.com/how-to-clean-driftwood-for-crafting/) | 3 cornell.edu (https://www.law.cornell.edu/regulations/california/14-CCR-4306) | 4 parklanejewelry.com (https://www2.parklanejewelry.com/how-to-wash-driftwood/) | 5 wikihow.com (https://www.wikihow.com/Clean-Driftwood) | 6 themortiseandthehare.com (https://themortiseandthehare.com/blogs/news/uneven-custom-floating-shelf-installation) | 7 shelfology.com (https://shelfology.com/pages/the-ultimate-guide-to-floating-shelves)