Heavy Duty Driftwood Shelf Mounting
Your walls are failing because you are trusting a piece of plastic to do a mountain’s job. We’ve been told that a shelf needs a bracket and a screw to survive. But the ocean doesn’t use hardware. Finding the natural center of gravity in salt-hardened timber allows you to create a shelving system that uses physics—not glue—to stay upright for a century.
[affiai]Solid wood that has been cured by the tide possesses a density and character that store-bought pine simply cannot match. This guide walks you through the process of taking a raw, sea-scoured beam and anchoring it so securely that it feels like part of the home’s skeleton.
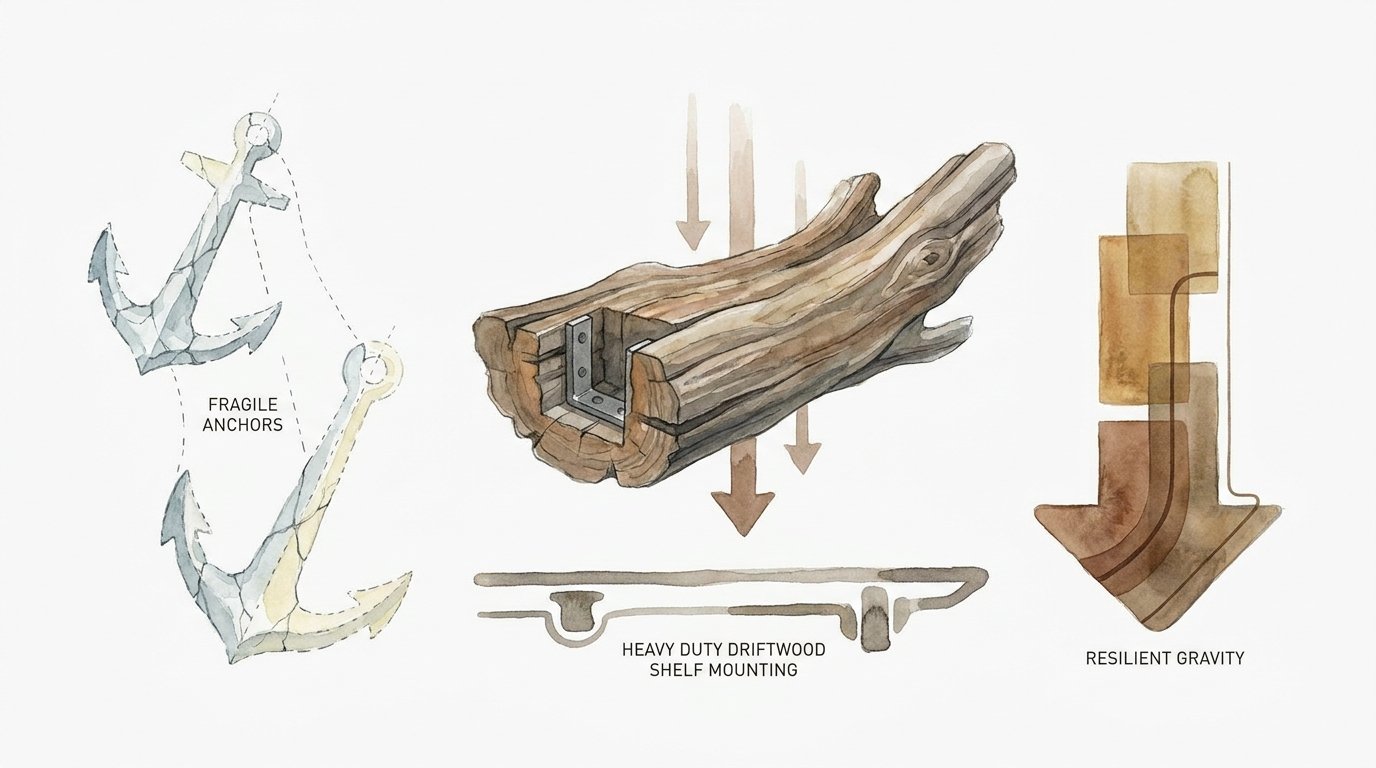
You are moving beyond the world of fragile anchors. You are moving toward resilient gravity.
Heavy Duty Driftwood Shelf Mounting
Heavy duty driftwood shelf mounting is the practice of securing irregular, ocean-weathered timber to a wall using internal structural supports. Standard shelving relies on visible brackets that often detract from the wood’s natural silhouette. This method hides the strength inside the wood itself. It is used in high-end coastal interior design, rustic modern builds, and any space where the weight of the timber exceeds the capacity of basic hardware.
Think of this as an orthopedic surgery for your walls. Instead of taping a splint to the outside, we are inserting titanium-grade rods into the “bone” of the house. This approach is necessary because driftwood is often much heavier and more unbalanced than kiln-dried lumber. A single three-foot section of water-logged oak or cedar can weigh fifty pounds before you even place a book on it.
Traditional L-brackets often fail here because they cannot accommodate the twisting torque of an irregular log. Modern mounting techniques use the wall studs as the primary anchor point, extending steel rods deep into the heart of the wood to distribute the load evenly.
How to Mount Heavy Driftwood Shelves Step-by-Step
Preparing the wood is the first and most critical stage. Saltwater timber carries hidden hitchhikers and mineral deposits that can ruin a wall if not handled correctly.
Cleaning and Curing the Timber
Freshwater soaking is mandatory for any wood pulled from the sea. Submerge the driftwood in a large trough of fresh water for twenty-four to forty-eight hours. This process leaches out the salt that would otherwise attract moisture and cause the wood to “weep” or rot from the inside out.
Scrub the surface with a stiff-bristled brush after the soak to remove sand, loose bark, and calcified remains. If you suspect boring insects are present, a solution of one part bleach to ten parts water will sanitize the wood. Allow the timber to dry in a well-ventilated area until its internal moisture content drops below twelve percent. This may take several weeks depending on the thickness of the beam.
Finding the Center of Gravity
Irregular wood does not have a predictable balance point. You must find the center of gravity empirically before you drill your mounting holes.
Suspend the wood from a single point using a sturdy string. Use a plumb line—a weighted string—to mark a vertical line across the wood from the suspension point. Repeat this process from a different hanging point. The intersection of these two lines is the center of gravity. Aligning your primary mounting rods with this point prevents the shelf from wanting to roll or pull away from the wall.
The Hardware Bonding Method
The most resilient way to mount a heavy driftwood shelf is through hardware bonding. This involves using 1/2-inch or 5/8-inch threaded steel rods and structural epoxy.
1. Locate the wall studs using a high-quality magnetic or electronic stud finder. Mark the center of each stud clearly.
2. Drill holes into the studs at a slight upward angle (about 1 to 2 degrees). This “back-pitch” ensures that as the shelf settles under weight, it remains level rather than sagging forward.
3. Cut your threaded rods to a length that allows them to sit four inches into the wall and at least two-thirds of the way into the shelf.
4. Inject a high-strength, two-part structural epoxy like West System or AWF PRO into the stud holes.
5. Insert the rods and let the epoxy cure fully. This creates a permanent, steel-reinforced extension of your home’s framing.
Benefits of Internal Structural Mounting
Choosing a hidden, heavy-duty mounting system provides more than just a clean look. It offers mechanical advantages that external brackets cannot replicate.
Unmatched Load Capacity
Heavy-duty blind supports can hold significantly more weight when properly anchored. A pair of 3/4-inch solid steel rods bonded into studs can support upwards of 150 pounds. This capacity allows you to use massive, “live-edge” driftwood beams that would snap a standard decorative bracket.
Aesthetic Purity
Floating the shelf allows the natural curves of the wood to speak for themselves. You avoid the “cluttered” look of metal supports, making the timber appear as though it is growing directly out of the drywall. This is particularly effective for driftwood, where the goal is to bring the wild, unrefined energy of the coast into a controlled environment.
Mechanical Stability
Threaded rods provide multi-axis stability. Because the rods are embedded deep into the timber, they resist the “roll” that occurs when an irregular piece of wood has an uneven weight distribution. The epoxy bond fills any gaps between the wood and the steel, preventing the shelf from wobbling over time.
Challenges and Common Mistakes
Working with driftwood presents unique hurdles that standard carpentry does not. Awareness of these pitfalls is the difference between a lifetime installation and a pile of splinters on the floor.
The Danger of Salt Corrosion
Salt is the enemy of metal. If you do not properly leach the salt from the wood, it will eventually corrode the steel mounting rods from the inside. This oxidation expands the metal, which can crack the wood or loosen the anchor in the wall. Always seal the internal bore holes with a thin coat of epoxy before inserting your rods to create a barrier between the metal and any residual salt.
Drilling Inaccuracy
Drilling a six-inch deep hole that is perfectly straight is difficult without the right tools. A slight deviation at the start of the hole becomes a massive misalignment at the end. Using a portable drill guide or a custom-made jig is essential. If the holes in the wall and the holes in the shelf do not line up perfectly, the shelf will not slide onto the rods.
Ignoring Stud Alignment
Heavy timber must be secured to the studs. Relying on drywall anchors for a heavy driftwood shelf is a recipe for catastrophic failure. If your shelf’s center of gravity does not align with your stud spacing, you may need to open the wall and install “blocking”—horizontal 2×4 supports between the studs—to provide a solid mounting surface.
Limitations: When This Method May Not Work
While robust, internal mounting is not a universal solution for every wall or every piece of wood.
Wall Construction Constraints
Lath and plaster walls or thin metal studs found in modern high-rises may not provide the necessary “grip” for structural epoxy bonding. In these cases, the lever arm of a heavy shelf can pull the entire stud out of alignment. If you are working with metal studs, you must use specialized heavy-duty toggles or brackets designed specifically for steel framing.
Wood Density and Decay
Driftwood that has spent too much time in the water may suffer from “punky” or soft spots. If the core of the wood is mushy, it cannot hold a rod securely. Always test the density of the wood by attempting to drive a small screw into the back. If the screw spins freely or the wood crumbles, that piece is better suited for decoration than for structural shelving.
Comparison: Heavy-Duty Rods vs. Standard Floating Brackets
Choosing the right hardware depends on the weight and depth of your timber.
| Feature | Heavy-Duty Threaded Rods | Standard Blind Supports |
|---|---|---|
| Weight Capacity | 150+ lbs (Per Pair) | 50–100 lbs (Per Pair) |
| Installation Depth | 6–10 inches | 4–6 inches |
| Skill Level | Advanced | Intermediate |
| Reversibility | Permanent (Epoxied) | Removable (Screwed) |
| Wall Damage | Minimal (Bore holes) | Moderate (Plate mounting) |
Practical Tips for a Flawless Finish
Success lies in the details of the preparation. Small adjustments during the installation process can save hours of frustration later.
- Use Shellac as a Sealer: Driftwood often retains a “shoreline” scent that can intensify in humid weather. A couple of coats of shellac will seal in odors and prevent any “chalky” salt residue from appearing on the surface.
- The Tape Trick for Alignment: Place a strip of painter’s tape across the back of the shelf. Mark your drill points on the tape. Transfer that tape directly to the wall to ensure your wall holes perfectly match your shelf holes.
- Oversize the Shelf Holes: Drill the holes in the driftwood slightly larger (about 1/16th of an inch) than the rods. This gives you a tiny amount of “wiggle room” for alignment. The epoxy will fill the gap and create a rock-solid bond.
- Apply a Set Screw: For extra security, drill a small vertical hole through the bottom of the shelf into the mounting rod. Drive a small grub screw or “set screw” into the rod to lock the shelf in place so it cannot be accidentally pulled forward.
Advanced Considerations for Large Installations
Professional builders often take extra steps to ensure longevity, especially when mounting massive mantels or long-span shelves.
Structural wood consolidants can be used if you find a piece of driftwood that is beautiful but slightly soft. These low-viscosity epoxies soak into the wood fibers and harden, essentially turning the soft timber into a plastic-reinforced composite. This is an excellent way to save a “one-in-a-million” find that wouldn’t otherwise be strong enough to hold weight.
Thermal expansion is another factor for very long shelves (over six feet). Wood and steel expand at different rates. If you are in a climate with extreme temperature swings, consider bonding only one rod securely while allowing the others to have a slightly looser fit. This prevents the wood from cracking as it moves against the rigid steel.
Example Scenario: The Six-Foot Cedar Beam
Imagine you found a six-foot piece of ocean-bleached cedar. It is four inches thick and weighs roughly sixty pounds. Using the methods described above, you would identify four stud locations across its length.
After the mandatory freshwater soak and drying period, you find the center of gravity. It turns out the wood is heavier on the left side due to a dense knot. You decide to place three mounting rods on the left half of the shelf and only one on the right to compensate for the weight imbalance.
You drill your 5/8-inch holes into the wall studs, inject structural epoxy, and set your threaded rods. While the wall cures, you use a drill press and a Forstner bit to bore matching holes into the cedar. You coat the interior of these holes with a thin layer of epoxy to prevent corrosion. Two days later, you slide the beam onto the rods. It seats perfectly against the drywall, capable of holding a full library of books without so much as a millimeter of sag.
Final Thoughts
Mounting a heavy driftwood shelf is a marriage of raw nature and precision engineering. You are not just hanging a board; you are integrating a piece of geological history into your living space. By ignoring the flimsy shortcuts of modern hardware and embracing the structural integrity of steel and epoxy, you create something that will outlast the trends of the day.
This process requires patience, especially during the curing and drying phases. Rushing the salt removal or the epoxy set time will lead to failure. Take the time to find the center of gravity and use the right tools for drilling. The result is a shelf that defies expectation, appearing to float while possessing the strength of the studs themselves.
Experiment with different wood types and finishes. The more you work with the irregular physics of driftwood, the more you will appreciate the hidden strength found in weathered timber. Go to the shore, find your mountain, and bring it home.
Sources
1 scienceworld.ca (https://www.scienceworld.ca/resource/finding-centre-gravity/) | 2 weberknapp.com (https://blog.weberknapp.com/how-to-find-center-of-gravity-of-irregular-objects) | 3 quora.com (https://www.quora.com/How-would-you-locate-the-centre-of-gravity-of-an-irregular-shape) | 4 woodworkerexpress.com (https://www.woodworkerexpress.com/blog/2025/04/shelf-hardware-guide/) | 5 nookwoodworking.com (https://nookwoodworking.com/blogs/news/how-to-install-floating-shelves) | 6 shelfology.com (https://shelfology.com/pages/the-ultimate-guide-to-floating-shelves) | 7 walnutwoodworks.com (https://walnutwoodworks.com/product/32-heavy-duty-floating-shelf-bracket/) | 8 woodworkersjournal.com (https://www.woodworkersjournal.com/prepare-driftwood-projects/) | 9 youtube.com (https://www.youtube.com/watch?v=gxFGvipchnE)