Repurposed Driftwood Curtain Rod Ideas
The ‘mess’ you stepped over during your morning walk is actually the organic architectural detail your living room is missing. Modern homes are full of straight lines and sterile metals. Break the monotony by turning a ‘nuisance’ beach branch into a functional masterpiece. It’s not just a curtain rod; it’s a hundred-mile story holding up your privacy.
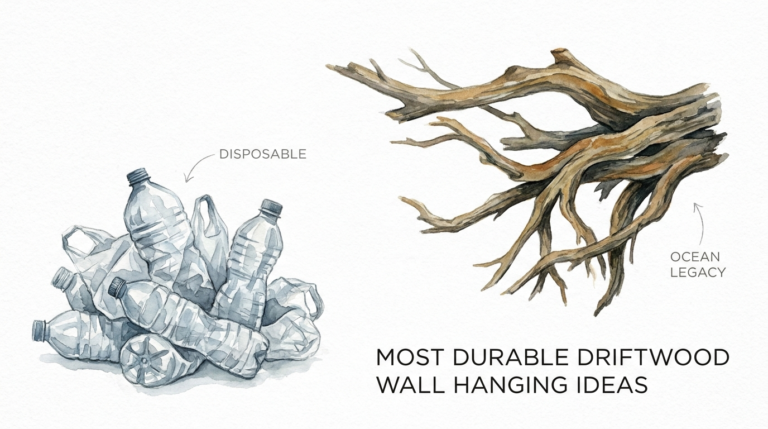
[affiai]Most people see a piece of shoreline clutter and think of it as debris. In the world of high-end interior design, that same weathered timber represents a shift toward organic modernism. Choosing a hand-foraged branch over mass-produced luxury hardware is a statement of intent. It signals a preference for the endurance of nature over the disposability of the factory line.
This guide will walk you through the grit and the glory of reclaiming driftwood for your windows. From the chemistry of salt removal to the mechanics of mounting irregular shapes, you are about to learn how to turn a piece of the wild into a permanent fixture of your home.
Repurposed Driftwood Curtain Rod Ideas
Repurposed driftwood curtain rods are structural elements salvaged from coastal or riparian environments and adapted to hold window treatments. Unlike standard dowels, these rods retain their natural taper, knots, and weathered texture. They exist at the intersection of utility and sculpture, providing a rugged counterpoint to soft textiles like linen or cotton.
In the real world, you see these installations in coastal retreats, mountain cabins, and minimalist urban lofts. They serve as a focal point because no two pieces are identical. A branch found on the Oregon coast will have different scars than one pulled from the banks of the Mississippi.
Visualization is key when selecting your piece. A “Minimalist S-Curve” rod might follow a gentle bend across a small kitchen window, while a “Tapered Spear” offers a straight, aggressive look for a modern living room. Some designers leave the small offshoots—nubs where smaller branches once grew—to act as natural finials that prevent curtain rings from sliding off the ends.
How It Works: From Shoreline to Stud
Turning a raw branch into a functional rod requires a disciplined process of cleaning, curing, and mechanical reinforcement. You cannot simply nail a wet branch to the wall and expect it to hold weight.
Phase 1: Sourcing and Selection
Focus on hardwoods like oak, cedar, or cypress if you have the choice. These species offer superior structural integrity and rot resistance. Look for a branch that is relatively straight for at least 80% of its length. The diameter should be between 1.5 and 2 inches to ensure it doesn’t sag under the weight of heavy drapes. Avoid wood that feels “punky” or soft when you press a fingernail into it; this indicates internal decay.
Phase 2: Deep Cleaning and Sanitization
Submerge the wood in a solution of one part bleach to ten parts fresh water. This kills mold spores and any hitchhiking insects that might be living in the crevices. For smaller pieces, a 24-hour soak is sufficient. Larger branches may require a “towel wrap” method where you wrap the wood in bleach-soaked rags and seal it in plastic for a day. Rinse the wood thoroughly with fresh water afterward to prevent the bleach from damaging your curtains later.
Phase 3: The Drying Cycle
Moisture is the enemy of stability. Allow the wood to air dry in a low-humidity environment for at least two weeks. If you are in a rush, you can “kiln dry” smaller pieces in a home oven at 200°F (93°C) for two to four hours, but keep a close eye on it to prevent scorching. Proper drying ensures the wood won’t warp or crack after it is mounted.
Phase 4: Surface Refinement
Use 80-grit sandpaper to knock down any splinters or sharp edges that could snag the fabric. Move up to 150-grit for a smoother finish. If you want to keep the “pioneer-grit” look, do not over-sand. Leave the character-rich knots and graying patina. Finish the wood with a coat of beeswax or a matte polyurethane to seal the fibers and make the surface slick enough for curtain rings to glide easily.
Benefits of Organic Hardware
Choosing a repurposed rod offers practical and aesthetic advantages that metal rods simply cannot match. The most immediate benefit is the unique geometry. A standard rod is a predictable cylinder; a driftwood rod introduces a “living” line that softens the harsh corners of a room.
Cost efficiency is another major factor. High-end “rustic” hardware can cost hundreds of dollars per window. A driftwood rod costs nothing but the time it takes to find it and the few dollars spent on a bottle of sealant. It is the ultimate expression of the circular economy—taking a waste product from the environment and giving it a second life as a functional tool.
Furthermore, driftwood provides superior grip for tab-top curtains. The natural texture of the wood creates a slight friction that keeps curtains from sliding open or closed on their own, a common problem with polished chrome or brass rods in drafty rooms.
Challenges and Common Mistakes
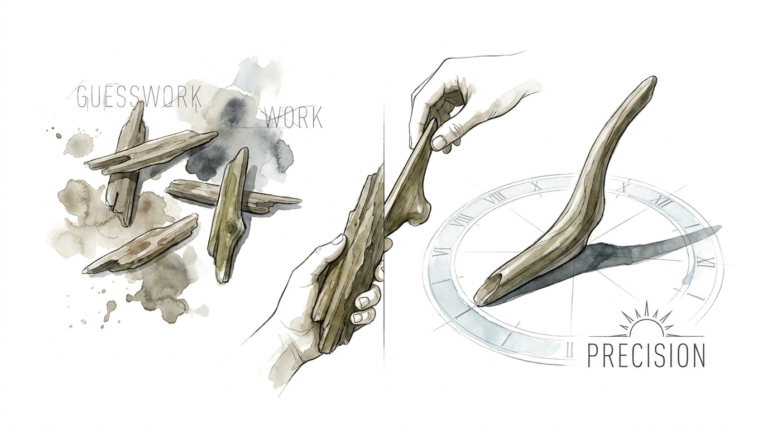
Working with natural materials presents obstacles that a trip to the hardware store usually avoids. The primary challenge is irregularity. Because driftwood is rarely perfectly straight, finding the “center of gravity” for your mounting brackets can be tricky. If you don’t account for the bend, your curtains will always look lopsided.
A frequent error is neglecting the “salt factor.” If the wood was harvested from the ocean, it is saturated with salt. Salt is hygroscopic, meaning it pulls moisture from the air. If not properly leached out in fresh water, the rod will perpetually feel damp and may eventually rot or cause metal curtain rings to rust.
Another mistake is overestimating the span. A 2-inch diameter branch can typically span 4 to 5 feet without support. Beyond that, the natural weight of the wood combined with the curtains will cause a permanent sag. Always plan for a center bracket on windows wider than 48 inches.
Limitations: When to Stick with Steel
Driftwood isn’t a universal solution for every window. If you are dealing with ultra-heavy blackout drapes or double-layered velvet curtains, a branch may not have the shear strength required. In these cases, the wood might snap at a knot or weak point.
Environmental constraints also play a role. In extremely humid environments, raw wood—even when treated—can expand and contract significantly. This can loosen the mounting hardware over time. If your home isn’t climate-controlled, you might find yourself tightening screws every season.
Finally, consider the mechanical limits of rings. If your branch has significant knots or “character bumps,” standard curtain rings will get stuck. In these scenarios, you are limited to tie-top or tab-top curtains, which wrap around the rod rather than sliding along it.
Comparison: Driftwood vs. Luxury Hardware
| Feature | Repurposed Driftwood | Standard Luxury Hardware |
|---|---|---|
| Cost | Free to Low ($10-$30) | High ($100-$500+) |
| Installation Difficulty | Moderate (Requires leveling) | Low (Standardized parts) |
| Durability | Variable (Species dependent) | High (Metal/Composite) |
| Aesthetic | Organic, Raw, Unique | Polished, Uniform, Modern |
| Maintenance | Occasional oiling/tightening | Minimal dusting |
Practical Tips for a Better Hang
Applying these best practices will ensure your DIY project looks like a professional installation.
- Use Leather Straps: Because driftwood is rarely a uniform cylinder, standard metal U-brackets often don’t fit. Thick leather straps screwed into the wall allow the branch to sit naturally regardless of its shape.
- The Water Level Trick: Don’t use a level on the branch itself; it’s too crooked. Instead, measure from the ceiling down at two points to ensure the *hooks* or straps are level. Let the branch’s natural character handle the rest.
- Drill Pilot Holes: Driftwood is often very dry and brittle. If you are screwing finials or supports directly into the wood, always drill a pilot hole first to prevent the branch from splitting.
- Taper Compensation: If one end of your branch is significantly thicker than the other, mount the thick end on the side of the window where the curtain is most visible to create a sense of visual balance.
Advanced Considerations: Going Beyond the Basics
For the serious practitioner, think about integrated lighting. Carving a small channel along the top (unseen) side of the driftwood allows you to embed a thin LED strip. This creates a soft, upward glow that highlights the wood’s texture and provides ambient light for the room.
Scaling is another advanced factor. In large rooms with “great windows,” a single branch might not be long enough. You can “scarf join” two pieces of driftwood together by cutting them at complementary angles and reinforcing the joint with an internal steel dowel. When done correctly, the joint is nearly invisible and provides the span needed for massive architectural openings.
Consider the tannin leach if you are using freshly salvaged wood from a river. Some species will continue to “bleed” tannins if the air is humid. To prevent this from staining expensive white curtains, apply a high-quality shellac-based primer followed by a clear topcoat. This “locks” the chemistry of the wood inside.
Example Scenario: The Kitchen Cafe Rod
Imagine a small window over a farmhouse sink. A standard 1/2-inch brass rod looks out of place against the reclaimed wood shelving. Instead, a 36-inch piece of sun-bleached cedar driftwood is selected.
The wood is scrubbed with a wire brush and treated with a quick 10-minute bleach dip. After drying, it is mounted using two antique iron hooks. Because the rod has a slight natural curve, it is oriented so the “belly” of the curve faces the room, adding depth without taking up extra space. The result is a window treatment that feels like it has been there for seventy years, perfectly matching the “pioneer-grit” aesthetic of the home.
Final Thoughts
Transforming a piece of driftwood into a curtain rod is about more than just saving money. It is an exercise in seeing potential where others see waste. By following the steps of cleaning, drying, and securing the wood properly, you bridge the gap between “beach find” and “high-end hardware.”
The practical value of this approach lies in its adaptability. Whether you are aiming for a refined coastal look or a rugged mountain vibe, the wood does the heavy lifting for you. It brings texture, history, and a touch of the outdoors into spaces that are often too sterile.
Experiment with different species and mounting styles. Start with a small window to get a feel for the wood’s behavior, then move on to larger spans as your confidence grows. There is a deep satisfaction in looking at your window and knowing that the hardware holding up your home’s privacy was forged by the tides.
Sources
1 housedigest.com (https://www.housedigest.com/1676256/curtain-rod-alternative-rustic-driftwood/) | 2 russin.com (https://russin.com/nine-types-of-rot-resistant-wood-for-exterior-projects/) | 3 livos.com (https://livos.com/blogs/blog/best-wood-species-for-your-next-exterior-projects) | 4 interiordecorating.com (https://www.interiordecorating.com/help/faq-curtain-rods.html) | 5 parklanejewelry.com (https://www2.parklanejewelry.com/how-to-wash-driftwood/) | 6 diydriftwood.com (https://diydriftwood.com/how-to-clean-driftwood/) | 7 theshabbycreekcottage.com (https://www.theshabbycreekcottage.com/driftwood-decorating.html) | 8 homify.co.uk (https://www.homify.co.uk/diy/12998/5-things-used-to-preserve-driftwood-and-make-it-home-decor)