Have you ever found yourself wondering about creative ways to organize and display your necklaces? If you’ve got an eye for unique, rustic décor, a driftwood necklace stand could be just the solution you’re looking for. Not only do driftwood necklace stands provide an artistic and natural way to display your jewelry, but they also add a touch of nature and craftsmanship to your living space.

Why Choose a Driftwood Necklace Stand?
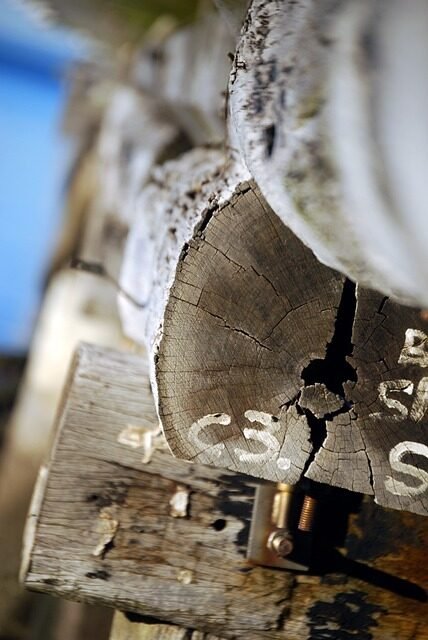
Driftwood stands apart due to its charm and natural beauty. With its worn appearance and unique textures, it transforms from simple wood into a captivating art piece. Using driftwood as a necklace stand merges practicality with aesthetics. By opting for driftwood, you’re choosing a piece that is environmentally friendly and carries a story of its journey through nature.
The Unique Appeal of Driftwood
Driftwood gets its distinctive appearance from being washed ashore by tides and currents. Over time, water, sun, and sand weather the wood, creating smooth textures and fading colors that vary across different pieces. Each piece is unique, offering a one-of-a-kind display solution for your necklaces. With its naturally sculpted form, a driftwood stand not only serves as an effective jewelry organizer but also as an eye-catching decor.
The Eco-Friendly Choice
Incorporating driftwood into your decor is an environmentally conscious decision. Driftwood is a renewable resource, and using it supports recycling and repurposing. You’re reducing waste while bringing a bit of the outdoors into your home. Crafting a necklace stand from driftwood doesn’t require refining or processing, reducing energy consumption and minimizing your carbon footprint.
How to Make Your Own Driftwood Necklace Stand
Creating your own driftwood necklace stand can be a rewarding and simple DIY project. By making it yourself, you can customize it to fit your space and preference, tailoring the size, shape, and number of hooks according to your needs.
Selecting the Perfect Driftwood
The first step involves finding the right piece of driftwood. Look for pieces that are sturdy with a strong structure. Consider the size and thickness that best suits the number of necklaces you intend to hang. A longer piece is ideal if you have many necklaces, while a smaller piece can offer a more minimalist look.
Gathering Supplies
For this project, you’ll need a few basic supplies:
| Supplies | Purpose |
|---|---|
| Driftwood | The main structure of the stand |
| Sandpaper | Smoothing the surface |
| Drill | Creating holes for hooks |
| Hooks or Nails | Hanging necklaces |
| Base (optional) | For stability if not using a wall-mounted design |
| Protective Finish | To preserve the wood and enhance its texture |
Preparing the Driftwood
Once you have your chosen piece of driftwood, begin by cleaning off any dirt or debris. This can be done with a brush or towel. Next, use sandpaper to gently smooth out the rough edges to prevent scratches on your necklaces. Don’t sand too much, as the goal is to retain its natural look.
Adding Hooks for Necklaces
Decide how many hooks or nails you want to add based on the number of necklaces you plan to hang. With a drill, carefully create small holes in the driftwood where you’d like the hooks. Be mindful of the placement — stagger them so as not to overcrowd any area. Attach the hooks or nails securely, ensuring they are sturdy enough to support your necklaces.
Finishing Touches
If you prefer to have a freestanding driftwood necklace stand, consider attaching a stable base. You can use another piece of wood or even a flat stone for this. If you plan to mount your stand on the wall, ensure you’ve securely mounted the appropriate hardware. Apply a light protective finish to preserve the driftwood and highlight its natural details.
Creative Ways to Use Your Driftwood Necklace Stand
Having completed your driftwood necklace stand, there are many creative ways to utilize it beyond hanging jewelry. Let your imagination guide you in enhancing your home’s aesthetic with multifunctional use of your stand.
Showcasing More Than Necklaces
Your driftwood stand doesn’t need to be limited to necklaces alone. Consider using it to hang scarves, belts, or even keys. The rustic design complements a variety of accessories, providing a cohesive organization solution for small items you frequently use.
Integrating Into Home Decor
Besides its functional use, a driftwood necklace stand can become an integral part of your home decor. Position it on a dresser for a bohemian or coastal-themed bedroom, or include it in your living room as part of a nature-inspired mantle arrangement. The organic feel of driftwood blends well with neutral color palettes and adds texture to any room setting.
A Unique Gift Idea
A handcrafted driftwood necklace stand makes for a thoughtful and unique gift. Tailor it to the recipient’s style by selecting driftwood that matches their home aesthetic or by adding personalized elements such as their initials or themed embellishments. It’s a personalized present that merges functionality with artistry.
Tips for Maintaining Your Driftwood Necklace Stand
To ensure your driftwood necklace stand remains beautiful and functional for years to come, consider these maintenance tips.
Regular Cleaning
Keep your stand clean by occasionally dusting it with a dry cloth or soft brush. Avoid using water or cleaning agents, as they can alter the driftwood’s natural finish or cause deterioration over time.
Keeping It Sturdy
Check the hooks or nails periodically to ensure they remain tight and secure. If detached or wobbly, simply adjust or tighten them with a screwdriver or drill. This will maintain the safety of your necklaces and other accessories.
Protecting the Finish
If you applied a finish or sealant, it may need reapplication over time to keep the wood looking fresh. Depending on the environment and exposure to sunlight, reapply the finish every year or two to protect against fading or brittleness.

Final Thoughts on Driftwood Necklace Stands
Creating a driftwood necklace stand combines eco-friendliness with artistic flair, allowing you to express personal creativity while organizing your jewelry. Whether it’s part of a larger decor theme, a unique gift, or simply a means to reduce clutter, driftwood stands offer more than just utility; they add warmth and individuality to your space.
Dive into the creative process of building your very own, and enjoy the beauty and function it brings to your home. With careful selection, thoughtful design, and easy maintenance, your driftwood necklace stand will become a cherished part of your home.