Hey there! If you’re looking for a fun and creative way to spend some quality time with your little ones, “DIY Driftwood Projects For Kids” is just what you need. It’s packed with easy-to-follow projects that will have your kids excited to collect and repurpose driftwood into amazing art pieces, home decor, and even toys. Not only will they have a blast, but they’ll also learn about the beauty of nature and the joy of recycling materials. So, gather up some driftwood and let’s get crafting!
DIY Driftwood Projects For Kids
Have you ever strolled along the beach and noticed pieces of driftwood scattered across the sand? These weathered bits of wood can ignite a child’s imagination and serve as the perfect material for various DIY projects. Engaging your kids in these creative activities can be both fun and educational, allowing them to explore their creativity while learning about nature. Are you ready to delve into some fabulous, kid-friendly driftwood projects?

What is Driftwood?
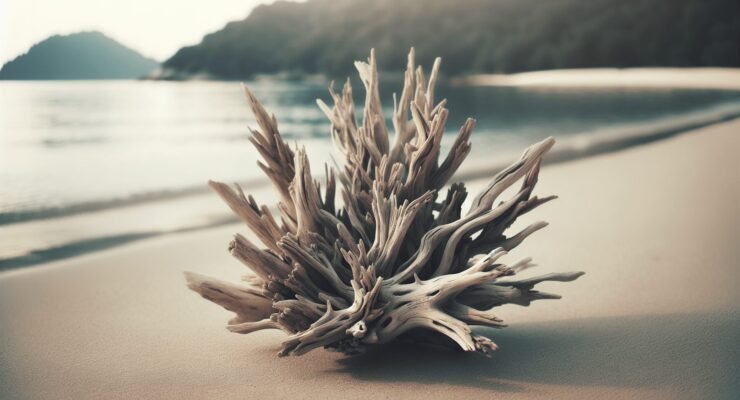
Driftwood is wood that has been washed up onto shore by waves, wind, or tides. It has typically been in the water for quite some time, giving it a smooth, worn look due to the effects of erosion. This natural process these pieces of wood undergo can result in various shapes and sizes, making each piece unique, and full of potential for creative projects.
Why Driftwood for Kids?
Working with driftwood can be a fantastic way for kids to connect with nature and utilize their imagination. Here are a few benefits:
- Encourages Creativity: Kids can turn driftwood into anything from animals to decorations, broadening their creative thinking.
- Promotes Outdoor Exploration: Collecting driftwood involves spending time outdoors, prompting kids to explore and appreciate their environment.
- Eco-Friendly: Driftwood is a great example of repurposing natural materials, teaching kids about sustainability.
- Improves Fine Motor Skills: Handling driftwood and crafting with it can enhance your child’s fine motor skills.
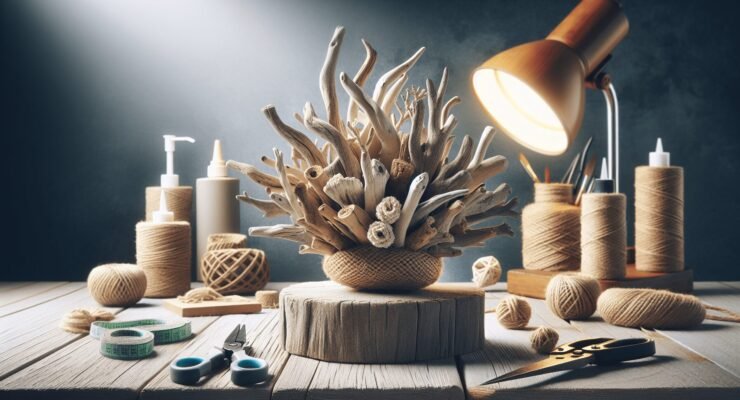
Preparing Your Driftwood
Before you start any projects, it’s crucial to properly clean and prepare the driftwood. Here’s how you can do it:
Cleaning Your Driftwood
- Rinse Thoroughly: Wash the driftwood pieces with fresh water to remove sand or dirt.
- Soak in Water: Submerge the pieces in a bucket of water for at least 24 hours to help remove any remaining salt.
- Scrub: Use a stiff brush to scrub off any remaining debris.
- Boil: Boil the driftwood in a large pot for several hours to kill any bacteria or insects.
- Dry: Allow the driftwood to dry completely, preferably outdoors in the sun.
Tools You’ll Need
Having the right tools will make these projects easier and safer for your kids. Here are some essentials:
| Tool | Purpose |
|---|---|
| Glue Gun | Attaching pieces together |
| Sandpaper | Smoothing rough edges |
| Paint & Brushes | Adding color and detail |
| Scissors | Cutting strings and small items |
| Twine or String | Hanging or assembling parts |
| Small Nails and Hammer | Adding stability to structures |
| Safety Goggles | Protecting eyes during cutting or sanding |
DIY Driftwood Projects for Kids
Now, let’s dive into some specific projects that you and your kids can enjoy together!
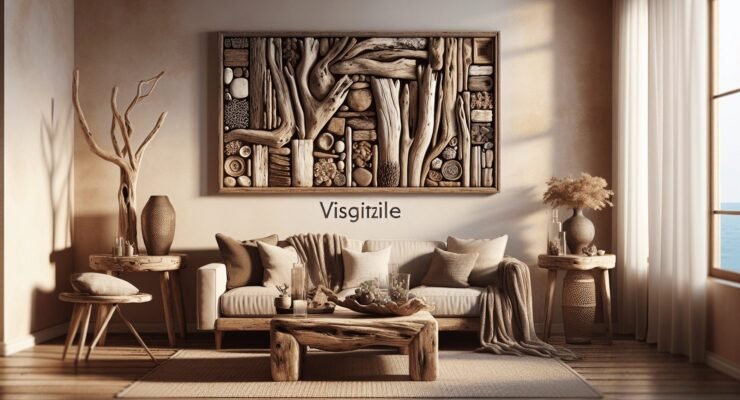
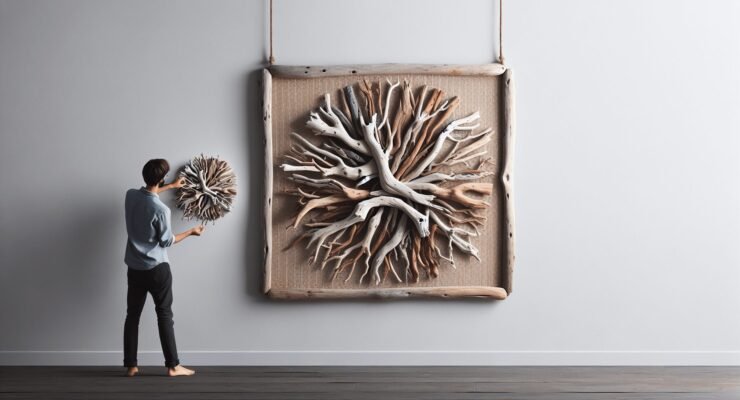
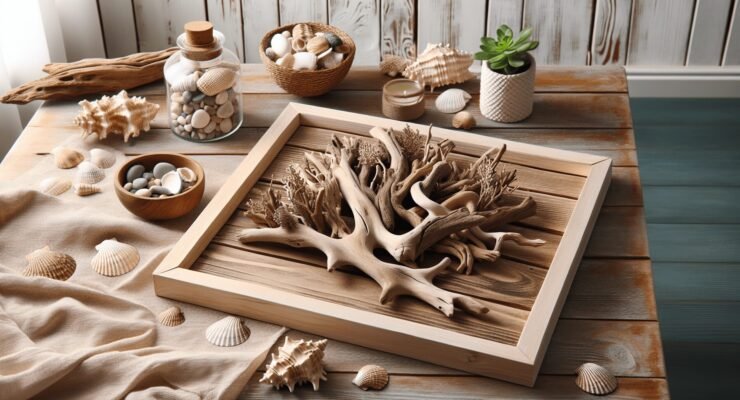
Driftwood Picture Frames
A driftwood picture frame can be a lovely way to display a favorite family photo or a piece of your child’s artwork.
Materials
- Driftwood pieces
- Glue gun
- Picture frame or cardboard
- Sandpaper
- Optional: paint and brushes
Instructions
- Prepare Base: Start with a simple picture frame or cut out a rectangle from sturdy cardboard.
- Smooth Driftwood: Sand down any rough edges on the driftwood pieces.
- Arrange Pieces: Lay out the driftwood pieces in a pattern you like on the frame base.
- Glue Together: Use the glue gun to attach the driftwood pieces securely to the frame.
- Optional Painting: If desired, paint the driftwood pieces to add some color.
- Insert Picture: Once the frame is dry, insert your picture or artwork.
Driftwood Wind Chimes
Driftwood wind chimes add a lovely sound to your home and can be personalized with various decorations.
Materials
- Driftwood pieces
- Twine or string
- Beads, shells, or bells
- Drill
Instructions
- Select Driftwood: Choose a longer piece of driftwood for the top of the wind chime and several smaller pieces for the hanging parts.
- Attach Twine: Drill small holes into the smaller driftwood pieces for the stringing. Tie twine or string to each piece.
- Decorate: Add beads, shells, or bells to the strings by tying them on or threading them through.
- Assemble: Attach all strings to the larger top piece of driftwood, spacing them evenly.
- Hang: Find a suitable place to hang your wind chime, like a porch or window.
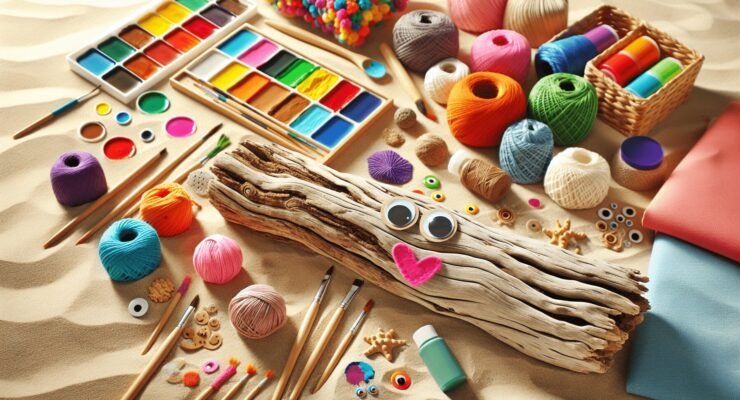
Driftwood Animal Sculptures
Turn driftwood into playful animal sculptures that your kids will adore.
Materials
- Various driftwood pieces
- Glue gun
- Googly eyes
- Paint and brushes
- Sandpaper
Instructions
- Plan Your Animal: Decide with your child what kind of animal to create. Think about how the shapes of the driftwood pieces can represent different parts of the animal.
- Smooth Pieces: Sand down the pieces if necessary.
- Assemble the Animal: Use the glue gun to attach the pieces together to form the animal’s body, legs, head, etc.
- Add Details: Paint features like fur, spots, or stripes. Attach googly eyes for a fun touch.
- Display: Once dry, find a good place to display your driftwood animal sculpture.
Driftwood Sailboats
Build little sailboats that can float in a pool, pond, or even your bathtub.
Materials
- Small pieces of driftwood
- Fabric or paper (for sails)
- Glue gun
- Twine or string
- Scissors
Instructions
- Choose Base: Select a flat piece of driftwood for the boat’s base.
- Add Mast: Glue a small, straight piece vertically for the mast.
- Create Sails: Cut fabric or paper into small triangles for sails.
- Attach Sails: Glue the sails to the mast. You can also tie them using twine or string.
- Stabilize: If your boat needs extra stability, add another small piece of driftwood horizontally at the bottom.
- Sail Away: Once dry, set your sailboat on water and watch it float!
Driftwood Mobiles
Mobiles are easy to customize and great for hanging in a child’s bedroom.
Materials
- Driftwood pieces of varying sizes
- Twine or string
- Glue gun
- Optional decorations: beads, feathers, shells
Instructions
- Gather Materials: Collect enough pieces of driftwood to create layers in your mobile.
- Arrange: Plan the design of your mobile by laying out the driftwood pieces in a cascading pattern.
- Attach: Drill small holes into the driftwood and thread the twine through to connect the layers.
- Decorate: Add beads, feathers, or shells to the twine for extra flair.
- Hang: Find a suitable spot to hang your beautiful new mobile.
Tips for Working with Kids
- Safety First: Always supervise the use of tools like glue guns and drills. Make sure kids wear safety goggles.
- Encourage Creativity: Let your kids take the lead on design choices. Their imagination can lead to amazing creations!
- Be Patient: Crafting with kids can be slow and messy, but the process is just as important as the final product.
- Use Natural Decorations: Incorporate other natural materials like shells, leaves, or stones to enhance the projects.
Educational Benefits of Driftwood Projects
These craft projects are more than just a fun afternoon activity. They also offer multiple educational benefits for your kids.
Enhances Problem-Solving Skills
As kids figure out how to assemble pieces and make their designs work, they develop crucial problem-solving skills.
Develops Fine Motor Skills
Handling small pieces of driftwood and using tools like glue guns can significantly improve fine motor skills and hand-eye coordination.
Teaches Environmental Stewardship
Using driftwood helps kids understand the concept of recycling and repurposing, fostering an early awareness of environmental issues.
Encourages Scientific Thinking
While collecting driftwood, kids can learn about the tides, erosion, and marine ecosystems, integrating subtle lessons in Earth science.
Boosts Creativity
From designing their projects to choosing colors and decorations, driftwood crafts allow kids to express their creativity in unique ways.

Conclusion
Driftwood offers a bounty of crafting possibilities that can keep your kids engaged, entertained, and educated. Whether it’s a picture frame, wind chime, animal sculpture, sailboat, or mobile, there’s a project to fit every child’s interest and skill level. Plus, these projects provide an excellent opportunity for family bonding and instill an appreciation for nature and creativity in young minds.
So next time you find yourself at the beach, remember to collect some driftwood. Your next delightful and imaginative project is just a wave away. Happy crafting!