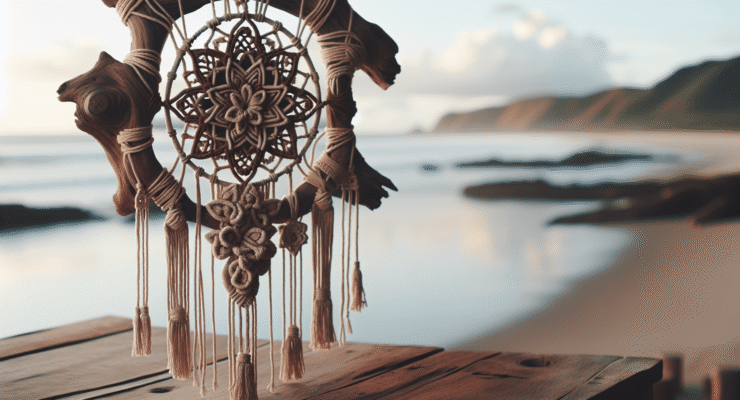
Have you ever stumbled upon a piece of driftwood along the shore and wondered about all the creative possibilities it holds? Driftwood, with its unique shapes and weathered textures, can be a magical find for a do-it-yourself (DIY) enthusiast. Creating a driftwood mobile is not only a fantastic way to use these natural treasures but also an excellent way to bring a piece of nature into your home. Let’s begin this crafty journey together, exploring everything you need to know to make your very own driftwood mobile.

Understanding Driftwood
Before diving into the DIY project, it’s essential to gain a better understanding of driftwood — its origins, characteristics, and varieties. This helps you appreciate your materials and make informed decisions when selecting pieces for your mobile.
What is Driftwood?
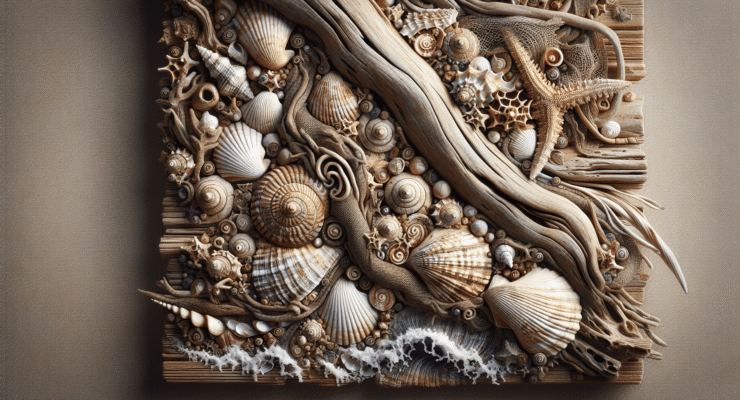
Driftwood is essentially any type of wood that has been washed onto the shore by winds, tides, or waves. Over time, pieces of wood that come from various sources such as tree branches, logs, or even man-made sources are sculpted by water and sand into beautiful, smooth forms. Driftwood is unique and full of character due to the countless hours nature has spent perfecting it.
Characteristics of Driftwood
Driftwood typically displays colors ranging from pale beige to brown and even gray, depending on its exposure to sun, salt, and other elements. It’s often lightweight due to the natural drying process. The pieces might have holes, knots, and other features formed by marine life or the natural erosion process, offering a rustic charm.
Sourcing Driftwood
You might be wondering where to find driftwood for your project. Fortunately, there are a few ways to source it. You can collect driftwood during walks along lakeshores, rivers, and beaches. Remember to check local regulations on collecting natural materials. If that’s not an option, craft stores, online marketplaces, or specialized decor shops often sell driftwood for crafting purposes.
Preparing Your Driftwood
Before you start crafting, some preparation is necessary. Preparing your driftwood ensures you have clean, sturdy pieces that will make a gorgeous and durable mobile.
Cleaning Your Driftwood
Start by removing sand, dirt, and any potential critters from the wood. A simple but effective cleaning method involves rinsing the driftwood under tap water. If there are hard-to-remove debris, an old toothbrush can be handy for scrubbing. For added disinfection and to kill bacteria or mold, let your driftwood soak in a mixture of water and a small amount of bleach (1 part bleach to 9 parts water) for about 24 hours. After soaking, rinse them thoroughly.
Drying the Driftwood
Once cleaned, allow the driftwood to dry completely. Place it in a well-ventilated, sunny location. Depending on the size and density of the wood, drying can take anywhere from a couple of days to a week. Proper drying prevents future mold growth and helps retain the driftwood’s wonderful texture.
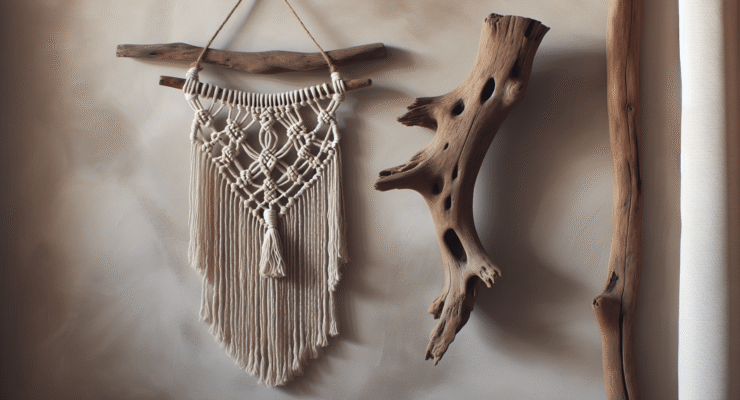
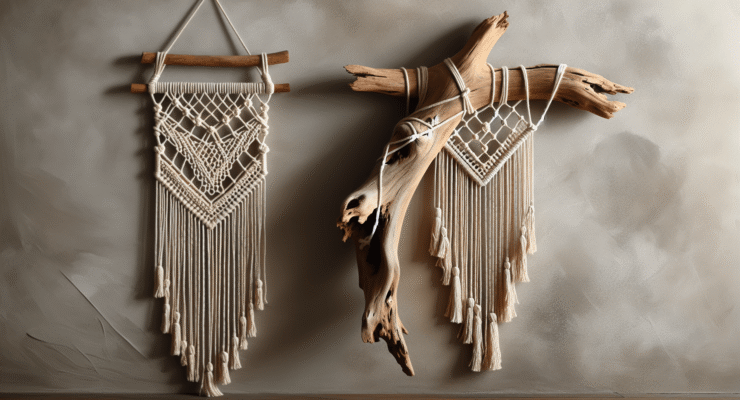
Designing Your Driftwood Mobile
Now comes the exciting phase of designing your mobile. This process involves deciding on the style, layout, and overall appearance of your mobile.
Choosing a Style
The style of your driftwood mobile can range from simple and minimalist to intricate and decorative. Here are a few style ideas to consider:
- Natural and Organic: Focus on showcasing the rustic beauty of the wood.
- Seaside-inspired: Incorporate shells, miniature buoys, or other marine-themed items.
- Bohemian/Eclectic: Use colorful threads, beads, or crystals to enhance the driftwood’s natural appeal.
Deciding on a Layout
Consider how you want the pieces to hang and move in space. A balanced and visually harmonious layout often uses symmetry or asymmetry to create interest. You might want a central piece of driftwood with others suspended around it or a cascading design, where pieces of decreasing size hang below one another.
Sketching Your Design
Before threading and assembling your mobile, sketch out your design on paper. This plan will guide you during the assembly process and help you determine the number and size of pieces you need. Be flexible; inspiration might strike as you physically work with your materials.
Gathering Materials and Tools
Beyond the pieces of driftwood you’ve collected, you’ll need additional materials and tools to create your mobile.
Essential Materials
| Material | Function |
|---|---|
| Driftwood | The main focus and structure of your mobile |
| Strong twine or thread | For hanging the driftwood pieces |
| Hooks or screws | For attaching pieces or hanging the mobile |
| Decorative accents | Optional: shells, beads, feathers |
| Drill or screwdriver | For making holes (optional) |
Tools You May Need
- Scissors: For cutting twine or thread
- Tape measure or ruler: To ensure even spacing and length
- Hot glue gun or strong adhesive: To secure decorative elements or joints
By ensuring you’ve gathered all necessary materials before starting, you can streamline your crafting process and focus on the creative aspects.

Creating Your Driftwood Mobile
With preparation complete, you’re ready to start assembling your driftwood mobile. This hands-on part of the process is where your creativity truly comes to life.
Drilling Holes (if necessary)
If your design requires, use a small drill bit to carefully make holes in your pieces of driftwood. Drilling should be done with care to avoid splitting the wood. This is often required only if your assembly involves threading driftwood onto a central support wire or if you want to precisely thread your twine through each piece.
Threading and Knotting
Take your chosen thread or twine and begin assembling your mobile by threading it through or around each piece of driftwood following your design. Use secure knots to ensure the pieces stay in place. Here are some knot types you can consider:
- Overhand Knot: Simple and effective for securing ends.
- Square Knot: Ideal for joining two strings together.
- Lark’s Head Knot: Good for attaching items like beads or feathers.
Balancing Your Mobile
Achieving balance is crucial to ensuring your mobile hangs properly. Check the balance by hanging the mobile temporarily and observing how it settles. Adjust by trimming twine, moving pieces, or adding additional weight where necessary.
Adding Decorative Elements
If you opted for a more eclectic or themed mobile, now is the time to attach decorative accents like beads, feathers, or crystals. Use your hot glue gun or adhesive to secure them. Just remember to maintain balance and don’t overload any section.
Displaying Your Driftwood Mobile
Finally, it’s time to hang and display your creation where it can be fully appreciated. Consider locations such as:
- Near a sunny window to highlight shadows and movement
- In a breezy spot for gentle motion
- As a focal point in a room to enhance natural or coastal decor
Secure your mobile with appropriate fixtures to ensure it is safely mounted.
Caring for Your Driftwood Mobile
To keep your mobile looking fresh and beautiful:
- Dust it regularly with a dry cloth.
- Occasionally check knots and connections for security.
- Avoid overly humid areas to prevent potential wood warping.
Dive into the Creative Process
Crafting a driftwood mobile is more than a mere DIY project; it’s an exploration of creativity and nature. As you place each piece on your mobile, you’re not just connecting elements of wood; you’re connecting stories, memories, and personal touches into a beautiful, harmonious display. Enjoy every step of crafting and remember that every imperfection adds character and uniqueness to your creation. Let your artistic instincts guide you, and have fun bringing a piece of the outdoors into your heart and home.