Imagine transforming ordinary pieces of driftwood into stunning home décor and practical household items that showcase your creativity. In “DIY Driftwood Projects Ideas,” you’ll explore a variety of simple yet impressive ways to use these natural treasures from the beach. From rustic furniture to unique art displays, this guide will inspire you to give new life to driftwood, turning your home into a cozy, inviting space with your personalized touch. Whether you’re a seasoned DIY enthusiast or just starting out, you’ll find plenty of projects to spark your imagination and bring a bit of coastal charm indoors.
DIY Driftwood Projects Ideas
Have you ever stumbled upon a piece of driftwood and wondered what you could create with it?
Imagine walking along the shoreline, feeling the sand between your toes, and spotting a piece of weathered driftwood that seems to have a story of its own. Driftwood, with its naturally sculpted shapes and textures, presents an incredible opportunity for DIY enthusiasts to craft something truly unique and special. In this article, we’ll dive into a treasure trove of creative DIY driftwood project ideas that you can try at home. From simple decorations to functional furniture, there’s a project here for everyone, regardless of your crafting skill level.
Why Driftwood?
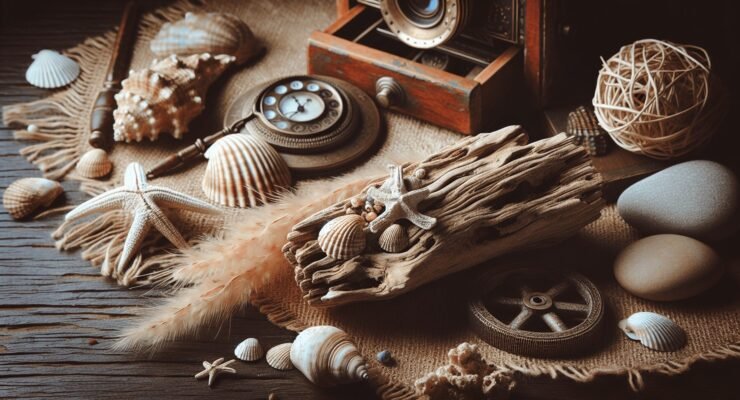
Driftwood carries a unique charm and inherent beauty that comes from being naturally weathered by sun, sea, and time. Each piece is one-of-a-kind, offering endless possibilities for creativity. But why driftwood? Here are a few reasons why driftwood is a fantastic material for DIY projects:
- Sustainability: Driftwood is repurposed from nature, making it an eco-friendly material choice.
- Uniqueness: No two pieces are alike, making your creations genuinely unique.
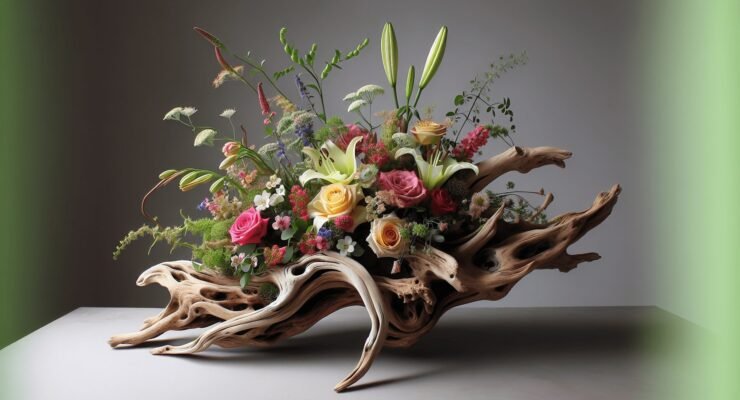
- Natural Aesthetic: Adds a rustic or coastal charm to home decor.
- Durability: Weathered driftwood tends to be hardy and long-lasting.
Now, let’s get down to some inspirational DIY driftwood project ideas!

Easy Driftwood Projects
Sometimes, the simplest projects can have the most significant impact. If you’re new to working with driftwood or just want something quick and easy, these projects are perfect for you.
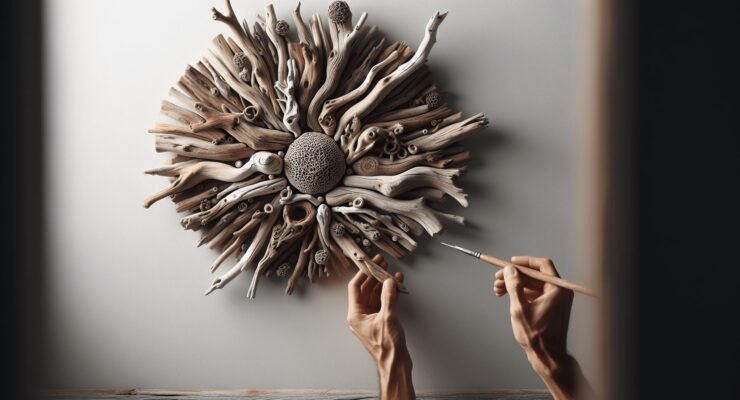
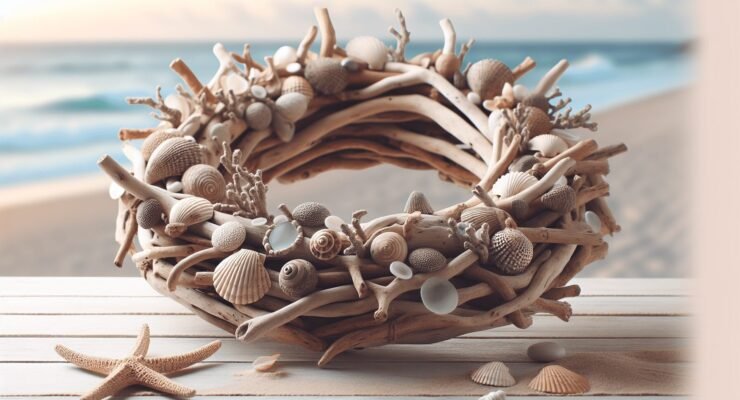
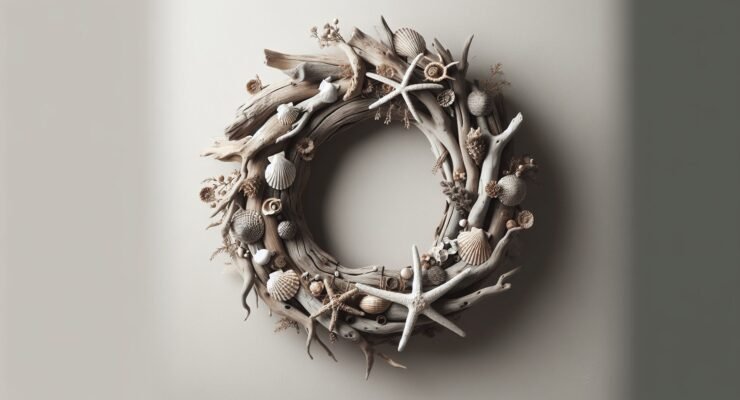
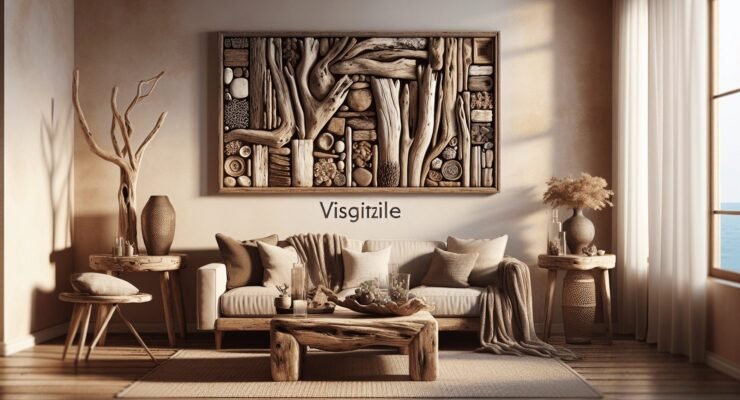
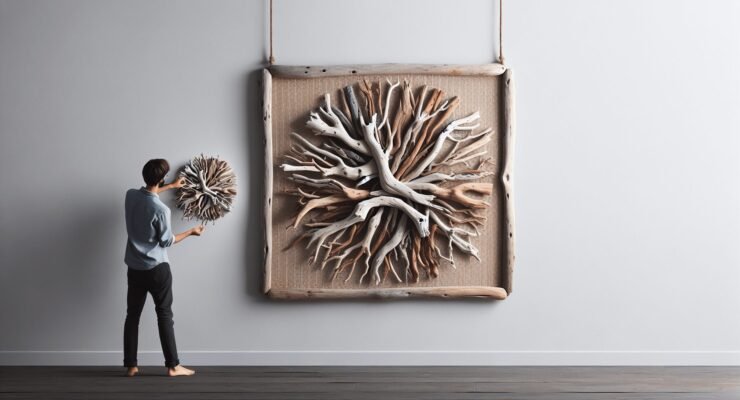
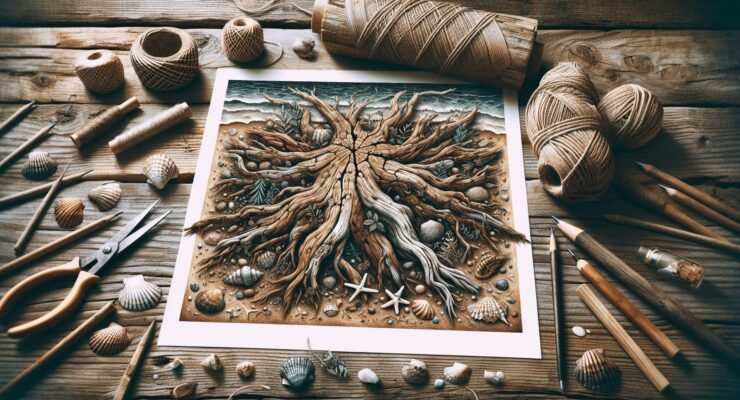
Driftwood Wall Art
Creating wall art from driftwood can be as straightforward or as complex as you desire. You can start small by arranging a few pieces into an abstract design or go big by crafting a stunning focal piece for your living room.
Materials Needed:
- Driftwood pieces
- Adhesive glue or nails
- Backing board or canvas (optional)
- Hanging hardware
Steps:
- Clean the Driftwood: Remove any debris or seaweed and allow it to dry completely.
- Design Your Art: Lay out a design on the floor or a table.
- Assemble: Use glue or nails to attach the driftwood to your backing board, or directly to your wall if you’re confident.
- Hang: Attach hanging hardware to the back of your board and display your new art piece.
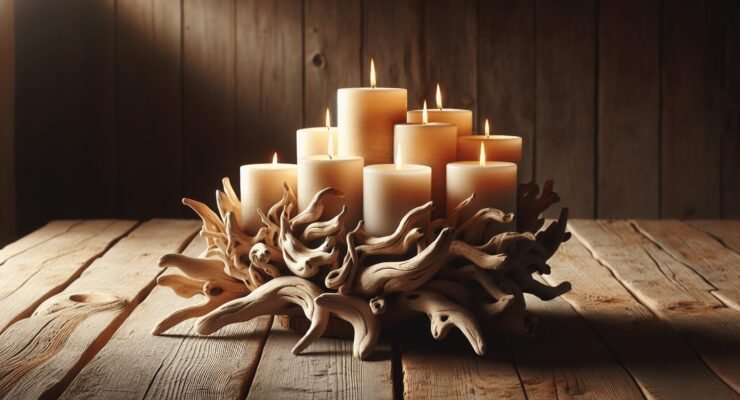
Driftwood Candle Holders
Transforming driftwood into candle holders is incredibly simple yet offers an elegant touch to any space.
Materials Needed:
- Small pieces of driftwood
- Tea light candles
- Drill with a Forstner bit or spade bit (same size as your candles)
- Sandpaper
Steps:
- Prepare the Driftwood: Clean and dry the driftwood.
- Mark and Drill: Mark where you want to place your candle and carefully drill a hole large enough to fit the tea light.
- Smooth and Finish: Sand the drilled area for a smooth finish and place your tea light candle inside.
Intermediate Driftwood Projects
Once you’ve gained some confidence with easier projects, why not take things up a notch? These intermediate projects involve a bit more time and skill but are equally rewarding.
Driftwood Mirrors
Driftwood mirrors can add a touch of coastal elegance to your decor. This project involves framing a mirror with driftwood pieces to create a stunning visual effect.
Materials Needed:
- Driftwood pieces
- Mirror
- Strong adhesive
- Plywood (for backing)
- Saw
- Hanging hardware
Steps:
- Prepare Materials: Clean the driftwood and cut the plywood to the size you’d like your mirror to be.
- Attach the Mirror: Secure the mirror to the center of the plywood using adhesive.
- Arrange the Driftwood: Lay out your driftwood pieces around the mirror on the plywood backing to form a frame.
- Attach the Driftwood: Glue or nail the driftwood pieces in place.
- Fix Hanging Hardware: Attach hanging hardware to the back and display your new driftwood mirror.
Driftwood Shelves
Functional and stylish, driftwood shelves add natural beauty to any room. This project is perfect for adding storage while maintaining a rustic or coastal vibe.
Materials Needed:
- Long, flat pieces of driftwood
- Brackets or shelf supports
- Screws
- Drill
Steps:
- Select Driftwood: Find suitably flat and sturdy pieces of driftwood.
- Secure Brackets: Attach brackets or shelf supports to your wall at the desired height.
- Mount Shelf: Place the driftwood on the brackets and secure with screws.
- Style and Enjoy: Arrange your favorite items atop your new driftwood shelf.

Advanced Driftwood Projects
For those of you who are particularly crafty and looking for a challenge, these advanced projects may be just what you’re after. These require more tools, skills, and time but the results can be truly spectacular.
Driftwood Furniture
Creating furniture from driftwood can be immensely satisfying. From coffee tables to headboards, the possibilities are numerous. Here we’ll take a look at building a driftwood coffee table.
Materials Needed:
- Large sturdy pieces of driftwood for the base
- A flat piece of driftwood or glass for the tabletop
- Adhesive or wood screws
- Saw
- Drill
- Sandpaper
- Wood finish (optional)
Steps:
- Design Your Table: Plan how you want your table to look and which pieces of driftwood will be used for the base.
- Prepare the Driftwood: Clean, cut, and sand the driftwood as necessary.
- Assemble the Base: Attach the base pieces together using adhesive or screws, ensuring it’s stable.
- Attach the Tabletop: Place your flat piece of driftwood or glass on top and secure.
- Finish: Sand any rough edges and apply a wood finish if desired.
Driftwood Light Fixtures
Lighting made from driftwood can be a stunning conversation piece. This project is ideal for those comfortable working with electrical components. Let’s look at creating a driftwood chandelier.
Materials Needed:
- Driftwood pieces
- Light fixture kit
- Drill
- Screws
- Wire nuts
- Hanging hardware
Steps:
- Plan Your Design: Decide how your chandelier will be structured and how many lights it will have.
- Prepare the Driftwood: Clean and arrange the driftwood in the desired shape.
- Drill Holes: Drill holes for wiring through the driftwood.
- Assemble Electrical Components: Follow your light fixture kit instructions to wire the lights, ensuring all connections are secure and safe.
- Mount and Install: Hang your chandelier and connect it to the ceiling fixture, ensuring all is safe and functional.
Driftwood Care and Maintenance
Once you’ve crafted your beautiful driftwood masterpiece, you’ll want to ensure it stays in excellent condition. Here are some tips for caring for and maintaining your driftwood projects:
Cleaning Driftwood
Driftwood can carry a lot of debris, salt, and even critters. Clean it thoroughly before beginning any project.
Steps:
- Rinse: Use fresh water to rinse off sand, salt, and debris.
- Soak: Soak the driftwood in a mixture of water and bleach (about 1 part bleach to 9 parts water) for a few hours to remove any remaining contaminants and pests.
- Rinse Again: Rinse thoroughly to remove any bleach residue.
- Dry: Allow the driftwood to dry fully, which may take several days.
Sealing and Preserving
While driftwood is generally durable, sealing it can help preserve its appearance and structural integrity.
Steps:
- Sand: Sand any rough areas using fine-grit sandpaper.
- Seal: Apply a clear wood sealer or polyurethane to protect the wood. This step can also help enhance the color and grain.
- Dry: Allow the sealer to dry completely before using your driftwood piece.
Safety Tips
When working on DIY projects, safety should always be a priority. Here are a few safety tips to keep in mind when working with driftwood:
- Wear Protective Gear: Use gloves, safety glasses, and a mask when cutting, sanding, or drilling.
- Work in a Ventilated Area: Especially when dealing with bleach or sealants, make sure you’re in a well-ventilated area.
- Check for Sturdiness: Ensure any furniture or functional pieces are securely assembled to avoid accidents.
- Handle Electrical Components Safely: If you’re incorporating lighting or other electrical elements, ensure all connections are secure and up to code.
Your Next Steps in Crafting with Driftwood
You’ve now got a plethora of ideas and the know-how to start crafting with driftwood. Whether you’re looking for quick and easy projects or are ready to dive into something more complex, the natural beauty and uniqueness of driftwood can truly elevate your home decor and offer a rewarding crafting experience.
Starting Small
If you’re new to working with driftwood or DIY projects in general, start with simple projects like wall art or candle holders. These are less time-consuming and can help you build confidence.
Collaborate and Share
Crafting can be even more enjoyable when shared with friends or family. Consider inviting others to join you in creating driftwood projects. Sharing ideas and working together can lead to new inspirations and exciting outcomes.
Explore and Experiment
Don’t be afraid to let your creativity flow. Driftwood is forgiving and versatile; there’s no right or wrong way to use it. Experiment with different pieces and arrangements until you find what works for your vision.
Showcase and Enjoy
Once you’ve completed a project, give it a special place in your home where it can be admired and appreciated. Handmade items often carry sentimental value and can be wonderful conversation starters.
Whether you’re just getting started or are looking for your next big project, driftwood offers endless possibilities for those who love to create and explore. Happy crafting!