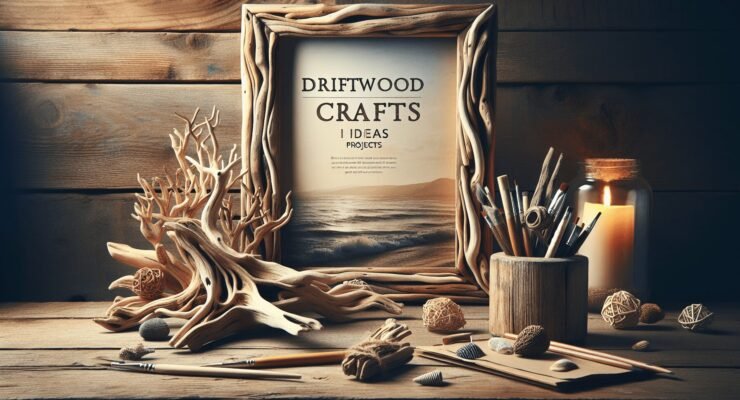
Welcome to “Large Driftwood Projects,” where you’ll discover the beauty and versatility of this natural resource. In this article, you’ll embark on a creative journey, exploring a variety of large-scale driftwood projects that can transform your living space. From striking furniture pieces to stunning wall art, you’ll find inspiration and detailed guides to help bring your driftwood dreams to life. Get ready to dive into the world of driftwood and craft unique, eye-catching projects that showcase your artistic flair!
Large Driftwood Projects
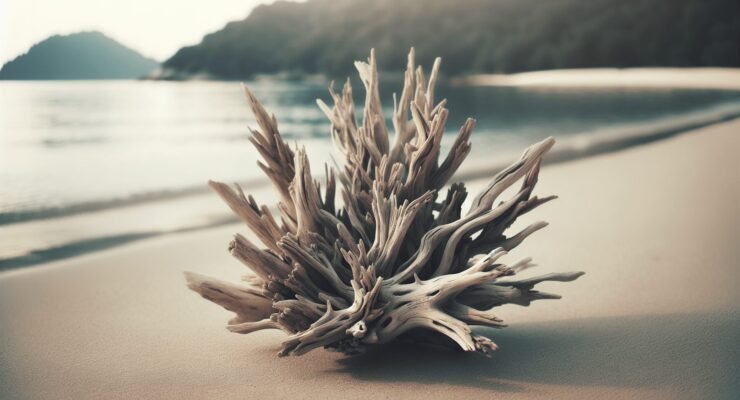
Have you ever wandered along a beach, stumbled upon an impressive piece of driftwood, and thought about the incredible creations you could make with it? If so, you’re in the right place! Large driftwood projects can be a rewarding and creative pastime that allows you to give new life to these weathered treasures from the sea. They can be as simple or as complex as you want, ranging from rustic furniture to captivating garden accents.
Whether you’re a seasoned crafter or a beginner looking for a new hobby, this guide will provide you with all the information you need to get started on your next big driftwood project.

The Charm of Driftwood
What Makes Driftwood Special?
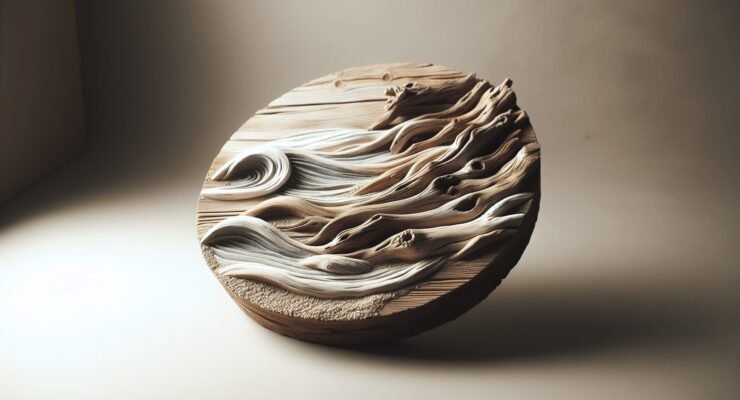
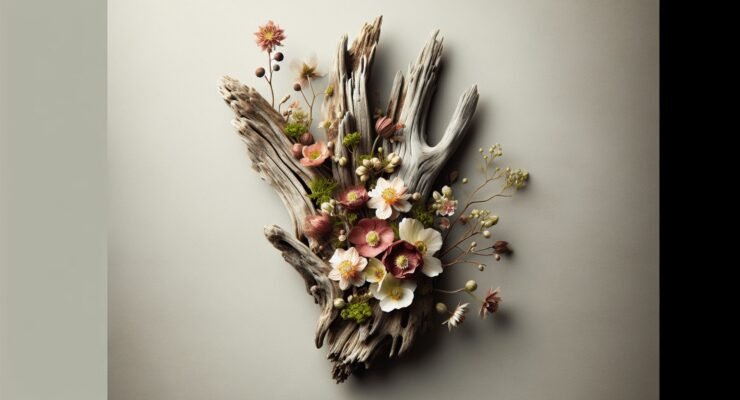
Driftwood is unique because each piece tells a story of its journey through water and time. Weathered by waves, wind, and sun, driftwood possesses a natural, rustic beauty that appeals to many DIY enthusiasts. Its varied shapes, textures, and sizes open up endless possibilities for creative projects.
Why Choose Large Driftwood Projects?
Working with larger pieces of driftwood offers several benefits. For one, they can serve as statement pieces in your home or garden, drawing attention and sparking conversation. Plus, larger driftwood projects are often more structurally sound, allowing you to create functional items like furniture and shelves.
Collecting Driftwood
Where to Find Driftwood
The best places to find driftwood are along the shores of oceans, seas, and large lakes. Here’s a quick list to get you started:
| Location | Description |
|---|---|
| Beaches/Coastlines | Perfect for finding a variety of driftwood pieces, from small sticks to large logs. |
| Riverbanks | Ideal for sourcing wood that’s traveled downriver and smoothed by freshwater. |
| Lakeshores | Especially after storms, you can find driftwood along the edges of large lakes. |
Always make sure to check local regulations before collecting driftwood, as some areas may have restrictions to protect ecosystems.
Tips for Responsible Collection
- Take Only What You Need: Be mindful of the environment. Only take driftwood that you need for your projects.
- Avoid Protected Areas: Some areas have protected status or are part of wildlife reserves where removing driftwood is prohibited.
- Bring the Right Tools: A sturdy bag, gloves, and, for larger pieces, a wagon or dolly can make collecting easier.
Preparing Driftwood for Projects
Cleaning Your Driftwood
Once you’ve collected your driftwood, the next step is cleaning it to remove any dirt, salt, or organic material. Here’s a simple cleaning process:
- Soak the Driftwood: Place the driftwood in a large container and fill it with fresh water. Let it soak for 1-2 weeks, changing the water every few days to remove salt and tannins.
- Scrub: Use a brush to scrub off any remaining dirt, algae, or barnacles.
- Rinse: Rinse thoroughly with fresh water.
- Dry: Let the driftwood dry completely, which can take several days to a couple of weeks, depending on the size of the pieces.
Treating Driftwood
To ensure your driftwood lasts a long time, especially for outdoor projects, consider treating it with a wood preservative. This will help protect it from rot and pests.
- Choose a Wood Preservative: Select a product suitable for the type of project you’re working on.
- Apply the Preservative: Follow the manufacturer’s instructions for application. Typically, this involves brushing or spraying the preservative onto the wood.
- Let it Dry: Allow the wood to dry completely before beginning your project.
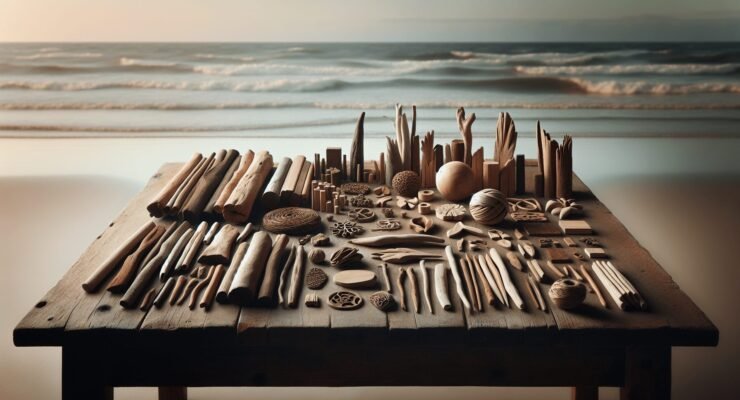
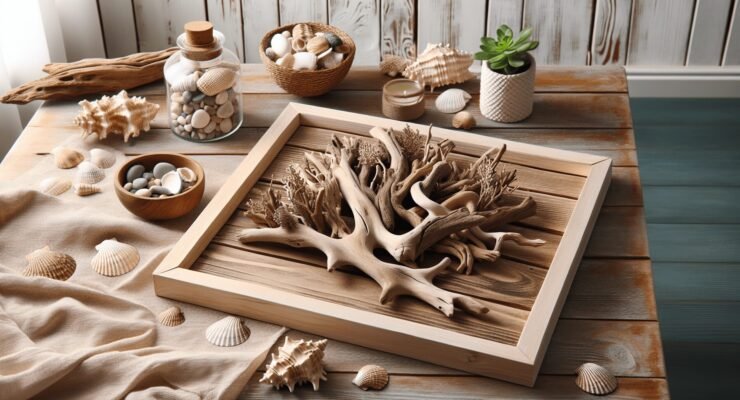
Large Driftwood Project Ideas
Driftwood Furniture
Creating furniture from large pieces of driftwood can be incredibly rewarding. From rustic to modern, driftwood adds a unique touch to any space.
Driftwood Coffee Table
A driftwood coffee table can be a stunning centerpiece in your living room. Here’s a simple guide to get you started:
- Select the Base: Choose large, sturdy pieces of driftwood for the base.
- Attach a Glass Top: Glass tops work well with driftwood bases, allowing the natural beauty of the wood to shine through. Use silicone adhesive to secure the glass to the driftwood.
- Secure the Base: Make sure the base is stable. You may need to sand the bottom of the driftwood to ensure it sits flat.
Driftwood Headboard
A driftwood headboard adds a coastal vibe to any bedroom. Here’s how you can create one:
- Measure Your Bed: Determine the dimensions of your headboard based on the size of your bed.
- Select Driftwood Pieces: Choose pieces of similar thickness and length. Arrange them in a pattern you like.
- Attach the Driftwood: Use screws or heavy-duty adhesive to attach the driftwood pieces to a plywood backing. Secure the plywood to the wall or bed frame.
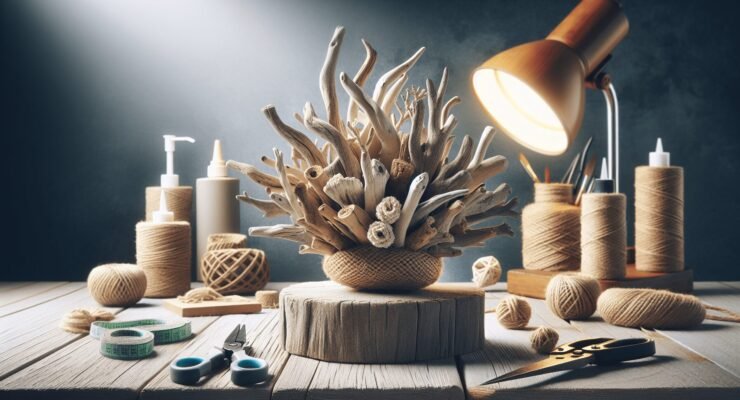
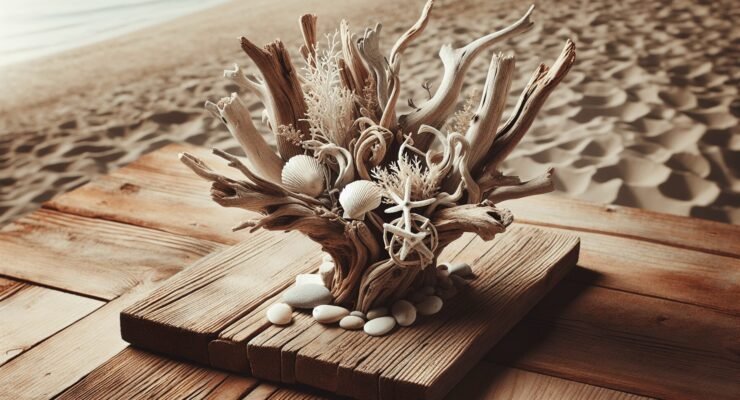
Driftwood Garden Decor
Driftwood can transform your garden into a whimsical paradise. Here are a couple of projects to consider:
Driftwood Trellis
Creating a trellis from driftwood adds charm and functionality to your garden.
- Choose the Driftwood: Select straight and sturdy pieces for the frame.
- Assemble the Frame: Build a rectangular frame using screws and brackets.
- Add Crosspieces: Attach smaller driftwood pieces horizontally across the frame to create support for climbing plants.
Driftwood Birdhouse
A driftwood birdhouse can be a delightful addition to your garden, attracting birds while adding a rustic touch.
- Gather Materials: Collect driftwood pieces of various sizes and shapes.
- Construct the Birdhouse: Build the birdhouse structure using nails or screws. Ensure there’s a hole for the birds to enter.
- Decorate: Personalize your birdhouse with additional driftwood pieces or other natural materials.

Tools and Materials for Driftwood Projects
Essential Tools
To work with driftwood, you’ll need some basic tools. Here’s a handy list:
| Tool | Purpose |
|---|---|
| Handsaw | Cutting driftwood to size. |
| Drill and Bits | Creating holes for screws or dowels. |
| Screws and Nails | Securing driftwood pieces together. |
| Sandpaper | Smoothing rough edges. |
| Wood Glue | Bonding smaller pieces. |
| Clamps | Holding pieces in place while bonding. |
Additional Materials
Depending on your specific project, you might need some additional materials:
- Glass or Plexiglass: For tabletops or protective coverings.
- Wood Stain or Paint: To enhance or change the color of the driftwood.
- Rope or Twine: For decorative purposes or to create hanging pieces.
Safety Tips
Working with Tools
Always prioritize safety when working with tools. Here are some tips:
- Wear Protective Gear: Use safety glasses, gloves, and a dust mask when cutting or sanding driftwood.
- Work in a Well-Ventilated Area: This is especially important when using wood preservatives or paint.
- Keep Your Workspace Clean: A tidy workspace reduces the risk of accidents.
Handling Driftwood
Since driftwood can be rough and splintery, handle it with care:
- Wear Gloves: Protect your hands from cuts and splinters.
- Check for Wildlife: Ensure no living creatures are residing in the driftwood before bringing it indoors.
Challenges You Might Face
Finding the Right Pieces
One of the biggest challenges in driftwood projects is finding pieces that suit your vision. Driftwood is unique and unpredictable, so be patient and creative. Sometimes, you may need to adjust your project idea based on the pieces you find.
Working with Large Pieces
Handling and manipulating large pieces of driftwood can be tricky. Here’s how you can manage:
- Get Help: Don’t hesitate to ask for help when moving large pieces of wood.
- Use the Right Tools: Tools like clamps, saw horses, and sturdy workbenches can make the process easier.
- Plan Ahead: Have a clear plan in place before starting your project to ensure smooth execution.
Tips for Successful Driftwood Projects
Embrace Imperfections
One of the most appealing aspects of working with driftwood is its natural beauty, including imperfections. Embrace these unique features, as they add character to your project.
Mix and Match
Don’t be afraid to mix driftwood with other materials. Combining driftwood with metal, glass, or fabric can create stunning contrasts and enhance the overall look.
Practice Patience
Large driftwood projects can be time-consuming. Practice patience and take your time to ensure the best results. Enjoy the creative process and the satisfaction of completing a piece that’s truly your own.
Inspiration and Resources
Online Inspiration
There are plenty of online resources where you can find inspiration for your driftwood projects. Websites like Pinterest and Instagram are great places to start. Search for keywords like “driftwood furniture” or “driftwood art” to discover a wealth of creative ideas.
Books and Magazines
Consider investing in books or subscribing to magazines focused on woodworking, DIY projects, and coastal home decor. They often feature detailed instructions and tips for working with driftwood.
Final Thoughts
Large driftwood projects offer a unique opportunity to combine creativity with nature. Whether you’re crafting a stunning piece of furniture, adding rustic charm to your garden, or creating a one-of-a-kind decor item, the possibilities are endless. By following the tips and guidelines in this article, you can embark on your driftwood journey with confidence and enthusiasm.
So next time you find yourself strolling along the beach, keep an eye out for that perfect piece of driftwood. Who knows? You might just find the inspiration for your next big project!
Ready to dive into your next driftwood adventure? Grab your tools and let the creativity flow. Happy crafting!