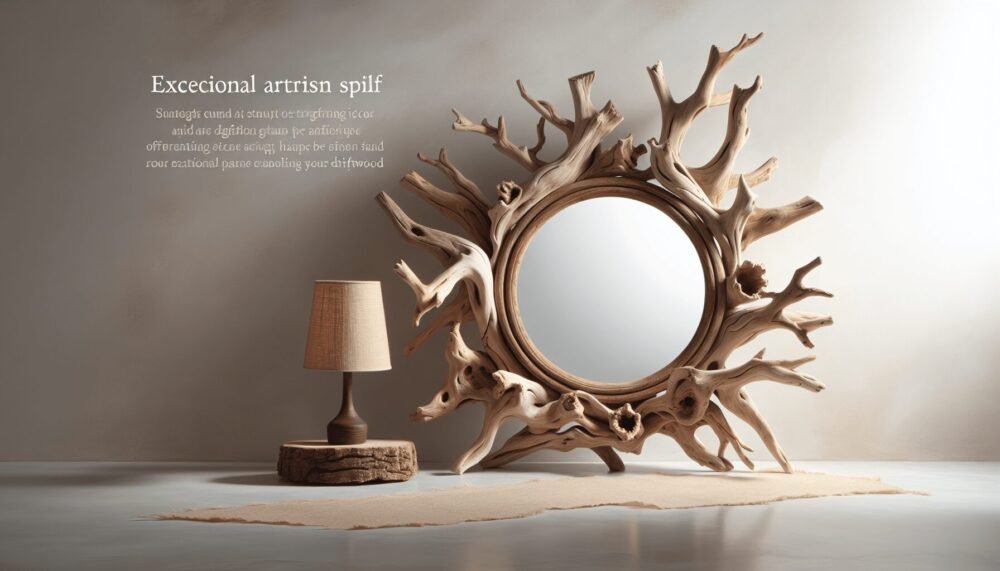
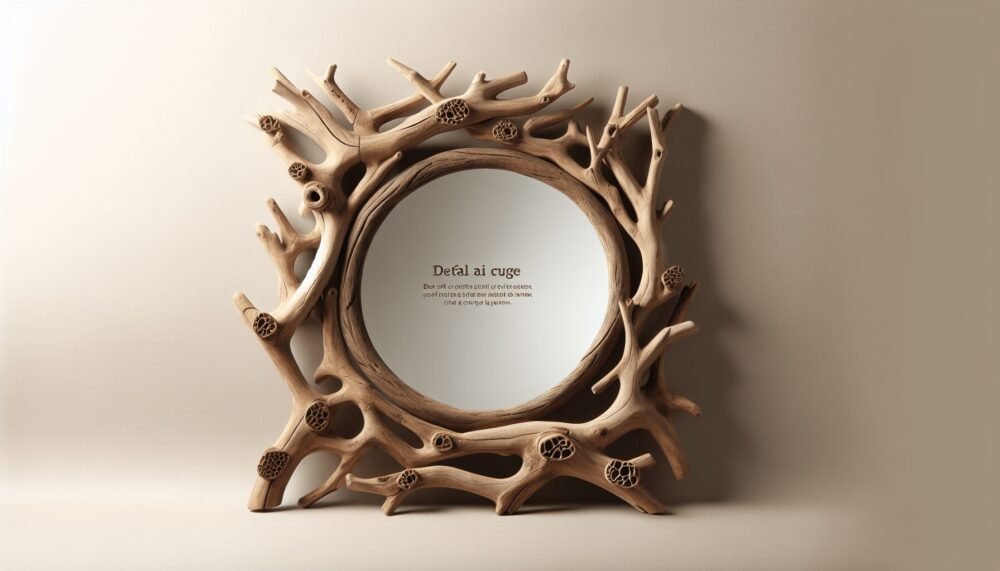
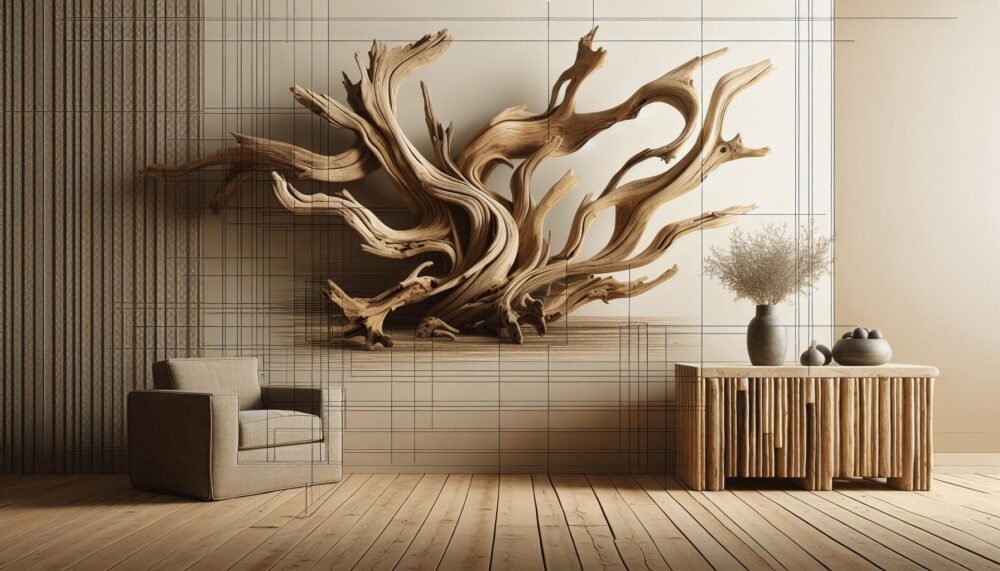
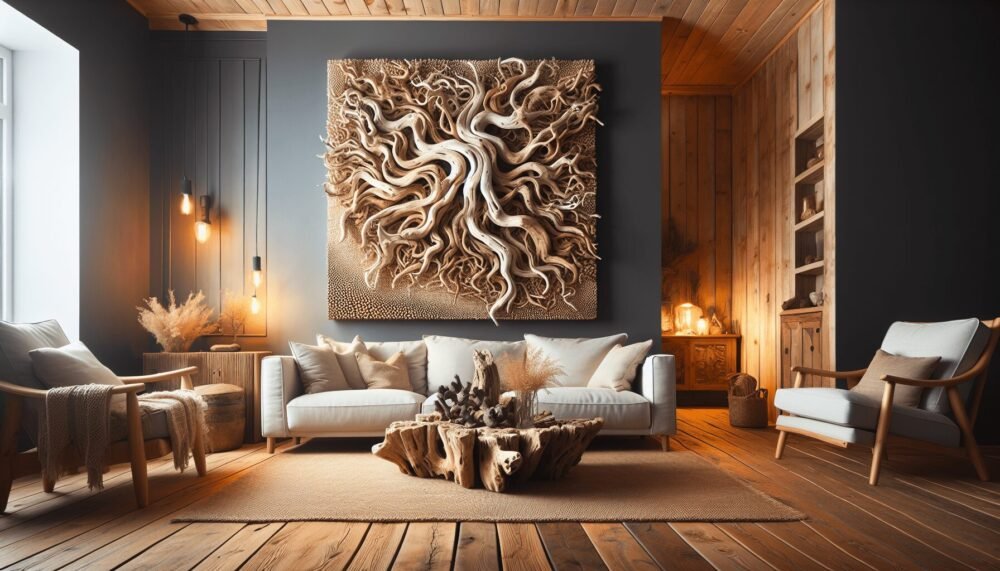
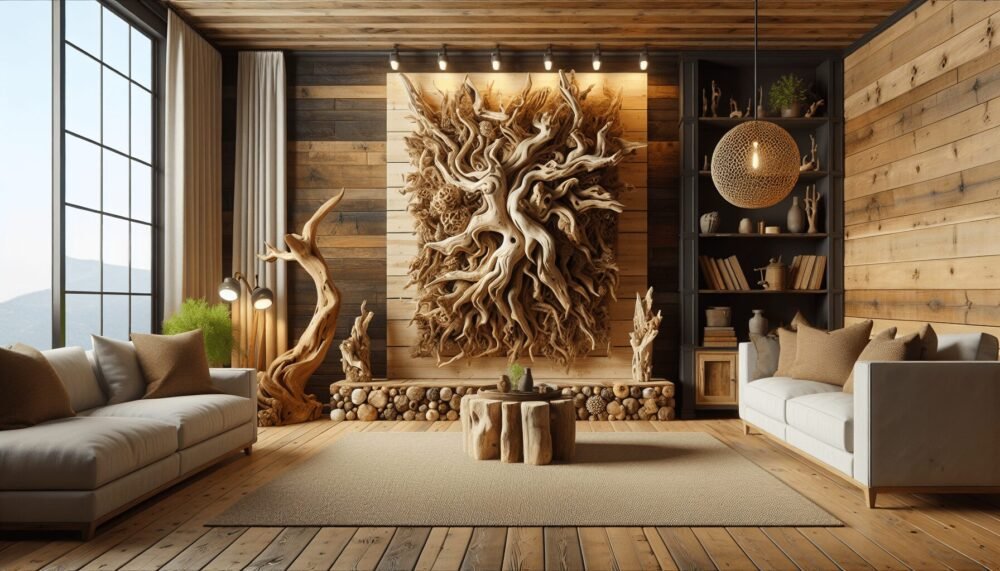
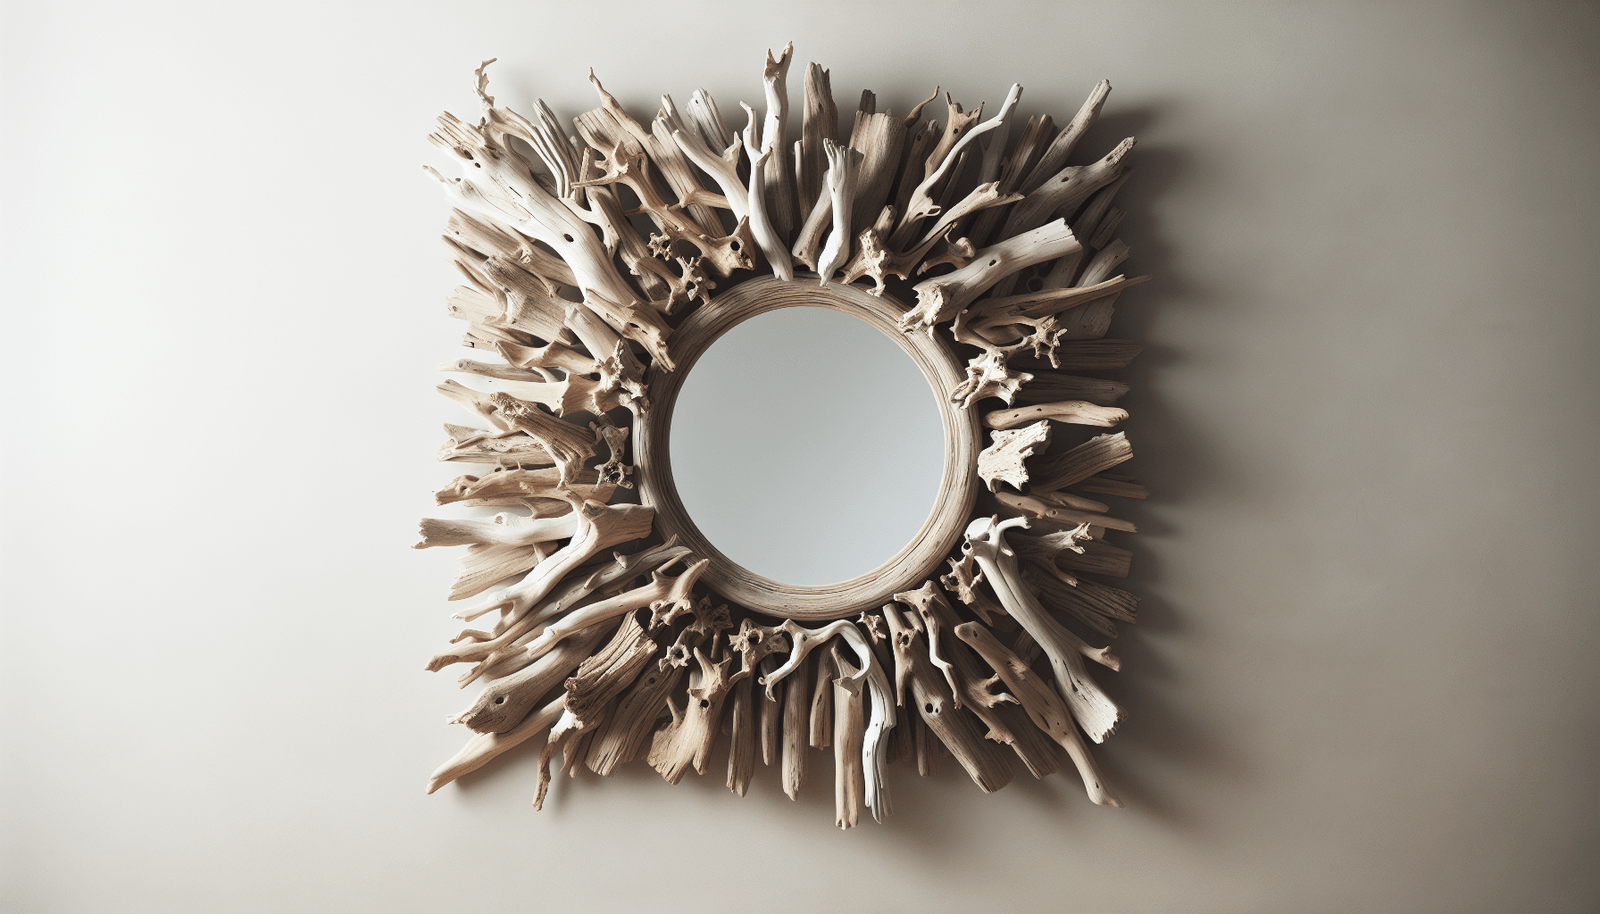
Have you ever admired the rustic charm and natural beauty of driftwood mirrors in coastal or bohemian interiors and thought to yourself, “Could I create something like that?” The good news is that not only is it possible, but making a driftwood mirror is an enjoyable and satisfying project you can tackle on your own! In this guide, I will walk you through everything you need to know to create your own stunning driftwood mirror. From sourcing your driftwood to putting the final touches on your masterpiece, you’ll learn all the steps necessary to craft a mirror that will be the envy of anyone who steps into your home.
Understanding Driftwood
What is Driftwood?
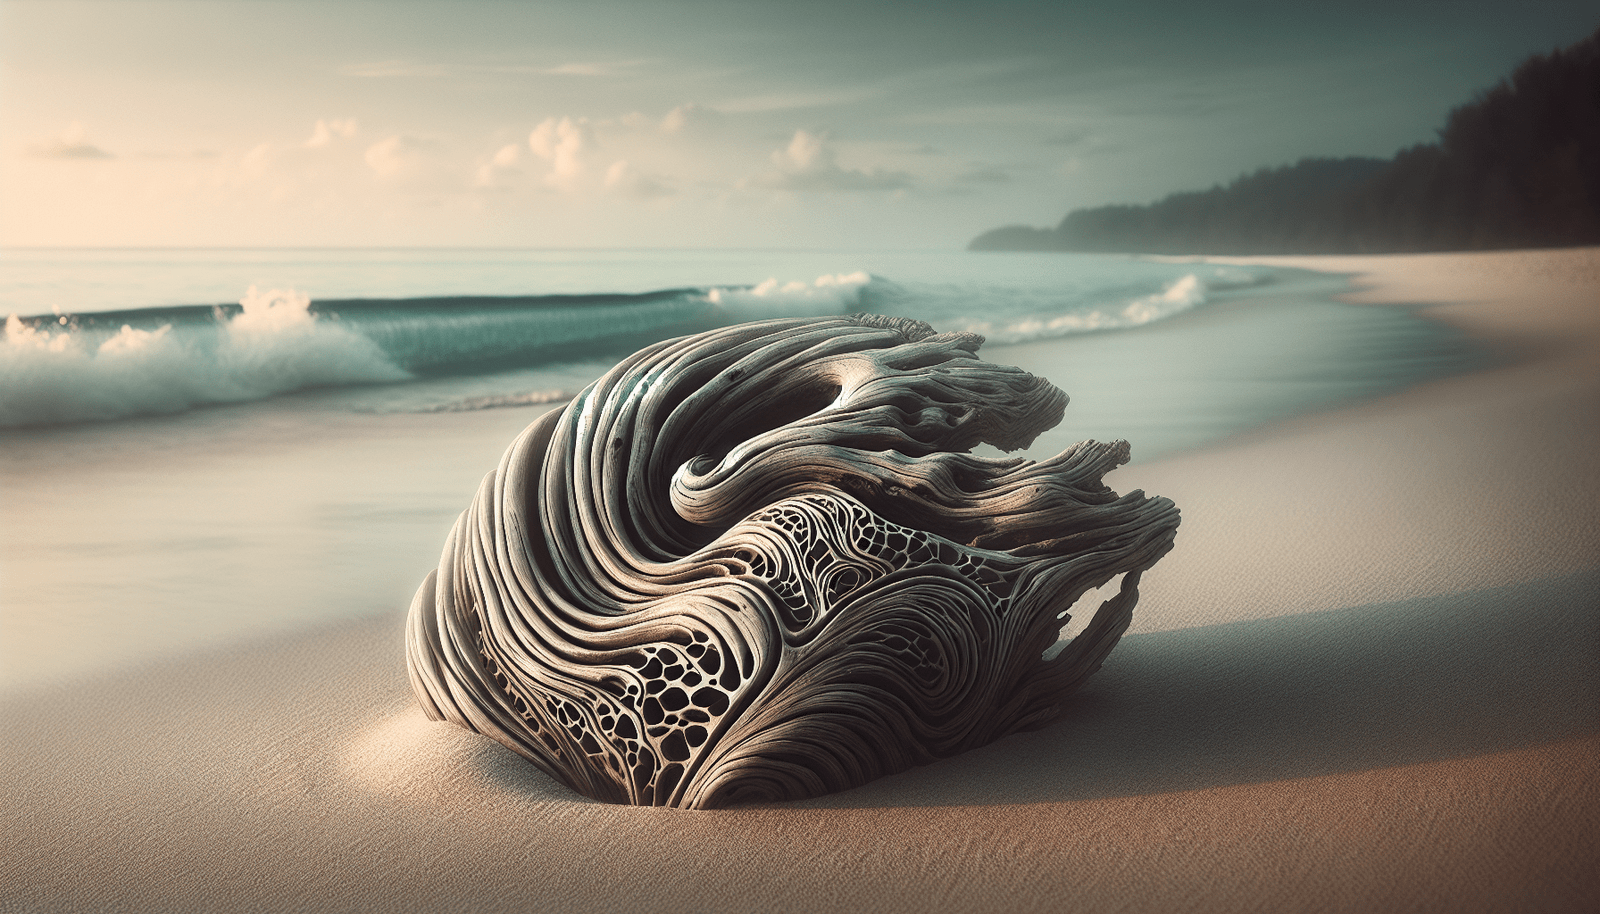
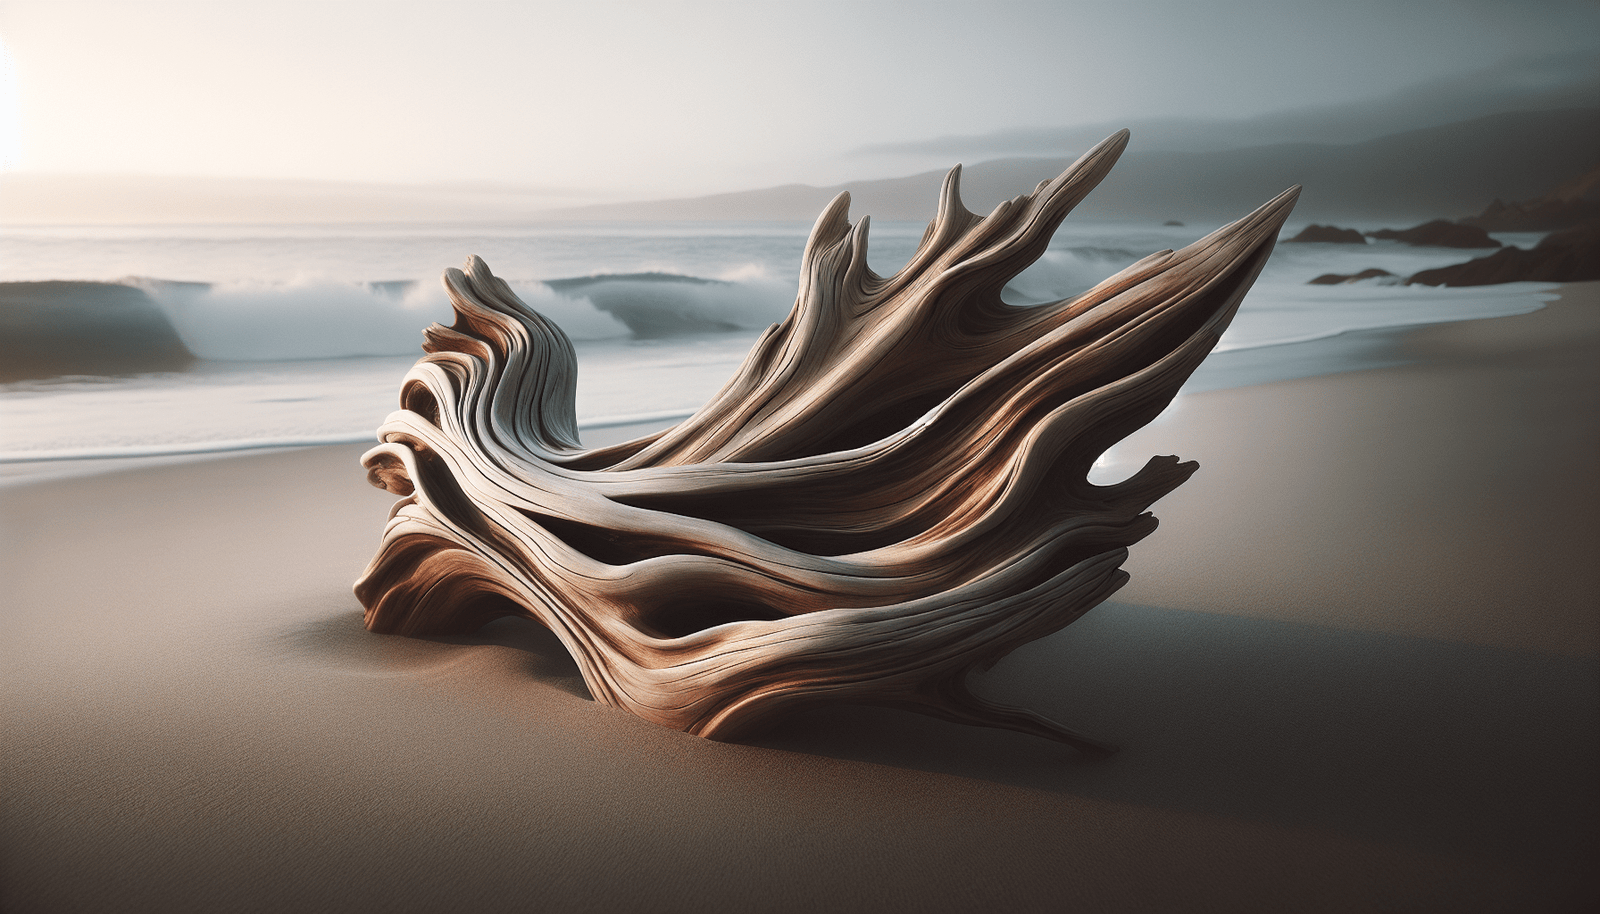
Before you begin collecting materials for your DIY project, it helps to understand what driftwood is. Driftwood refers to pieces of wood that have been washed onto shores by the action of tides, winds, or waves. Over time, these pieces of wood are naturally weathered, giving them their unique appearance. The natural sculpting process creates interesting shapes and textures, making each piece one-of-a-kind.
Why Use Driftwood?
Driftwood is not only beautiful; it is sustainable and eco-friendly. By using driftwood, you repurpose materials already in existence, minimizing environmental impact. This makes driftwood an excellent choice for those who want to incorporate more environmentally responsible pieces into their home decor.
Finding Driftwood
Driftwood can often be found along beaches, riverbanks, or lakeshores. Each location offers unique characteristics to the driftwood, whether it’s the type of wood or the way it’s been shaped by nature. When collecting driftwood, always ensure it’s legal to do so in your chosen location and that you’re not disrupting any natural habitats.
Gathering Materials for Your Driftwood Mirror
Before you roll up your sleeves and get started, you’ll need to gather all your materials. Here’s what you’ll need to craft your driftwood mirror:
Materials Needed
- Driftwood Pieces: Gather a variety of pieces in different sizes and shapes.
- Mirror: Choose a base mirror of your desired size and shape.
- Strong Adhesive: Opt for industrial-strength adhesives like Epoxy or a hot glue gun for bonding the driftwood to the mirror.
- Backing Board: This could be plywood or MDF to provide extra stability, especially if your mirror will be large.
- Sandpaper: To smooth any rough edges on the driftwood.
- Saw: For trimming driftwood as needed.
- Cloth and Water: For cleaning the driftwood pieces.
- Hangers: To mount the finished mirror on a wall.
Optional Materials
- Wood Finish: For those who want to give the driftwood a polished or stained look.
- Tapestry Needles: Useful if you are threading smaller pieces together before attaching them to the mirror.
- Protective Gear: Gloves and goggles to keep you safe while working with tools and adhesives.
Preparing Your Driftwood
Cleaning Driftwood
Once you have your driftwood, it’s important to clean it thoroughly. Given that driftwood comes from natural bodies of water, it might be covered in algae, salt, sand, or even insects. Here’s how you can clean your driftwood:
- Rinse Thoroughly: Use water and a sturdy brush to clean off any debris or dirt.
- Soak in Water: Submerge your driftwood in water for several hours to dissolve any ocean salt or trapped sand.
- Use Mild Soap: For particularly stubborn dirt, consider using a mild soap to help lift it away.
- Dry Completely: After cleaning, let the driftwood pieces dry completely. Place them in a well-ventilated area for several days to ensure they are fully dried.
Treating Driftwood
For additional preservation and to avoid any potential pests:
- Boil the Driftwood: If your pieces fit into a pot, boiling them for an hour can help eliminate pests.
- Freeze Method: Alternatively, placing driftwood in the freezer for a week can also help kill any insects.
Optional Sanding
Using sandpaper, gently sand any edges or surfaces you prefer to be smoother. This can make handling the driftwood easier and may enhance the final appearance by giving a more finished look.
Designing Your Driftwood Mirror
Plan Your Design
The first step in designing your mirror is to plan how you want your driftwood to be laid out around it. Here’s how you can approach this:
- Arrange Without Glue: Place your driftwood pieces around your mirror to get an idea of how you want them arranged.
- Mix Sizes and Shapes: Use a variety of shapes and sizes to create an appealing and natural look. Sporadically placing larger and smaller pieces can give a balanced aesthetic.
- Consider Depth and Layers: Think about layering some pieces on top of others for added depth.
Finalizing the Design
Once you’re satisfied with your layout, take a photograph or sketch it out. This will help you remember the placement when it’s time to attach the pieces.
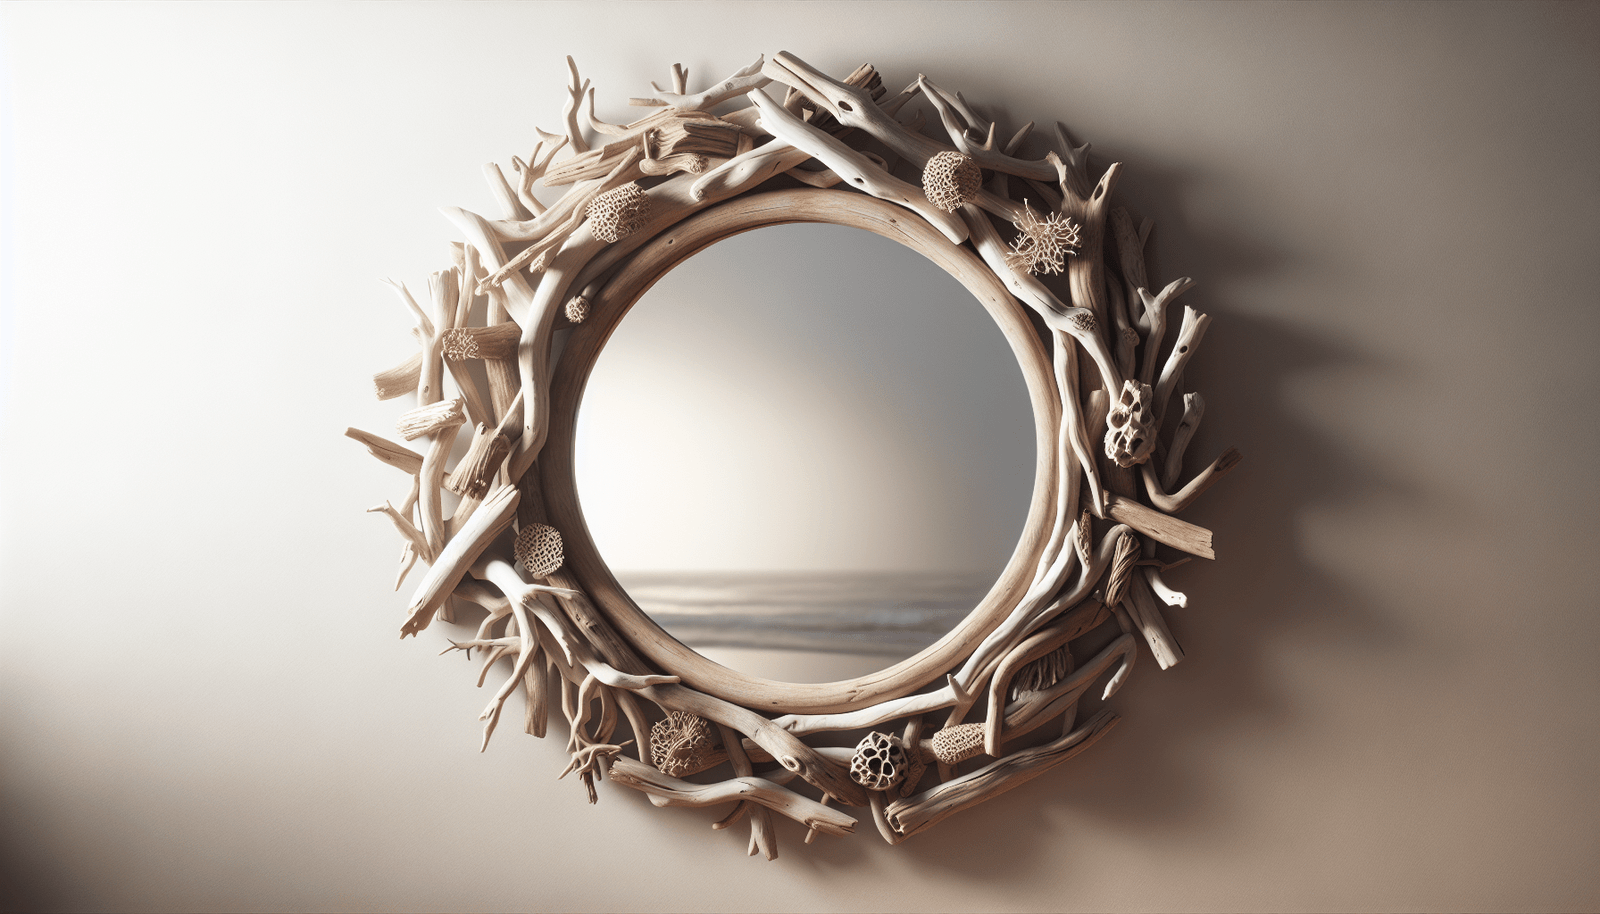
Assembling Your Driftwood Mirror
Attaching Driftwood to a Backing Board
For larger mirrors, using a backing board can add stability. Here’s how you can do it:
- Cut the Backing Board: Ensure it matches the dimensions of your mirror. You can extend it slightly if desired for a ‘floating’ look.
- Attach the Mirror to the Board: Use your strong adhesive to attach the mirror securely onto the backing board’s center.
Gluing the Driftwood
With your arrangement in mind, begin attaching the driftwood pieces:
- Apply Adhesive: Generously apply adhesive to the driftwood and press it onto the mirror’s border or the backing board.
- Press Firmly: Hold each piece for a few seconds to ensure it adheres securely.
- Work in Sections: Attach one section at a time, referring back to your photo or sketch for accuracy.
Let it Set
Allow the adhesive to cure according to its instructions. This can take anywhere from a few hours to a full day. Patience during this step is crucial for ensuring your mirror is sturdy and safe for hanging.
Finishing Touches
Sealing the Wood
If you opted to use a wood finish, now is the time to apply it. Sealing the wood can enhance the color, give it a uniform appearance, and provide a layer of protection.
Attach Hanging Hardware
Once your mirror is fully assembled and the glue has dried:
- Choose Hanging Hardware: D-rings and picture wire, or sawtooth hangers, are popular choices.
- Align to the Backing Board: Ensure the hardware is aligned so the mirror will hang straight and securely.
Positioning Your Mirror
Find the ideal spot on your wall to hang your mirror. Consider factors like lighting, visibility, and what it will reflect back into your space.
Troubleshooting Tips
Problematic Adhesion
If your driftwood pieces do not stick well:
- Check Adhesive Use: Make sure you’re using enough adhesive and pressing firmly.
- Surface Prepping: Lightly scuff the back of the wood or the adhesive area to give a better grip.
Warping Over Time
If any driftwood pieces warp:
- Secure Reinforcement: You may need to remove and reattach these pieces or reinforce them with additional adhesive or a small wood nail.
Caring for Your Driftwood Mirror
Regular Maintenance
Maintaining your driftwood mirror will keep it looking beautiful for years to come:
- Dust Regularly: Use a soft cloth or duster to keep the mirror and wood clean.
- Avoid Moisture: Keep it away from high-moisture environments unless treated to handle humidity.
Restoring Luster
If the driftwood’s color fades over time:
- Reapply Wood Finish: Refresh the driftwood by applying a wood finish or wax to restore its appearance.
Congratulations! You’ve now created your own driftwood mirror. Your handmade piece isn’t just a safe guarder of reflection; it’s a story of sustainability, creativity, and natural beauty. Hopefully, this driftwood mirror instills in your home a touch of nature’s coastline charm. If you have any thoughts or additional tips to share about making driftwood mirrors, feel free to contribute. Your experiences will surely inspire and aid other aspiring DIY enthusiasts.
