Turning Beach Driftwood Into Floating Shelves
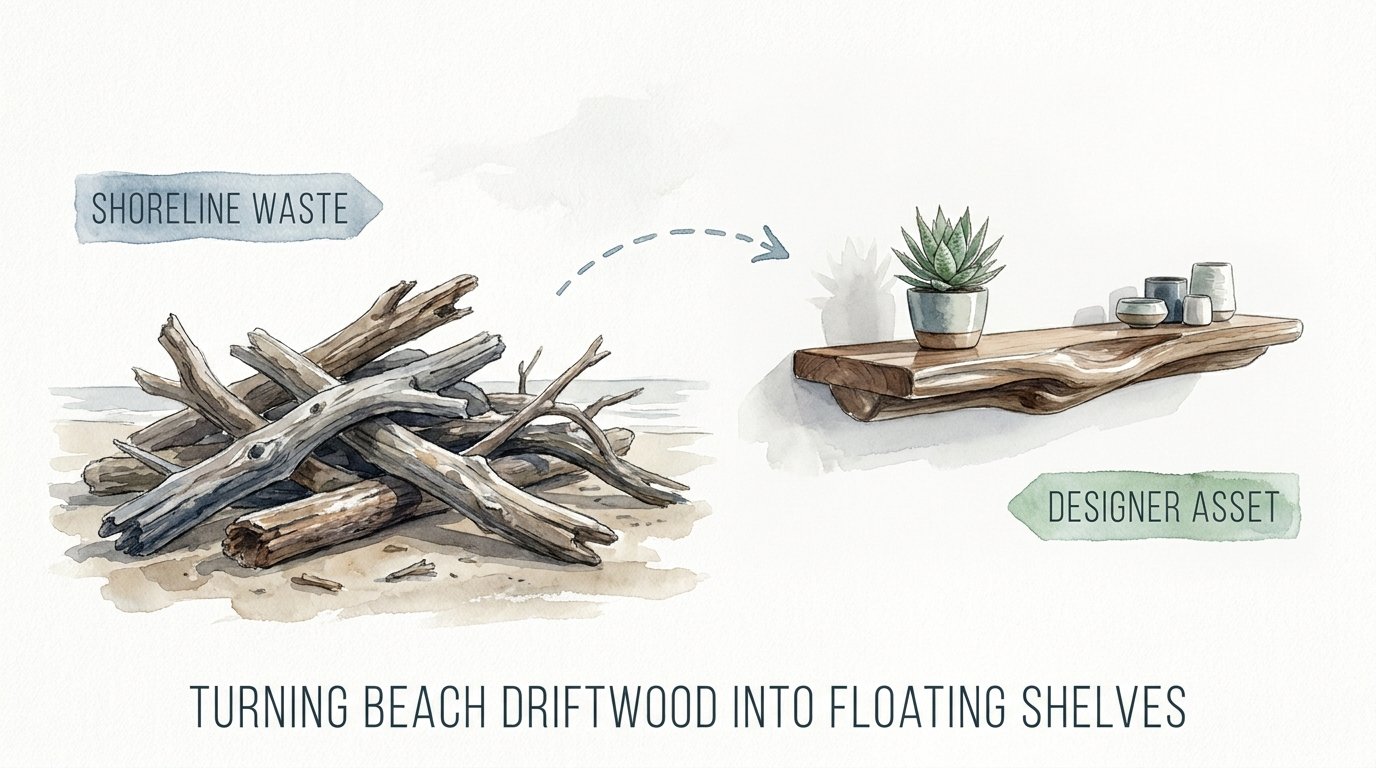
The ‘trash’ you’re stepping over on your morning walk is actually a $600 architectural anchor waiting for a purpose. Most people see a pile of debris and look for a trash can. The strategist sees the world’s most durable, pre-weathered building material that costs exactly zero dollars to harvest.
[affiai]Shoreline waste is often viewed as a nuisance to be cleared by the city, but in the hands of a maker, it becomes a designer asset. This wood has been tumbled by tides, bleached by relentless UV rays, and stripped of its softest fibers until only the resilient heart remains. It possesses a character that no factory distressing process can replicate.
Converting these found objects into functional furniture requires more than just a bracket and a drill. It demands an understanding of wood movement, salt-water chemistry, and structural physics. You are not just hanging a board; you are preserving a piece of geological history and integrating it into the modern home.
Whether you found a sun-bleached cedar log on the Pacific coast or a salt-crusted oak limb in an estuary, the transformation process is the same. It takes patience, grit, and a few specialized techniques to ensure your shelf doesn’t just look good, but stays level and secure for decades.
Turning Beach Driftwood Into Floating Shelves
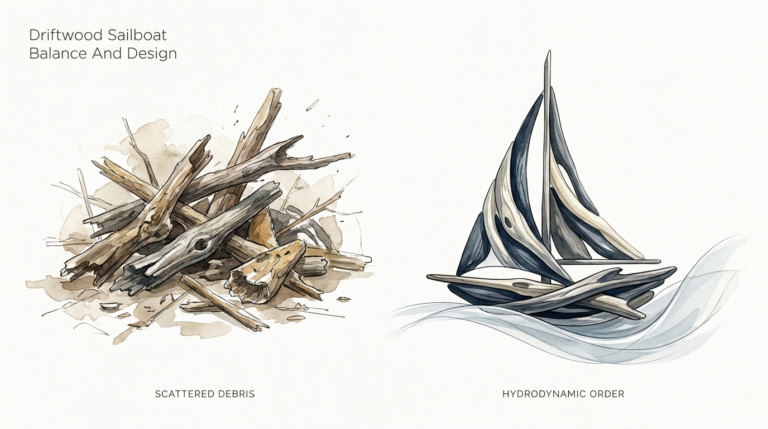
Driftwood floating shelves represent the intersection of rugged coastal history and modern minimalist design. Unlike standard lumber, driftwood is wood that has been washed onto a shore or beach of a sea, lake, or river by the action of winds, tides, or waves. It exists as a byproduct of natural erosion, fallen trees, or even remnants of old piers and shipwrecks.
In a real-world setting, these shelves serve as high-impact focal points. They provide a “live edge” aesthetic that is far more organic and irregular than the slabs found in high-end furniture boutiques. Because the wood has already survived years of immersion and abrasion, it is remarkably stable once properly dried and treated.
Think of driftwood as wood that has already gone through the ultimate stress test. The water has leached out many of the sugars and starches that attract rot and insects, while the sun has cured the exterior. When you bring this into your home as a floating shelf, you are using a material that has been “seasoned” by the planet itself.
Visualizing the concept is easy: imagine a heavy, silver-gray timber that appears to grow directly out of your drywall. There are no visible brackets, no clunky supports, and no hardware in sight. The shelf looks as though it is hovering, anchored by unseen forces, carrying the weight of your books or heirlooms with ease.
How to Process and Prepare Driftwood
The journey from the tide line to the living room wall is a process of stabilization and sanitation. You cannot simply take a wet log from the beach and screw it to a stud. Doing so introduces salt, moisture, and potential pests into your home’s ecosystem.
Step 1: Legal Harvesting and Selection
Before you load your truck, you must know the local laws. In states like Oregon, personal-use harvesting is often permitted up to a certain volume, such as one cubic yard per day. However, in places like Michigan, removing “dead and downed” wood from state-owned land is strictly prohibited to protect local habitats. Always check with the Department of Natural Resources or local coastal authorities first.
Look for “structural” driftwood. This means pieces that feel heavy for their size and do not crumble when poked with a screwdriver. Cedar, juniper, and oak make excellent shelves because their heartwood is naturally resistant to decay. Avoid wood that is “punky” or feels like a sponge, as it will never hold the weight of a mounting bracket.
Step 2: Deep Cleaning and Salt Removal
Salt is hygroscopic, meaning it pulls moisture from the air. If you don’t remove the salt from the wood, your shelf may “sweat” in humid weather, ruining your wall’s paint or attracting mold. Submerge the wood in a large trough of fresh water for 48 to 72 hours. This “osmotic bath” draws the salt out of the fibers.
After the soak, use a stiff-bristled brush to scrub away sand, silt, and dried seaweed. For deep crevices and knots, a water flosser or a pressure washer on a low setting can blast out hidden debris. This is also the time to use a 1:10 bleach-to-water solution to kill any bacteria or fungal spores lurking in the grain.
Step 3: The Drying Phase
Patience is the pioneer’s greatest tool. Wood needs to reach an internal moisture content of about 6% to 10% for indoor furniture. The general rule for air-drying is one year of waiting for every inch of thickness. To speed this up, you can build a simple solar kiln using a black tarp and a sunny spot in your yard, which can drop the moisture levels in a few weeks.
Step 4: Milling the “Back-Flat”
A floating shelf needs a perfectly flat surface to sit flush against the wall. Since driftwood is almost always twisted or bowed, you must create this flat plane. Use a table saw with a tall fence or a hand plane to shave down the side of the log that will face the wall. This “milled back” provides the structural foundation for your mounting hardware.
Benefits of Using Driftwood for Shelving
The primary advantage is the total lack of material cost. While a “live edge” walnut slab can cost hundreds of dollars at a specialty lumber yard, driftwood is a gift from the tide. For the price of a few brackets and some sandpaper, you can create a piece of furniture that rivals high-end gallery decor.
Durability is another significant factor. Much of the driftwood found on coastlines has had its softer sapwood stripped away by the elements. What remains is the dense, rot-resistant heartwood. This makes it incredibly hard and resistant to dings or scratches compared to soft, kiln-dried pine from a big-box store.
The aesthetic value is unmatched. Every piece of driftwood is a one-of-one original. The grain patterns are highlighted by the “silvering” effect of UV exposure, and the shapes are carved by the random chaos of the ocean. You are not just adding storage to your home; you are adding a conversation piece with a soul.
Challenges and Common Mistakes
The most frequent error is failing to treat the wood for pests. Coastal wood can harbor wood-boring beetles or termites. If you skip the heat-treating or borate-soaking phase, you might unknowingly introduce these insects into your home’s framing. Always ensure the wood is either kiln-dried or treated with a safe insecticide like Bora-Care before installation.
Another pitfall is ignoring the “back-flat” requirement. If the back of your driftwood isn’t perfectly square to the holes you drill for the brackets, the shelf will sag or tilt. Even a 2-degree error at the wall can lead to a 1-inch drop at the front edge of the shelf. Precision in the milling stage is non-negotiable.
Salt leaching is a hidden danger. If the wood wasn’t soaked in fresh water long enough, the salt will eventually react with the metal mounting brackets, causing them to rust and fail. Using stainless steel or galvanized hardware can mitigate this, but a thorough fresh-water soak is the better preventative measure.
Limitations of Driftwood Shelving
Weight is a major constraint. Driftwood is often much heavier than hollow, box-style floating shelves. This means you must anchor the brackets directly into wall studs. If your studs aren’t positioned where you want the shelf, you may need to open the wall and install horizontal blocking to support the load.
Environmental limitations also apply. Because driftwood is a natural, irregular material, it doesn’t always provide a perfectly flat top surface. If you intend to use the shelf for fine glassware or spindly vases, you may need to do additional carving or use epoxy to create a level landing zone.
Finally, driftwood isn’t suitable for all design styles. Its rugged, “pioneer-grit” appearance can clash with ultra-modern, high-gloss interiors. It thrives in “coastal modern,” “industrial,” or “rustic” settings where the imperfections of the wood are celebrated rather than hidden.
Driftwood vs. Kiln-Dried Lumber
| Feature | Beach Driftwood | Kiln-Dried Lumber |
|---|---|---|
| Material Cost | Zero / Found | High ($15 – $50+ per bd ft) |
| Preparation Time | High (Weeks to Months) | Low (Ready to use) |
| Internal Stress | Low (Naturally seasoned) | Medium (Rapid drying) |
| Uniqueness | Total / Organic | Low / Uniform |
| Complexity | High (Irregular shapes) | Low (Predictable dimensions) |
Practical Tips and Best Practices
- Use All-Thread Rods: For a low-cost, heavy-duty mounting system, use 1/2-inch all-thread steel rods. Drill into the wall studs, epoxy the rods into the wall, and ??? slide your pre-drilled driftwood onto the rods.
- The “Tap Test”: Before spending hours cleaning a piece, hit it with a hammer. A sharp “crack” means the wood is solid. A dull “thud” or any crumbling indicates internal rot.
- Leveling with Jigs: Create a simple wooden jig to ensure your drill bit stays perfectly perpendicular when boring holes into the back of the shelf. A crooked hole in the wood is nearly impossible to fix later.
- Preserve the Patina: Avoid heavy stains. Use a simple coat of clear matte polyurethane or hemp oil to protect the wood while keeping that iconic “driftwood gray” color.
Advanced Considerations for Serious Makers
Serious practitioners often look beyond basic mounting. For very large, heavy pieces, consider using specialized “Hovr” or “Shepard” brackets. These high-performance aluminum extrusions allow for micro-adjustments in leveling even after the shelf is mounted, which is a lifesaver when dealing with the “wavy gravy” of older walls.
Integrated lighting is another way to elevate the project. Routing a small channel on the underside of the driftwood allows you to install LED light strips. This creates a “glow” effect that highlights the texture of the wall and the wood simultaneously. If you’re using this in a bathroom, ensure your finish is moisture-resistant to prevent the wood from expanding and contracting with shower steam.
Structural reinforcement may be necessary for softer driftwood species like cottonwood. You can stabilize these pieces by injecting thin cyanoacrylate (CA) glue or clear epoxy into cracks. This binds the loose fibers together, turning a decorative piece into a load-bearing asset without changing its visual character.
Realistic Example Scenario
Imagine you find a 48-inch piece of weathered Western Red Cedar after a storm. It’s roughly 8 inches deep and 3 inches thick. After a 3-day freshwater soak and 4 weeks in a DIY solar kiln, the moisture content drops to 8%.
You decide to mount it in the kitchen as a spice rack. First, you use a table saw to rip a 1/4-inch slice off the back, creating a flat surface. You locate three studs in your wall, spaced 16 inches apart. Using a 1/2-inch spade bit, you drill three 6-inch deep holes into the back of the cedar, perfectly aligned with those studs.
You install three 10-inch heavy-duty steel shelf pins into the wall. After applying a light coat of beeswax to the cedar to deepen the grain, you slide the wood onto the pins. The result is a rock-solid shelf that can support 75 pounds of cast-iron cookware without a hint of sagging.
Final Thoughts
Transforming shoreline waste into high-end furniture is a masterclass in seeing value where others see debris. It is a process that rewards the patient and the precise. By following the steps of legal harvesting, deep sanitation, and mechanical milling, you turn a piece of “trash” into a structural anchor for your home.
This project represents the best of the pioneer spirit—making something from nothing and doing it with enough integrity to last a lifetime. The materials are free, the history is rich, and the final product is a testament to the enduring strength of the natural world.
As you look at the beaches or riverbanks in your area, remember that the best architectural details aren’t always found in a catalog. Sometimes they are waiting for you at the high-tide line, seasoned by the salt and ready for a new purpose. Experiment with different species and mounting techniques, and you’ll soon find that the most beautiful parts of your home are the ones you rescued from the waves.
Sources
1 wwhardware.com (https://www.wwhardware.com/shop-hardware/shop-floating-shelves?cat=930&manufacturer=1173) | 2 sos.state.or.us (https://vertexaisearch.cloud.google.com/grounding-api-redirect/AUZIYQE9vCjizEkc0NArF8VJqu82XHTgmJZC9qwd4rkaFEmCycy0e1PPtOC9YJWs5QQiCM_Q3UKZim7-ko8aMBjJxCwGJtC8XPtrGr4yISHy0FryWBr0CqQb4TLhZA6oYV7gbpZYZFwkaTF__mHgDsMfzl5XtV3tbXEXPyoTkn0XyXQ50PdFTQKdaeo=) | 3 99wfmk.com (https://99wfmk.com/michigan-driftwood-collection-rules/) | 4 youtube.com (https://www.youtube.com/watch?v=aFWLyAPowMA) | 5 barktoboard.com (https://barktoboard.com/kiln-dried-lumber-vs-air-dried-lumber/) | 6 boldesigninc.com (https://boldesigninc.com/is-kiln-dried-lumber-worth-it/) | 7 theknottylumberco.ca (https://theknottylumberco.ca/blogs/hardwoods-101/wood-identification-guide)