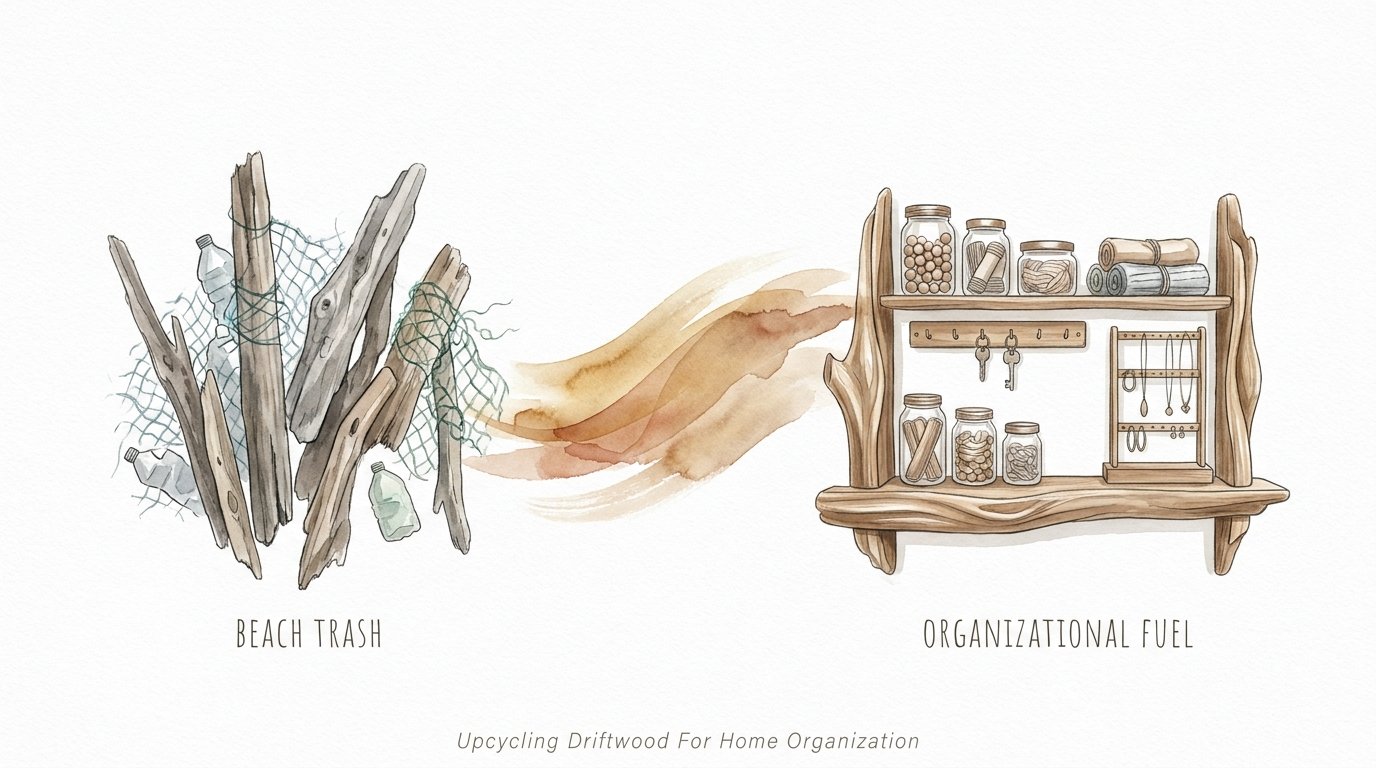
Upcycling Driftwood For Home Organization
The ‘mess’ you walked over this morning is the premium furniture you think you can’t afford. The world calls it ‘beach debris.’ We call it the raw fuel for a more organized life. While retailers charge hundreds for ‘reclaimed’ aesthetics, the ocean is dumping industrial-strength building materials on the sand for free. That tangled mess of salt-bleached timber is actually a modular shelving system waiting to be unlocked. Stop seeing litter and start seeing the architecture of your next home project.
[affiai]Modern living often feels cluttered and disconnected from the elements that ground us. We buy plastic bins and particle-board shelves that sag under the weight of our own existence. There is a different path, one paved with the grit of those who know how to salvage value from the tide. Upcycling driftwood is more than a weekend craft; it is a restoration of utility. It is about taking something weathered by the Pacific or the Atlantic and giving it a permanent station in your mudroom or kitchen.
By understanding the physics of salt-cured timber, you can build organizers that outlast anything found in a big-box store. This guide will walk you through the process of identifying structural gold, treating it for indoor longevity, and mounting it with professional precision. We are moving past the “decorative” phase of upcycling and into the realm of high-utility home organization.
Upcycling Driftwood For Home Organization
Upcycling driftwood for home organization is the practice of reclaiming wood that has been washed ashore and converting it into functional storage systems. This isn’t just about picking up a pretty stick and leaning it against a wall. It is an intentional process of selection, sanitation, and structural engineering to solve storage problems. Whether it is a floating shelf for a heavy collection of cast-iron pans or a rack for wet coats, driftwood offers a density and character that new lumber cannot match.
Driftwood exists in a unique state of preservation. As wood floats in the ocean or sits in a river, it undergoes a natural “seasoning” process. The water leaches out the sap and sugars that normally attract rot-inducing fungi and pests. Meanwhile, the sun bleaches the surface and the salt acts as a natural preservative. What remains is often the dense, skeletal core of the tree—the most durable part.
In real-world applications, high-end interior designers use these pieces as focal points in minimalist or rustic homes. However, the pioneer approach is to use them for their strength. Because the wood has already survived the mechanical stress of waves and rocks, it is naturally resistant to warping. A properly prepared piece of driftwood is a stable, hardened material that provides a perfect foundation for hooks, shelves, and dividers.
How to Process Driftwood for Structural Use
The journey from the shoreline to your wall requires a disciplined approach to sanitation and preparation. You cannot simply bring a wet log into your house and expect it to behave. You must first ensure it is clean, dry, and free of the hidden residents that might compromise your home’s integrity.
First, you must conduct the “Pick Test” to identify structural rot. Take a small flat-head screwdriver or a knife and attempt to press it into the wood. If the blade sinks in easily or the wood crumbles like a carrot, that piece is “Beach Trash” and should stay on the sand. If the blade resists and the wood only splinters in long, healthy fragments, you have found “Organizational Fuel.”
Once you have selected your material, the cleaning process begins with a dry brush. Use a stiff wire brush to remove sand, loose bark, and dried salt from the surface. This reveals the true grain and shows you where the wood might be hiding internal cracks. After the dry brush, you must move to a chemical soak.
A solution of one part bleach to ten parts water is the standard for killing deep-seated bacteria and mold. Submerge the wood for at least 12 to 24 hours. For pieces that will be used in sensitive areas like the kitchen, some practitioners prefer a “Super Washing Soda” bath to further leach out tannins that could stain your walls. After the soak, rinse the wood thoroughly with fresh water and prepare for the drying phase.
Drying is the most critical step. If you seal moisture inside the wood, it will rot from the inside out once it hits the warm air of your home. Large logs should air-dry in a shaded, well-ventilated area for at least two to four weeks. If the piece is small enough, you can “bake” it in an oven at 250 degrees Fahrenheit for one to two hours to ensure all internal moisture and remaining pests are eliminated.
The Practical Benefits of Reclaimed Beach Timber
Choosing driftwood over standard store-bought lumber provides several measurable advantages. The primary benefit is structural stability. Because the wood has already been “stressed” by the environment, it has reached its final form. It is unlikely to shrink, expand, or bow after you have mounted it, provided it was dried correctly.
Environmental impact is another significant factor. Every piece of driftwood you salvage is one less piece of plastic or newly-logged timber brought into your home. This is a closed-loop system of organization. You are removing debris from a coastline and converting it into a lifetime asset.
There is also a cost-to-value ratio that is hard to ignore. A single six-foot piece of weathered oak or cedar found on a beach would cost hundreds of dollars at a boutique furniture store. By doing the labor of salvaging and treating it yourself, you gain a high-end architectural element for the cost of a few mounting brackets and a bottle of bleach.
Finally, the aesthetic utility is unmatched. Driftwood brings a “wabi-sabi” or “pioneer-grit” feel to a room. It breaks up the sterile lines of modern drywall and provides a conversation piece that serves a daily function. A coat rack made from a storm-tossed branch carries more weight and history than a mass-produced metal peg.
Challenges and Common Pitfalls
The most common mistake beginners make is skipping the sanitation phase. It is tempting to take a beautiful piece of wood and immediately screw it into the wall. However, beach-found wood often carries wood-boring beetles or termites. Without a bleach soak or heat treatment, these pests can migrate from your new shelf into your home’s framing.
Another challenge is the salt content. Driftwood is saturated with salt, which is hygroscopic—meaning it attracts moisture from the air. If you do not rinse and seal the wood properly, it can “weep” in humid weather. This moisture can ruin the paint on your walls or cause the mounting hardware to rust prematurely.
Weight distribution is the final major challenge. Unlike a flat board from the lumber yard, driftwood is irregular. Finding the center of gravity and ensuring the mounting points are level requires more patience than a standard project. If you drill into a weak point of a gnarled branch, you risk the entire shelf shearing off under the weight of your books or tools.
Limitations and Environmental Constraints
While driftwood is a powerful resource, it is not a universal solution. One major limitation is weight capacity. Because the wood is often gnarled or hollowed out by erosion, it may not have the internal cross-section to support extremely heavy loads like a full library of books. It is best suited for medium-weight organization: coats, kitchen jars, jewelry, or display items.
Legalities are also a boundary that every salvager must respect. In many regions, collecting driftwood is regulated to prevent coastal erosion. For example, in California, you are generally limited to 50 pounds of driftwood per day for personal use. In the United Kingdom, some local councils strictly prohibit the removal of beach timber to protect the shoreline from the sea’s power.
Environmental ethics should also guide your harvest. Large logs often serve as critical habitats for birds and marine life. As a rule of thumb, only take what you can carry by hand. If a piece is buried deep in the sand or serves as the foundation for a dune, leave it. The goal is to be a steward of the beach, not a looter.
Comparison: Store-Bought Pine vs. Salvaged Driftwood
| Factor | Standard Pine Board | Salvaged Driftwood |
|---|---|---|
| Raw Cost | $15 – $40 per board | Free (Labor intensive) |
| Durability | Soft; prone to dents | High (Hardened by salt/sun) |
| Warping Risk | Medium (if not kiln-dried) | Low (Naturally seasoned) |
| Preparation | Minimal (Sand and stain) | High (Bleach, dry, seal) |
| Character | Uniform / Mass-produced | Unique / One-of-a-kind |
Practical Best Practices for Mounting
Mounting irregular wood requires a shift in how you think about hardware. Standard L-brackets often look bulky and ruin the natural silhouette of the piece. For a cleaner look, use “Keyhole” router bits. This allows you to cut a slot directly into the back of the wood so it can slide onto screws driven into your wall studs.
Always use a stud finder. Driftwood is heavier than it looks, and because the shapes are often unbalanced, you cannot rely on drywall anchors alone. At least one primary mounting point must be anchored into a wooden stud. If the studs don’t align with your wood’s best mounting points, consider mounting the driftwood to a backer board first, then securing that board to the wall.
Finish the wood with a natural oil to keep it from splintering. Driftwood is naturally very dry. Applying a coat of Linseed oil or Tung oil will “feed” the wood and give it a subtle sheen without making it look like plastic. This also helps seal in any remaining salt so it doesn’t damage your wall finish.
Advanced Considerations for Serious Builders
For those looking to create larger installations, such as a full mudroom storage unit, internal reinforcement is necessary. You can drill deep holes into the thickest parts of your driftwood and insert 3/8-inch steel threaded rods. These rods can then be anchored into the wall framing, creating a “floating” effect that can support hundreds of pounds.
Consider the species of wood you are upcycling. Hardwoods like Oak, Manzanita, and Mopani are the gold standard. They are incredibly dense and offer the best screw-holding power. Softwoods like Pine or Cedar are lighter and easier to work with, but they may require pre-drilling every single hole to prevent the weathered fibers from splitting.
Think about the “Micro-Habitats” within the wood. If your piece has deep crevices or hollows, don’t fill them. These are perfect for tucking in small organization elements like magnetic strips for keys or recessed LED lighting. By working with the natural geometry of the wood, you create a piece of furniture that looks like it grew directly out of your wall.
Scenarios: From Beach to Home Office
Imagine a small, gnarled branch of salt-whitened cedar found after a winter storm. After the cleaning and drying process, you find it has three natural “hooks” where smaller branches once were. By mounting this horizontally in your entryway, you create a heavy-duty key and dog-leash station that no store-bought plastic rack can compete with.
Consider a larger, flatter piece of “drift lumber”—perhaps a remnant of an old pier. This piece has been battered flat by years of wave action. By sanding the top surface and leaving the edges raw, you can mount it in your kitchen as a spice shelf. The salt-bleached grey of the wood provides a perfect contrast to glass jars and stainless steel hardware.
In a home office, a vertical piece of driftwood can become a cord organizer. By drilling small holes along the length of a gnarled branch, you can thread your charging cables through the wood. This hides the “tech mess” behind a piece of natural history, grounding your workspace in something ancient and durable.
Final Thoughts
The transition from a consumer to a maker starts when you stop seeing the world as a finished product. That driftwood on the beach isn’t waste; it is a high-performance material that has already passed the ultimate durability test. By taking the time to harvest, sanitize, and engineer these pieces, you are doing more than just organizing your home. You are practicing a form of “pioneer-grit” that values utility and history over convenience.
Do not be intimidated by the preparation process. The time spent soaking, drying, and testing the wood is what separates a professional build from a temporary craft. Every hour you invest in the wood’s integrity will be repaid in decades of service. Start small with a single hook or a simple shelf, and let the lessons of the tide guide your hands.
As you begin your next project, remember that the most organized life is one where every object has a story and every shelf has a soul. The ocean has provided the material; the rest is up to you. Get out to the shoreline, find your fuel, and start building something that lasts.
Sources
1 driftwoodacademy.com (https://driftwoodacademy.com/is-it-legal-to-collect-driftwood/) | 2 wikihow.com (https://www.wikihow.com/Preserve-Driftwood) | 3 dksstores.com (https://dksstores.com/blog-post49) | 4 cwc.ca (https://cwc.ca/articles/assessing-and-restoration-of-decay/) | 5 craftiments.com (https://craftiments.com/diy-driftwood-tutorial/) | 6 parklanejewelry.com (https://www2.parklanejewelry.com/how-to-clean-driftwood/) | 7 windermerewhidbeyisland.com (https://windermerewhidbeyisland.com/2024/11/04/driftwood-that-line-the-beaches-of-whidbey) | 8 vietaquaticwoods.com (https://vietaquaticwoods.com/best-driftwood-for-aquarium/) | 9 diydriftwood.com (https://diydriftwood.com/make-your-own-driftwood/) | 10 hawk-hill.com (https://www.hawk-hill.com/how-to-clean-driftwood/)