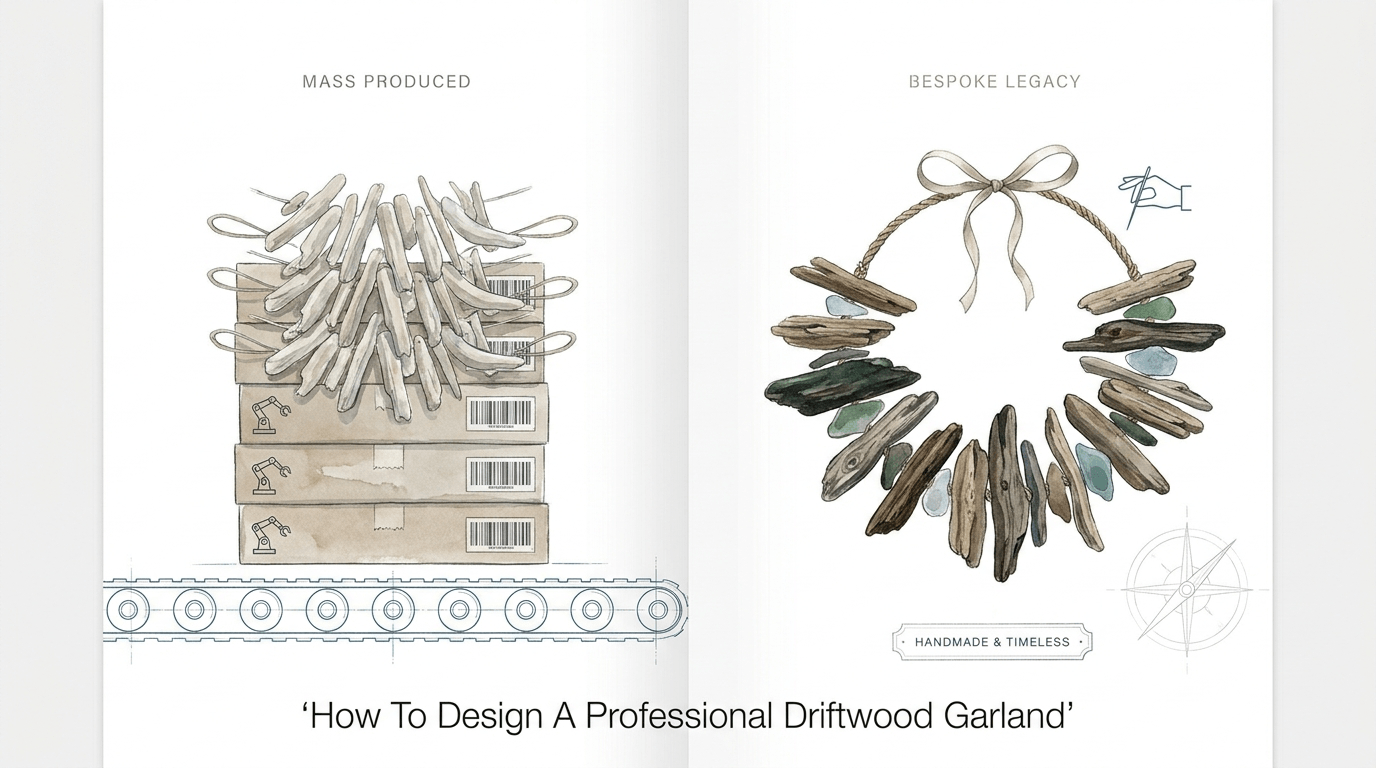
How To Design A Professional Driftwood Garland
Stop buying solutions designed to break and start producing the infrastructure your life requires. A consumer buys a ‘product’; a producer builds a legacy. When you make your own driftwood garland, you aren’t just decorating—you’re mastering a resource and creating a one-of-a-kind artifact that no factory can reproduce. This craft is a testament to the patient work of water and time, requiring you to step into the role of both scavenger and architect.
[affiai]Modern home decor often relies on fragile, synthetic materials that lack a history. Producing your own decor from salvaged materials allows you to reclaim a sense of self-reliance while grounding your living space in the organic reality of the natural world. This guide provides the technical depth needed to transform raw beachcombed timber into a professional-grade installation.
Focusing on the “producer” mindset means understanding the materials at a granular level. You are not just stringing sticks together; you are preserving a biological narrative. Every knot tied and every hole drilled is a deliberate act of creation that turns a piece of detritus into a permanent fixture of your home’s heritage.
How To Design A Professional Driftwood Garland
Professional driftwood garlands are more than simple strings of wood; they are sculptural installations that leverage the unique textures and shapes of weathered timber. These pieces are used in high-end coastal design, rustic farmhouse aesthetics, and minimalist interiors to introduce organic warmth and structural interest. At its core, a professional garland is a series of curated wood segments, often interspersed with natural elements like sea glass, stone, or clay beads, suspended on high-tensile cordage.
The professional designation comes from the attention to balance, scale, and preservation. Unlike a hobbyist project that might rot or harbor pests, a professional-grade garland is thoroughly sanitized, structurally sound, and aesthetically balanced. It functions as a focal point, drawing the eye through a room with its rhythmic patterns and varied patinas.
Visualization is key when beginning this process. Imagine the garland as a “Valhalla Ladder”—a traditional nautical concept where every rung represents a different journey. In a practical interior setting, these garlands are draped over fireplace mantels, wrapped around porch railings, or hung vertically as room dividers. Understanding the spatial relationship between the wood and the void is what separates a professional build from a cluttered mess.
The Philosophy of Material Selection
Selecting your timber is the first act of design. Not every piece of wood found on a shoreline is suitable for a legacy project. Professional designs prioritize “hard” driftwood—wood that has had its soft outer layers stripped away by salinity and friction, leaving behind a dense, bone-like core. These pieces are less likely to split during the drilling process and will hold a finish much more effectively over decades of use.
Consistency in weathering is also a hallmark of professional design. You may choose to group pieces with a similar silver-gray patina for a cohesive look, or mix dark, tannin-rich river wood with sun-bleached ocean wood for a high-contrast aesthetic. The goal is to make the final assembly look as though it were formed by the same singular storm.
How It Works: The Production Process
Producing a professional driftwood garland requires a systematic approach to cleaning, preparation, and assembly. This is not a project to be rushed in a single afternoon. The wood must be treated with the same respect as a piece of fine lumber, despite its rugged appearance.
Sourcing and Legalities
Sourcing starts with ethical and legal scavenging. In the United Kingdom, the Coast Protection Act of 1949 generally allows for the collection of small amounts of driftwood for personal use, provided it does not contribute to coastal erosion. In the United States, regulations vary by state and agency; the Bureau of Land Management (BLM) and Department of Natural Resources (DNR) often allow for the collection of “dead and down” wood, but national parks usually prohibit the removal of any natural material.
Always prioritize public beaches where collection is permitted. Avoid taking “logs” or wood that is deeply buried, as these often serve as critical stabilizers for the shoreline or habitats for local fauna. Focus on the “wrack line”—the high-tide mark where the sea deposits its most weathered treasures.
Sanitization and Preservation
Found wood is a biological hazard until it is treated. It may contain salt crystals that attract moisture, tannins that stain walls, or wood-boring insects. Professional preparation involves a multi-stage cleaning process:
- The Soak: Submerge your wood in a solution of one part bleach to ten parts water for at least 24 hours. This kills bacteria, mold spores, and hidden pests.
- The Neutralizer: If you prefer a more natural approach, a high-concentration vinegar soak can kill most organisms, though it may not bleach the wood as effectively as chlorine.
- pH Balancing: Rinsing the wood thoroughly in fresh water after the chemical soak is essential to stop the degradation of the wood fibers.
- The Cure: Solar drying is the gold standard. Lay the wood on a raised screen in direct sunlight for 3-5 days. For faster results, a low-heat oven (under 200°F) can act as a kiln, but be wary of cracking due to rapid moisture loss.
Drilling and Assembly
Using a drill requires a steady hand and the right bits. A 1/8″ or 3/16″ brad-point bit is ideal because the sharp tip prevents the bit from “walking” on the smooth, curved surface of the wood. Drilling through the center of gravity ensures the piece hangs straight, though intentionally drilling off-center can create a more dynamic, “spinning” effect in vertical garlands.
Thread the pieces onto a high-quality cord. Hemp rope and jute twine are the standard for their nostalgic, nautical feel and high tensile strength. If the garland will be hung outdoors in high-humidity areas, using a monofilament fishing line or stainless steel craft wire provides the necessary weather resistance to prevent the cord from snapping over time.
Benefits of the Producer Approach
Choosing to build your own infrastructure, even in the form of home decor, provides measurable advantages over buying mass-produced items. The producer approach emphasizes durability and specific utility that generic products cannot match.
Practical benefits include:
- Unparalleled Customization: You control the length, weight, and density. Whether you need a 12-foot garland for a grand staircase or a 2-foot accent for a window, the dimensions are entirely up to your requirements.
- Zero Material Cost: Aside from the cost of cordage and a few drill bits, the primary material is a free gift from the environment. This makes it a sustainable way to produce high-value artifacts.
- Structural Integrity: Store-bought garlands often use thin wire or plastic “driftwood” made of resin. Your hand-forged version uses real timber and heavy-duty rope, making it a “legacy” item that can withstand being moved, packed, and displayed for a lifetime.
- Knowledge Mastery: The skills learned—identifying wood species, mastering drill speeds, and understanding cordage tension—are transferable to more complex home infrastructure projects.
Challenges and Common Mistakes
Working with found materials presents unique difficulties that do not exist with store-bought lumber. Precision is harder to achieve when every piece of material is a different shape and density.
Ignoring the Moisture Content: Stringing wood that is still damp internally is a recipe for disaster. As the wood dries inside your home, it will shrink and potentially crack. Even worse, trapped moisture can lead to internal rot that eventually causes the wood to crumble and fall off the string.
Forcing the Drill: Pushing a drill bit too hard through weathered wood often leads to splitting. Driftwood is often “case-hardened” on the outside but brittle on the inside. Using a high-speed, low-pressure approach is necessary to keep the structural integrity of the piece intact.
Over-Sanding the Patina: The silver-gray color of driftwood is a thin layer of oxidized cellulose. Using heavy-grit sandpaper will strip this beautiful history away, revealing the raw, “new” wood underneath. If you must sand, use 150-grit or higher and focus only on sharp splinters that could cause injury.
Limitations: When This May Not Be Ideal
While a driftwood garland is a robust piece of decor, it has realistic constraints. Understanding these limitations prevents you from installing a project in an environment where it will fail.
Environmental limitations are the most significant. Driftwood that has been pulled from a saltwater environment is essentially “pickled” in salt. In extremely humid rooms, such as a small bathroom without a vent, the wood can pull moisture from the air, leading to a constant “damp” feeling and potential mold growth on the surrounding walls.
Weight is another boundary. A 10-foot professional garland made of dense hardwood can weigh upwards of 15 to 20 pounds. This requires structural mounting—screwing hooks into wall studs rather than relying on adhesive strips or small finishing nails. If your living situation prevents you from making permanent holes in the walls, a large-scale driftwood installation may not be the best choice.
Finally, consider the safety of high-traffic areas. Because driftwood is naturally irregular and can have sharp points, hanging it at eye level in a narrow hallway where people or pets frequently pass can be a safety hazard.
Contextual Comparison: Producer vs. Consumer
When deciding whether to dedicate 40 hours to a professional build or 40 dollars to a store-bought version, the following table clarifies the trade-offs:
| Factor | Mass Produced Product | Bespoke Hand-Forged Legacy |
|---|---|---|
| Material | Resin, Plastic, or Low-Grade Softwood | Authentic Weathered Hardwood |
| Longevity | 2-5 Years (Fades or Breaks) | 50+ Years (Increases in Character) |
| Aesthetic | Repetitive, Uniform, Artificial | Unique, Sculptural, Natural Patina |
| Maintenance | Disposable | Periodic Oiling (Linseed or Tung) |
| Skill Level | Opening a Box | Scavenging, Drilling, Rigging |
Practical Tips and Best Practices
Following these industry-standard practices will ensure your garland looks and performs like a professional installation.
- Use Spacers for Rhythm: Professional designers rarely string wood back-to-back. Using sea glass with pre-drilled holes, ceramic beads, or even simple knots between the wood segments allows each piece of driftwood to be seen as an individual sculpture.
- The Tape Trick: Stringing jute or hemp through small holes can be frustrating as the fibers fray. Wrapping the end of your cord tightly with a single layer of masking tape or painter’s tape creates a “needle” that slides through the wood with ease.
- Tension Management: If hanging the garland horizontally, leave a small amount of “slack” in the cord. If the rope is too tight, it will look like a rigid rod. A gentle “catenary curve” is much more pleasing to the eye.
- Weight Distribution: Always place your heaviest and largest pieces in the center or at the bottom of the garland. This provides a visual and physical anchor that keeps the installation from swaying excessively in drafts.
Advanced Considerations: Scaling and Integration
For those looking to take their production skills to the next level, consider how the garland interacts with other home systems. Professional-grade builds often integrate secondary functions.
Hidden Illumination: Weaving a thin copper-wire LED “fairy light” string through the garland can transform it from a daytime sculpture to a nighttime ambient light source. For a truly professional look, use a small chisel to create a shallow channel on the back of the wood pieces to hide the wire, ensuring only the light is visible.
Load-Bearing Variations: A garland can be reinforced with a steel cable core to act as a decorative “curtain rod” for lightweight sheer fabrics. This requires upgrading your mounting hardware to heavy-duty eye bolts and ensuring the wood pieces are large enough to handle the tension of the cable without crushing.
Botanical Pairings: Driftwood is a perfect substrate for air plants (Tillandsia). By using a tiny amount of waterproof floral adhesive or clear fishing line, you can mount living plants directly onto the garland. This creates a “living sculpture” that evolves over time, further blurring the line between the natural world and your interior design.
Scenario: The Mantelpiece Masterpiece
Consider a scenario where you want to decorate a 6-foot wide fireplace mantel. Instead of a flimsy tinsel or plastic garland, you produce a “Legacy Driftwood Installation.”
First, you collect 40 pieces of oak and cedar driftwood, each between 4 and 8 inches long. You spend the weekend sanitizing them in a bleach soak and sun-drying them on the back deck. Using a 3/16″ bit, you drill through the center of each piece.
Next, you choose a 1/4″ dark-stained hemp rope. You decide to use a “Jacob’s Ladder” knotting style, where you tie an overhand knot on either side of each wood piece. This locks the wood in place, preventing it from sliding to the center of the mantel.
Finally, you drape the garland across the mantel, allowing the ends to hang down 2 feet on either side. The weight of the oak pieces provides a satisfying heft, and the silver patina of the wood perfectly complements the brickwork of the chimney. This isn’t just a seasonal decoration; it’s a conversation piece that stays up year-round, representing hours of focused, productive work.
Final Thoughts
Producing your own driftwood garland is a journey back to the fundamentals of craftsmanship. It requires you to look at the world as a warehouse of raw materials waiting for an architect’s eye. By following a rigorous process of sanitization, precision drilling, and thoughtful assembly, you create an artifact that carries the weight of the sea and the mark of your own hands.
The value of this project lies not in the final aesthetic alone, but in the shift in perspective it fosters. You move from being a passive observer of “coastal style” to an active participant in its creation. This mastery of natural resources is the hallmark of a producer who values legacy over the ephemeral convenience of a store shelf.
Apply these techniques to your next project and watch as your home begins to reflect the rugged, enduring spirit of the pioneer. Whether you are building a small accent or a massive structural installation, let every piece of wood remind you that the best infrastructure is the kind you build for yourself.
Sources
1 coastalcottagebyceleste.com (https://www.coastalcottagebyceleste.com/diy/lr0iwt1wrtsiz0a4dzvpbq3m5awhyk) | 2 homify.com.my (https://www.homify.com.my/diy/52765/preserve-driftwood-with-5-things-and-make-a-decorative-object-out-of-it)