Have you ever stumbled upon a piece of driftwood on a beach and imagined the creative possibilities it holds? If so, this article is for you. Driftwood, combined with glass bowls, can transform into stunning home decor pieces that reflect your unique style and connection to nature. Let’s explore various driftwood glass bowl ideas to inspire your creativity and add a rustic yet elegant touch to your living space.
Understanding Driftwood
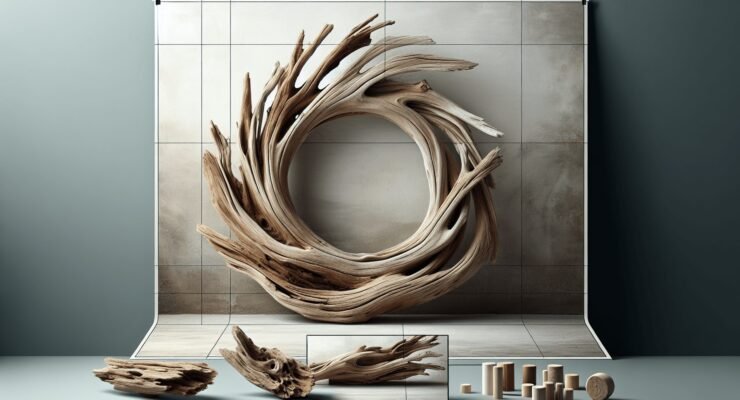
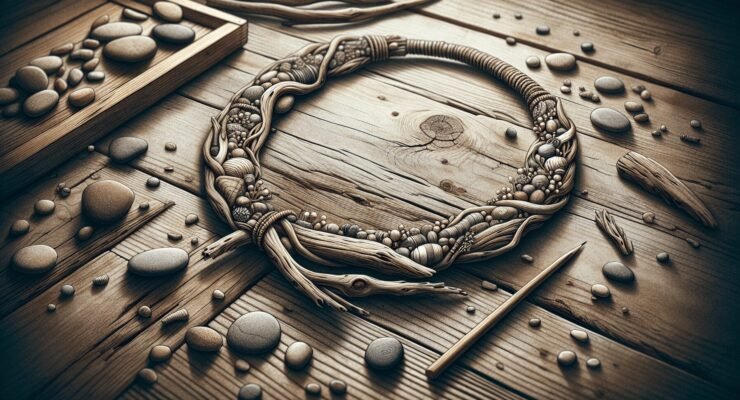
Driftwood is more than just washed-up wood on the beach; it’s nature’s artwork. Distinct in shape and texture, each piece is a one-of-a-kind creation, shaped by the forces of water and time. Before getting into DIY projects and decorative ideas, it’s essential to understand what driftwood is and how to properly prepare it for use.
What is Driftwood?
Driftwood refers to pieces of wood that have been washed ashore by waves, winds, and tides. Over time, these wooden pieces are smoothed and seasoned by saltwater, giving them a unique texture and appearance.
Preparing Driftwood for Use
Before using driftwood in any project, it’s important to clean and preserve it to avoid introducing harmful elements into your home. Here’s a simple step-by-step guide:
- Cleaning: Start by scrubbing the driftwood with a brush to remove sand, dirt, and algae.
- Soaking: Soak the driftwood in a water and bleach solution (1 part bleach to 10 parts water) for 24 hours to kill any bacteria and remove odors.
- Rinsing: Rinse the driftwood thoroughly with fresh water to remove any bleach residue.
- Drying: Let the driftwood dry completely in the sun for a few days to ensure it’s ready for use.
Understanding these basics will ensure your driftwood projects are not only beautiful but also safe and long-lasting.
Driftwood Glass Bowl Ideas
Now that you know how to prepare your driftwood, let’s move on to some inspiring project ideas. These ideas range from simple decorative pieces to more elaborate functional items.
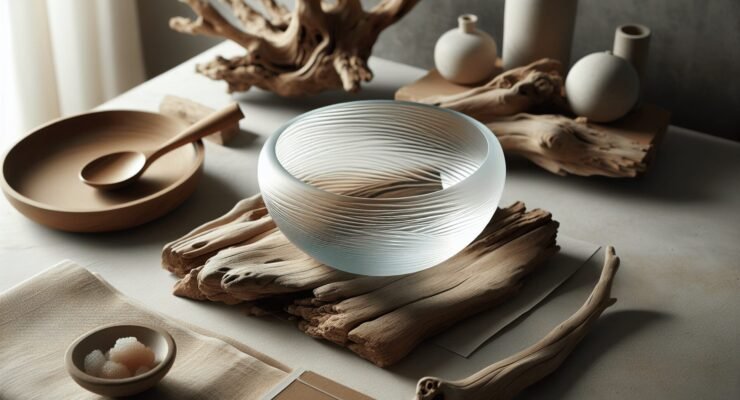
Centerpiece Driftwood Glass Bowl
One of the most eye-catching ways to use driftwood and glass bowls together is by creating a centerpiece for your dining or coffee table. This project is straightforward but delivers a significant impact.
Materials Needed:
- A large piece of driftwood
- A glass bowl (preferably rounded or oval)
- Strong adhesive glue
Instructions:
- Position your driftwood: Find a stable position where your driftwood naturally balances.
- Attach the glass bowl: Using strong adhesive, attach the base of the glass bowl to a flat section of the driftwood.
- Let it set: Allow the adhesive to fully cure.
- Style it: Fill your glass bowl with decorative stones, shells, or even a small plant for added charm.
Driftwood Candleholder with Glass Bowl
Combine the rustic charm of driftwood with the elegance of candlelight to create a driftwood candleholder with a glass bowl. This is perfect for a mantelpiece or as a table accent.
Materials Needed:
- Driftwood (long and flat pieces work best)
- Small glass bowls or votive candle holders
- Tea light candles
- Epoxy glue
Instructions:
- Arrange the driftwood: Position the pieces of driftwood in a way that they form a stable base.
- Attach the bowls: Use epoxy glue to attach the small glass bowls or votive holders to the driftwood.
- Allow to dry: Let the glue dry completely before placing the candles in the holders.
- Light it up: Place tea light candles in the glass holders and light them for a cozy glow.
Driftwood Hanging Planter with Glass Bowl
For a unique way to display your plants, consider creating a hanging planter using driftwood and a glass bowl.
Materials Needed:
- A sturdy piece of driftwood
- A glass bowl with an edge for hanging
- Durable rope or twine
- Small plants or succulents
- Potting soil
Instructions:
- Drill holes in the driftwood: Make two holes on opposite ends of the driftwood for hanging.
- Attach the glass bowl: If your glass bowl has an edge, you can tie the rope or twine around it securely.
- Hanging: Thread the rope or twine through the holes in the driftwood.
- Pot the plants: Fill the glass bowl with potting soil and plant your succulents.
- Hang it up: Find a suitable place to hang your new planter, ensuring it’s secure and balanced.
Driftwood and Glass Bowl Aquarium
Create a miniature aquatic ecosystem by converting your driftwood and glass bowl into an aquarium. This project adds a serene touch to any room and is enjoyable for both children and adults.
Materials Needed:
- A large, clear glass bowl
- Driftwood pieces
- Small aquatic plants
- Fish (such as Betta fish or small tetras)
- Aquarium gravel
Instructions:
- Clean the materials: Ensure the glass bowl and driftwood are clean and free of contaminants.
- Arrange the driftwood: Place the driftwood inside the glass bowl in a visually appealing manner.
- Add gravel: Pour a layer of aquarium gravel into the bowl.
- Plant the aquatic plants: Insert small aquatic plants into the gravel.
- Fill with water: Slowly fill the bowl with water, being careful not to displace the gravel and plants.
- Introduce the fish: Once the water has settled, introduce your fish to their new home.
Driftwood Glass Bowl Terrarium
A terrarium is a fantastic way to bring a piece of nature indoors. Create a miniature landscape using driftwood, a glass bowl, and various terrarium plants.
Materials Needed:
- Driftwood
- Glass bowl with a wide opening
- Small ferns, mosses, and other terrarium plants
- Activated charcoal
- Potting soil
Instructions:
- Prepare the bowl: Place a layer of activated charcoal at the bottom of the bowl to prevent odors and mold.
- Add driftwood: Position the driftwood within the bowl as a focal point.
- Layer soil: Add a layer of potting soil atop the charcoal.
- Plant your greens: Carefully plant the ferns, mosses, and other small plants around the driftwood.
- Maintain it: Water sparingly and keep the terrarium in indirect sunlight.
Driftwood and Glass Bowl Chandelier
For a more advanced project, consider creating a driftwood and glass bowl chandelier. This stunning piece can become the highlight of any room, offering both light and a natural element.
Materials Needed:
- Multiple small glass bowls
- Driftwood branches
- Light bulbs and wiring kit
- Chains or sturdy rope for hanging
Instructions:
- Design your chandelier: Sketch your design to determine how the bowls and driftwood will be arranged.
- Drill holes for wiring: Carefully drill holes through the driftwood to run the wiring.
- Attach the bowls: Secure the glass bowls to the driftwood using epoxy.
- Install the wiring: Run the wiring through the holes and attach the light bulbs.
- Hang the chandelier: Securely hang the chandelier using chains or sturdy rope from a ceiling mount.

Maintenance Tips for Driftwood Glass Bowl Projects
Once you’ve completed your driftwood glass bowl project, you’ll want to keep it looking beautiful and pristine. Here are some maintenance tips to ensure longevity and safety.
Regular Cleaning
Dust and dirt can accumulate on your driftwood and glass bowl, diminishing its aesthetic appeal. Regularly dust and clean your piece using a microfiber cloth. For the glass bowl, you can use a glass cleaner and a lint-free cloth to keep it sparkling.
Dealing with Moisture
If your project involves water, such as an aquarium or a planter, monitor the driftwood for signs of mold or algae. Regular water changes in aquariums and appropriate drainage in planters will keep your item fresh and clean.
Refreshing the Driftwood
Over time, driftwood might lose its luster. To refresh it, you can lightly sand the surface and apply a coat of clear matte varnish to revive its natural beauty without changing its texture.
Maintaining Plants and Fish
For projects involving living elements like plants or fish, ensure you’re providing the proper care. Keep plants trimmed and healthy, and follow established guidelines for feeding and caring for any aquatic life.
Concluding Thoughts
Incorporating driftwood and glass bowls into your home decor opens up a world of creative possibilities. Whether you’re crafting a simple centerpiece or an elaborate chandelier, these projects offer a way to bring the beauty of nature indoors. Each piece you create will not only be unique but also a testament to your creativity and appreciation for natural elements. So go ahead, gather your materials, and let your imagination guide you in creating stunning driftwood glass bowl creations.