The Driftwood Whale
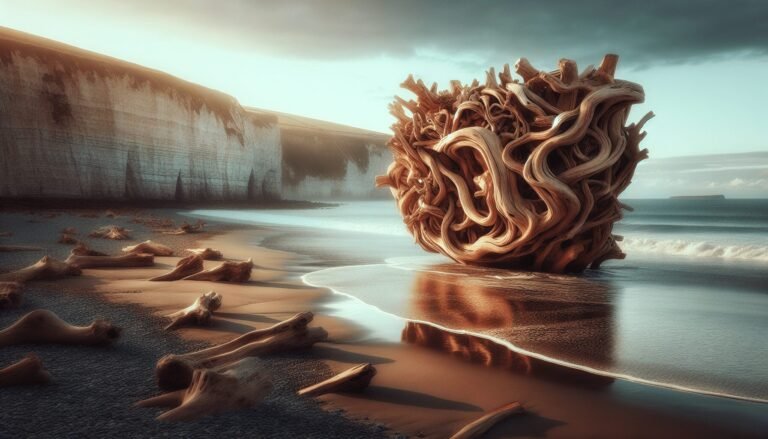
Discover the captivating art of Driftwood Whales—pieces of driftwood naturally shaped into whale-like forms by ocean currents. Learn their history, symbolism, and creative uses.

Discover the captivating art of Driftwood Whales—pieces of driftwood naturally shaped into whale-like forms by ocean currents. Learn their history, symbolism, and creative uses.

Elevate your home with driftwood decor! Discover the charm, versatility, and eco-friendliness of coastal driftwood. Tips, ideas, and DIY guidance.

Create heartfelt Valentine’s Day gifts from driftwood with our step-by-step guide. Unique, eco-friendly, and charming projects to make your day special. Learn more!

Create a stunning driftwood seahorse for Pinterest. This guide merges art and nature, offering tips on selecting materials, construction, and photorealistic imaging. Dive in!
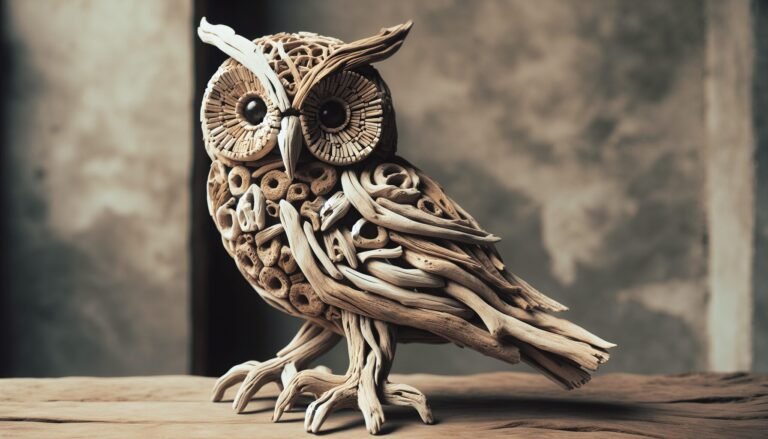
Discover the beauty of creating a Driftwood Owl! Learn how to turn naturally smoothed wood into a mystical owl and embrace the art of eco-friendly crafting. 🌿🦉
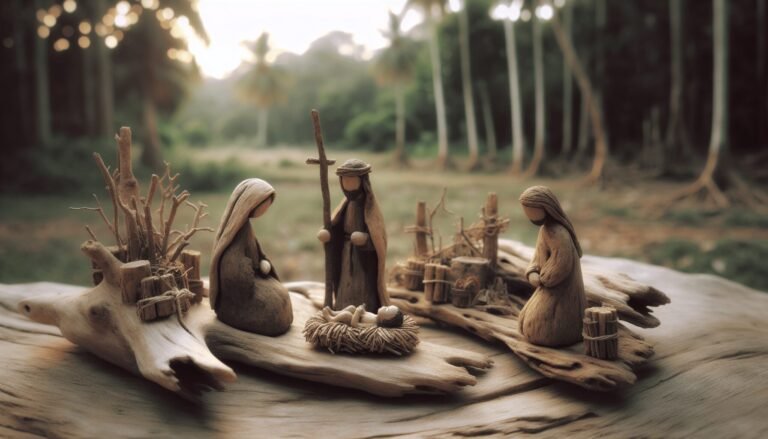
Create a unique, eco-friendly holiday decoration with a Driftwood Nativity Scene. Embrace nature’s charm while crafting rustic and serene festive art. #DIYHolidayDecor
Discover how Driftwood Neptune Paint can bring a serene, coastal vibe to your home decor with its rustic finish, versatile applications, and eco-friendly formulation.
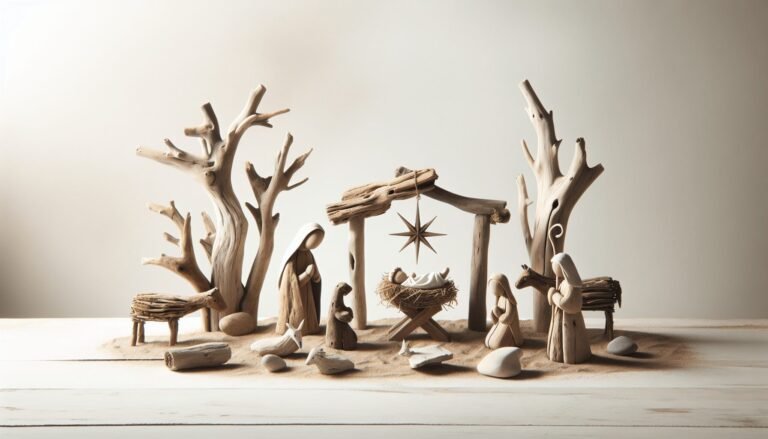
Create a unique and natural holiday decoration with a Driftwood Nativity. Learn to gather, prepare, and assemble driftwood for a rustic and meaningful festive centerpiece.
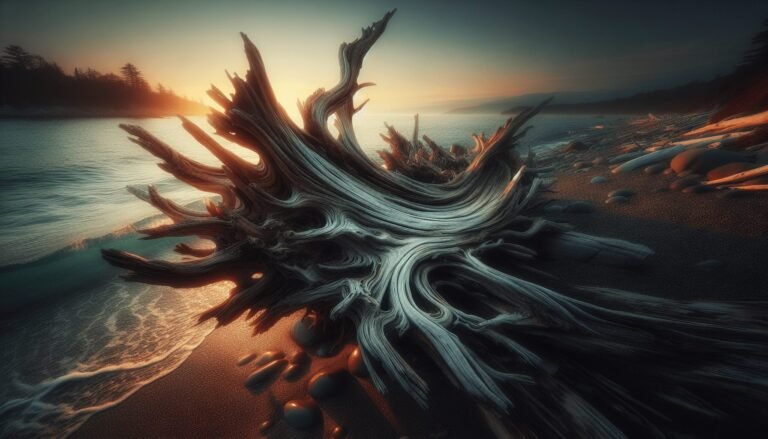
Discover the beauty of giant driftwood art, where nature meets creativity. Explore the origins, techniques, and top artists transforming driftwood into stunning sculptures.
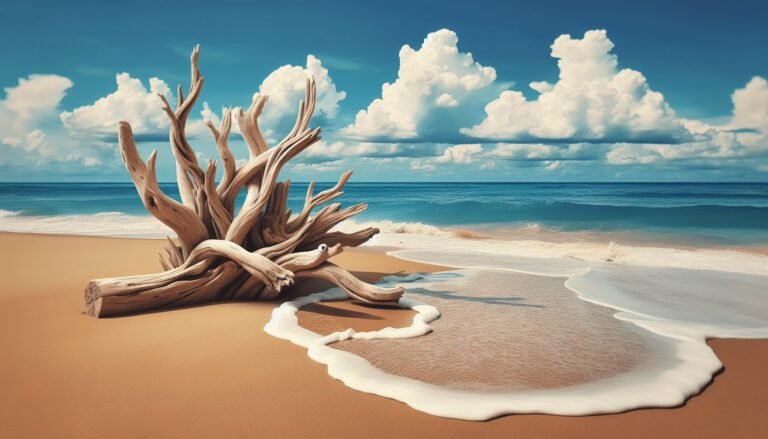
Discover creative driftwood ideas! Turn seaside treasures into stunning home decor. Explore DIY projects from wall art to furniture & unleash your imagination.