Driftwood Framed Art
Discover the enchanting world of Driftwood Framed Art. Transform beachcombed treasures into unique, eco-friendly masterpieces. Dive in and start your coastal decor journey today!
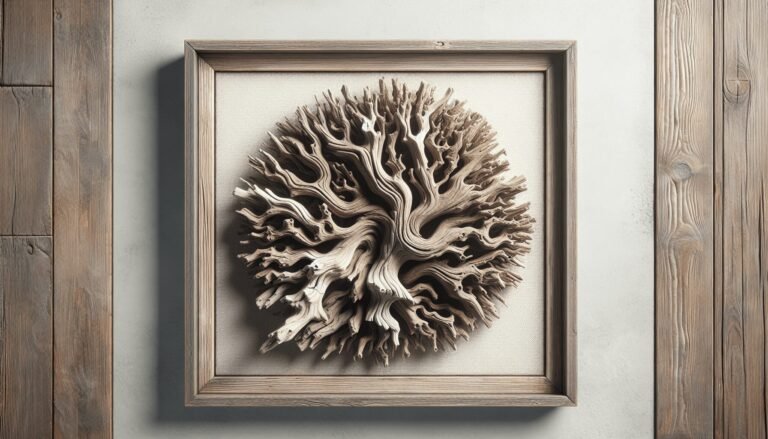
Discover the enchanting world of Driftwood Framed Art. Transform beachcombed treasures into unique, eco-friendly masterpieces. Dive in and start your coastal decor journey today!
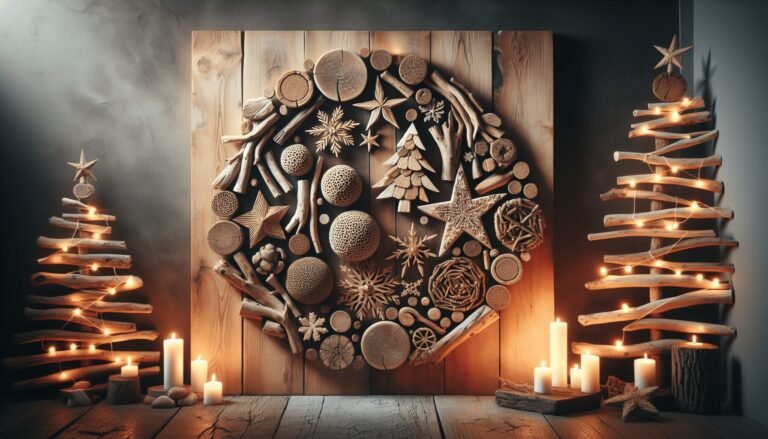
Create festive and eco-friendly Christmas decorations with driftwood! Discover unique ideas, materials, and step-by-step guides to craft stunning wall art for your home.
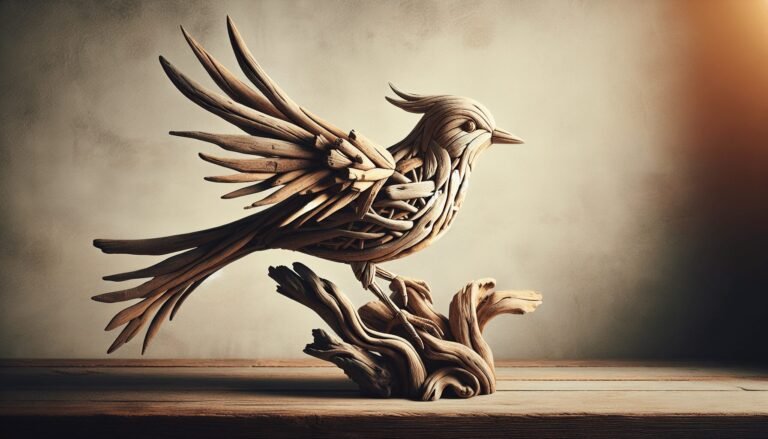
Discover the beauty of “Driftwood Bird Wall Art.” Learn to craft unique bird designs from reclaimed driftwood, adding an eco-friendly and artistic touch to your home.
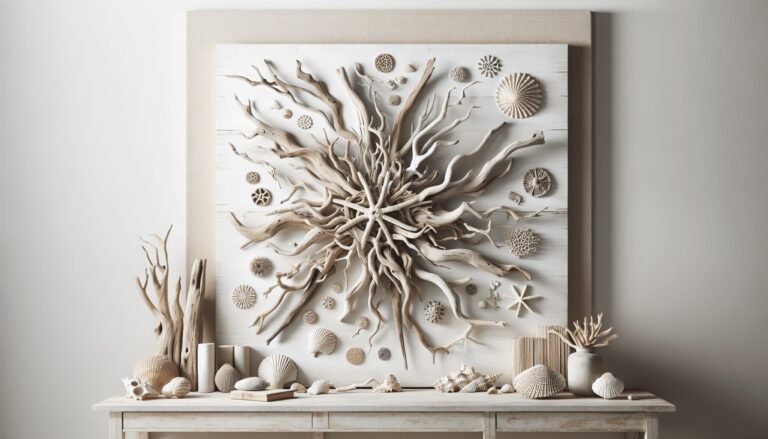
Create coastal charm with driftwood art! Discover stunning wall hanging ideas perfect for your beach house. Transform driftwood pieces into unique, rustic decor.
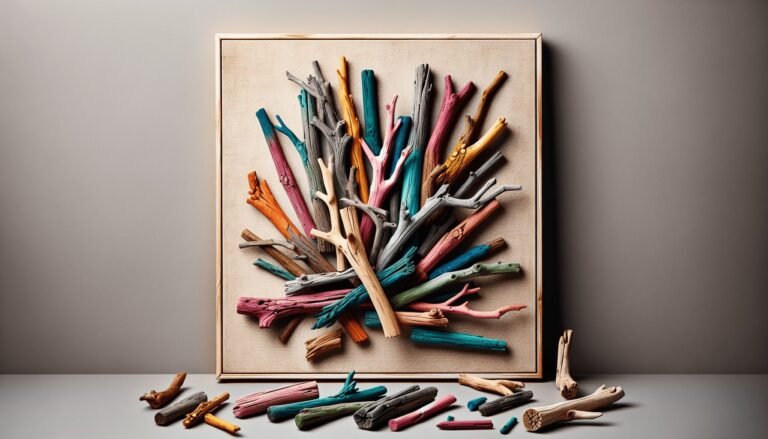
Explore the artistry of Driftwood Wall Art with our guide. Learn how to transform branches & painted sticks into stunning decor. Perfect for DIY lovers & beginners.
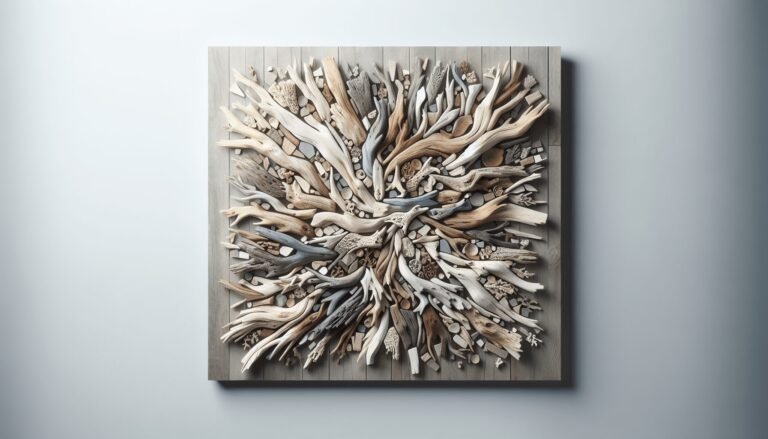
Transform your living space with serene Driftwood Wall Art Mosaic. Discover how to create unique, eco-friendly decor that captures nature’s beauty and adds natural elegance to any room.

Discover the art of Driftwood Floral: combining raw driftwood elegance with exquisite floral arrangements for unique, eco-friendly decor. Perfect for any occasion!
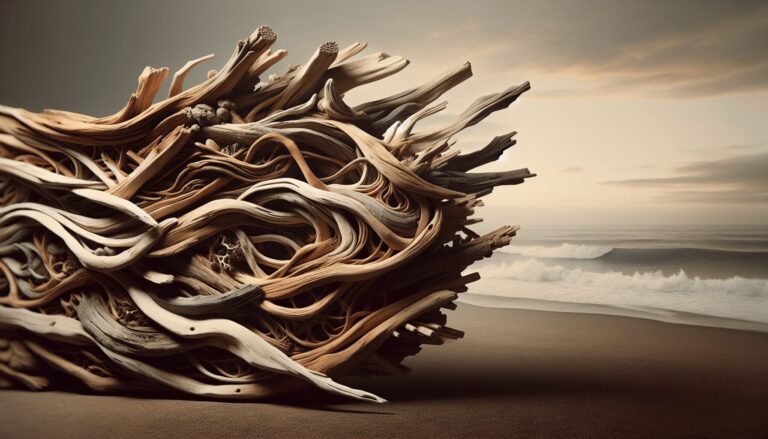
Explore stunning driftwood art projects in our post. Discover creative ideas and step-by-step guides to transform driftwood into unique home decor and sculptures.
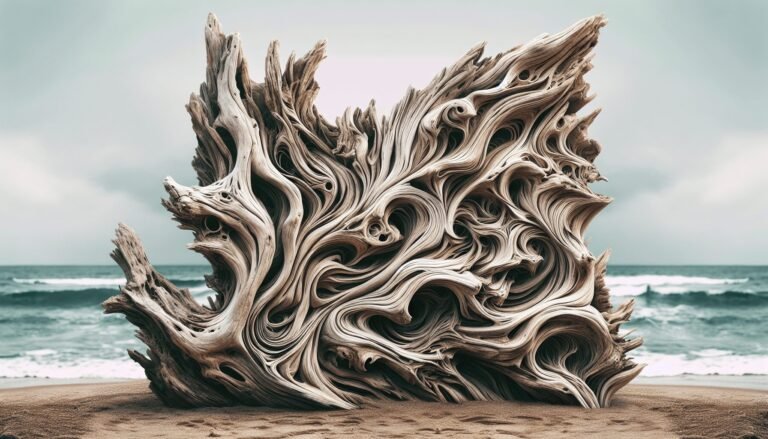
Transform humble driftwood into unique sculptures and statues. Discover the beauty, creativity, and sustainability in these artistic expressions. Dive into driftwood projects!
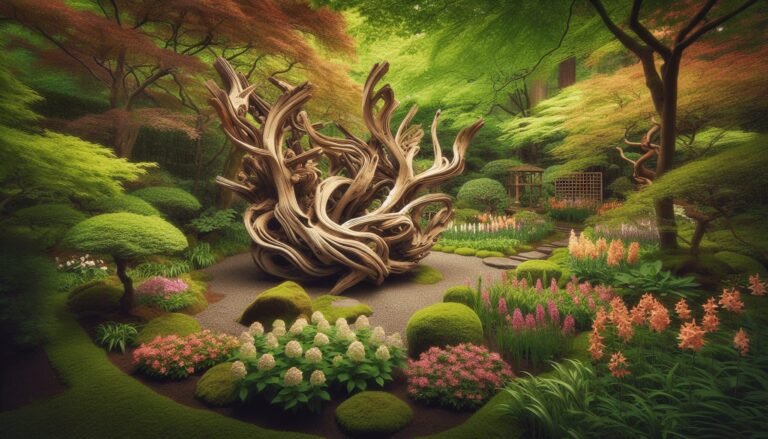
Transform your garden into a seaside retreat with driftwood art! Discover tips for selecting, placing, and maintaining driftwood to create a unique, serene oasis. 🌿🔹