Have you ever found yourself struggling to keep your necklaces untangled and easily accessible? If so, you’re not alone. Organizing jewelry can sometimes feel like an insurmountable task, but it doesn’t have to be. One simple yet effective solution to this common problem is creating a driftwood necklace holder. Not only does it help keep your necklaces organized, but it also adds a touch of rustic charm to your space.

What is a Driftwood Necklace Holder?
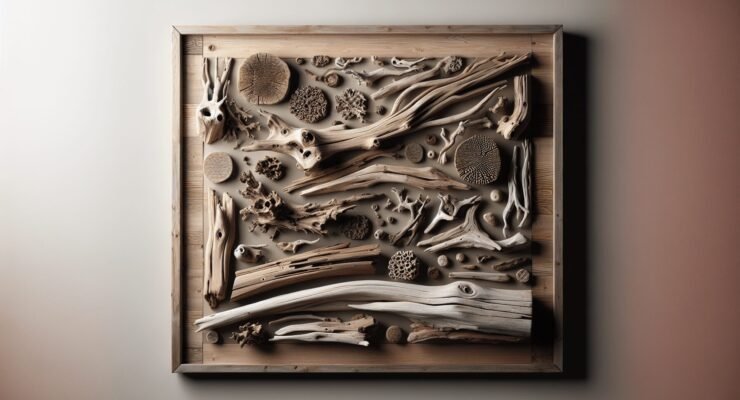
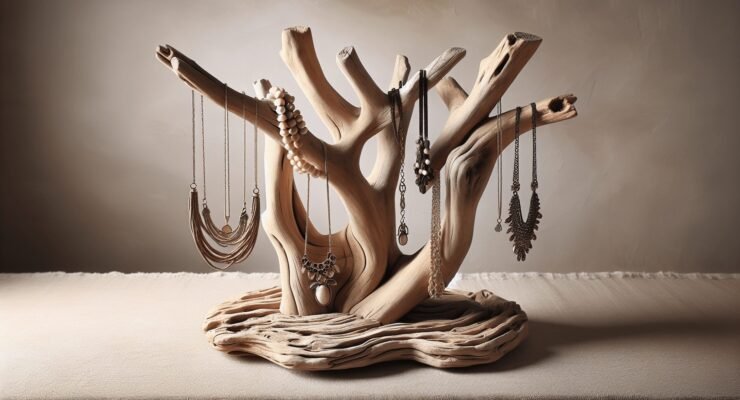
A driftwood necklace holder is a functional piece of decor made from driftwood, which is natural wood that has been washed ashore by tides. Driftwood is weathered and smoothed by the elements, giving it a unique, rustic appearance. By repurposing this beautiful piece of nature, you can create a stunning and practical jewelry organizer.
Benefits of Using Driftwood
- Aesthetic Appeal: Driftwood has a naturally weathered look that adds a rustic or beachy vibe to any room.
- Eco-Friendliness: Repurposing driftwood is a way to recycle and make use of natural materials that would otherwise go to waste.
- Cost-Effective: Driftwood can often be found for free along beaches and rivers, making it a budget-friendly crafting material.
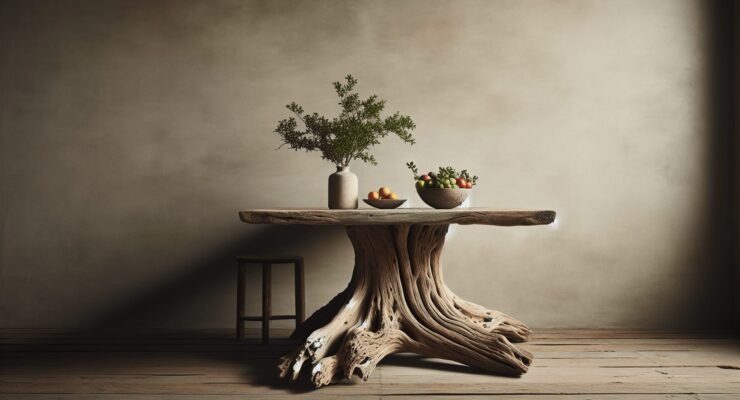
- Versatility: Each piece of driftwood is unique, allowing for a personalized touch to your jewelry holder.
Materials Needed
Here is a list of materials you’ll need to bring your driftwood necklace holder to life. You’ll find that most of them are either readily available at home or can be easily sourced.
| Item | Description |
|---|---|
| Driftwood | Choose a piece that is sturdy and has a flat surface |
| Hooks or Nails | Small hooks or nails to hang the necklaces |
| Power Drill or Hammer | For installing the hooks or nails |
| Sandpaper | To smooth out any rough edges |
| Wood Sealant | Optional but helpful for preserving the driftwood |
| Screw Eyes and Picture Wire | For mounting the driftwood on the wall |
| Measuring Tape | For precise placement of hooks or nails |
How to Choose the Right Driftwood
Size and Shape
Selecting the right piece of driftwood is crucial. The size and shape of the driftwood will determine how many necklaces you can hang and how it will look as a wall decoration. Choose a piece that is long enough to accommodate multiple hooks but not so heavy that it becomes difficult to mount on your wall.
Condition of the Driftwood
Inspect the driftwood to make sure it is in good condition. It should be free from rot and not too crumbly. Sandpaper can be used to smooth any rough patches, making it safer to handle and aesthetically pleasing.
Step-by-Step Guide to Making a Driftwood Necklace Holder
Preparation
- Clean and Dry the Driftwood: Rinse the driftwood thoroughly to remove any sand, dirt, or salt. Allow it to dry completely, which might take a couple of days.
- Sand the Driftwood: Use sandpaper to smooth any rough areas. This step is essential for both aesthetic and safety reasons.
Installing Hooks or Nails
- Measure and Mark: Use a measuring tape to evenly space where you want to place the hooks or nails. Making these measurements ensures that your necklaces will hang neatly and without overlapping.
- Drilling Holes: If you are using small hooks that require screws, drill tiny pilot holes at the marked points. This helps prevent the driftwood from splitting when you screw in the hooks.
- Inserting Hooks or Nails: Screw in the hooks or hammer in the nails at the designated spots. Ensure they are secure enough to hold the weight of your necklaces.
Mounting the Driftwood
- Attach Screw Eyes: Screw the eye hooks into the top of the driftwood at both ends. If the driftwood is particularly long, you might need a third eye hook in the middle for additional support.
- Tie Picture Wire: Thread the picture wire through the eye hooks and twist it securely. This wire will be how you mount the driftwood to the wall.
- Install Wall Hooks: Choose a convenient and appropriate spot on your wall. Install wall hooks where the picture wire will hang.

Customization Options
Adding Personal Touches
You can customize your driftwood necklace holder in countless ways to match your decor or personal taste. Here are some ideas:
- Painted Designs: Add some color with non-toxic wood paint. You could go for an ocean theme to match the driftwood’s natural origins.
- Shell and Bead Accents: Glue shells or beads onto the driftwood for an extra decorative touch.
- Engraving: If you have the tools and skills, you could engrave inspirational quotes or your initials into the driftwood.
Functional Additions
Want to make your driftwood necklace holder even more functional?
- Small Shelves: Attach small, sturdy wooden shelves to the driftwood. This allows you to store additional jewelry like rings and bracelets.
- Mini Baskets: Hang tiny baskets from the hooks to hold earrings or other small items.
Advantages Over Other Necklace Holders
Unique and Customizable
Unlike mass-produced jewelry organizers, a driftwood necklace holder is unique. Each piece of driftwood has its own character, and you can customize it to fit your specific needs.
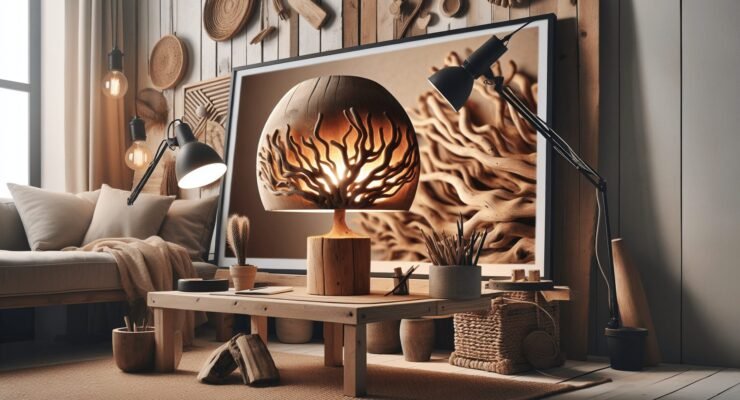
Versatile Decor
A driftwood holder can blend seamlessly into various home decor styles. Whether your home is modern, rustic, or beach-themed, this natural element adds a touch of elegance and uniqueness.
Eco-Friendly Alternative
Commercially available necklace holders are often made from plastic and other non-renewable materials. Using driftwood is a way to be environmentally conscious. You’re recycling something natural and giving it a new life.
Placement Ideas for Your Driftwood Necklace Holder
Bedroom
The most obvious place to install a driftwood necklace holder is in your bedroom. You can mount it on the wall next to your dresser or vanity for easy access when you’re getting ready.
Walk-In Closet
If you are fortunate enough to have a walk-in closet, mount the holder inside. This allows you to keep all your accessories in one place, making your dressing routine more streamlined.
Bathroom
With proper sealing, your driftwood necklace holder can also be placed in the bathroom. This might be especially convenient if you prefer to put on your jewelry after your morning routine.
Maintenance Tips
Regular Cleaning
Keep the driftwood free of dust by wiping it down with a dry cloth regularly. If necessary, use a slightly damp cloth, but avoid getting the wood too wet.
Inspections
Every few months, check the hooks or nails to ensure they are still secure. This prevents accidents and ensures that your jewelry holder remains functional.
Reapplying Sealant
If you live in a humid area, you may want to reapply wood sealant once a year to protect the driftwood from moisture damage.
Frequently Asked Questions
Is Driftwood Durable?
Yes, driftwood is generally durable. However, its longevity will depend on how well you care for it. Properly sealing the wood can extend its lifespan significantly.
Can I Use Other Types of Wood?
Yes, you can use other types of wood if you prefer. However, driftwood has a unique appearance and charm that other woods may lack.
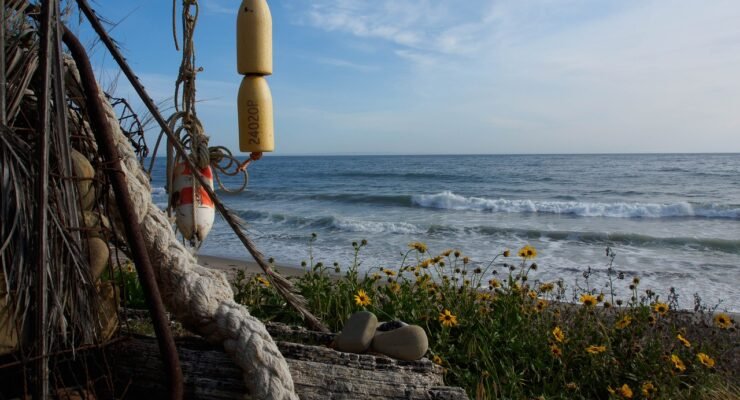
Where Can I Find Driftwood?
Driftwood can often be found along the shores of beaches, rivers, and lakes. If you live near these areas, taking a stroll can yield some beautiful finds. Alternatively, driftwood can also be purchased from craft stores or online retailers.
Final Thoughts
A driftwood necklace holder is not just a functional piece for organizing your jewelry; it’s also a beautiful addition to your home decor. With its natural and unique charm, it’s a simple yet impactful way to bring a bit of the outdoors inside. By following the steps outlined in this guide, you can create a necklace holder that is both practical and beautiful, reflecting your style and creativity. So, why not give it a try?