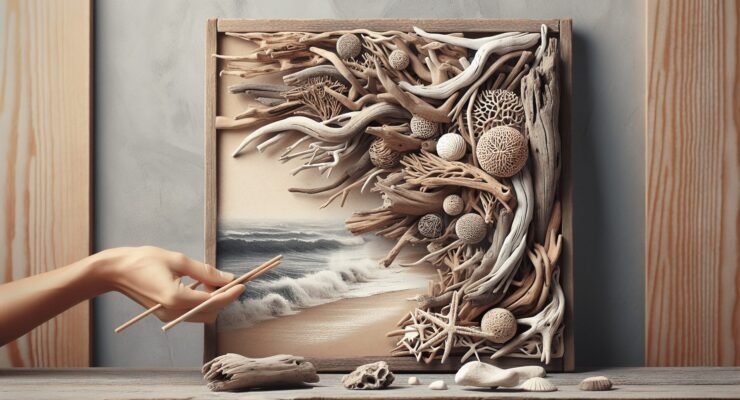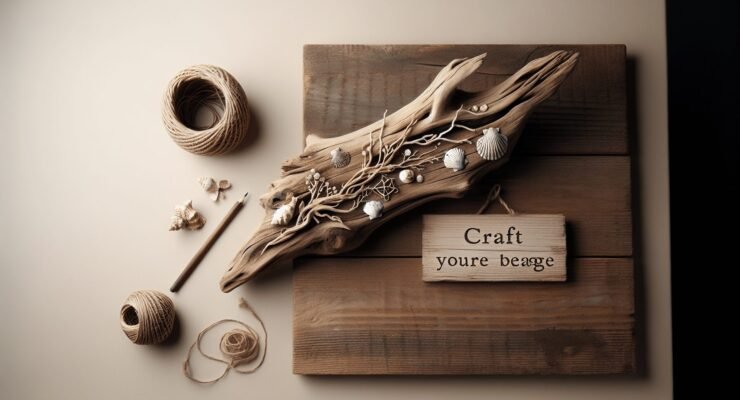
Driftwood Furniture DIY
Imagine transforming found treasures from nature into stunning pieces that adorn your home. In this article, you’ll discover the art of crafting bespoke furniture using driftwood, combining rustic charm with unique character. From gathering the perfect pieces along your favorite beach to sanding and assembling them into coffee tables, shelves, or statement decor, this guide walks you through each step with easy-to-follow instructions. You’ll not only learn the practical aspects of working with driftwood but also gain inspiration to infuse your space with a touch of coastal beauty, all created by your own hands. Have you ever strolled along a beach and found yourself captivated by the artistry of nature-worn driftwood? If so, you’re not alone! This natural treasure has a unique charm, making it a perfect candidate for DIY furniture projects. Whether you’re a seasoned DIY enthusiast or just getting started, creating driftwood furniture can be both rewarding and enjoyable. In this guide, we’ll walk you through everything you need to know to get started with your own driftwood furniture DIY projects.
What is Driftwood?
Driftwood is wood that has been washed ashore by the forces of tides, currents, and waves. This type of wood usually originates from trees that have been uprooted and carried into bodies of water. Over time, the water and elements smooth the wood, giving it a beautiful, rustic appearance that’s perfect for furniture making.
The Appeal of Driftwood
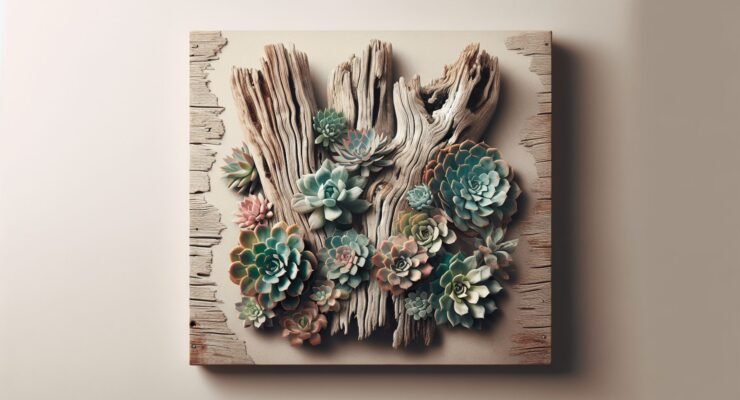
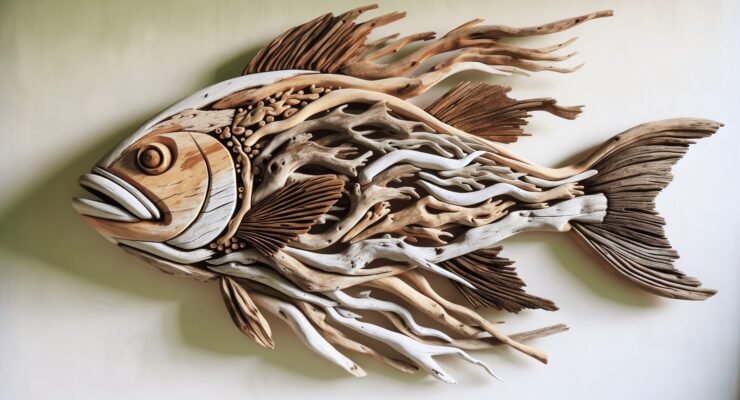
Driftwood’s natural weathering process results in unique shapes, textures, and colors. Each piece is a one-of-a-kind find, adding character and charm to your furniture. Plus, using driftwood in your projects contributes to sustainable practices by recycling nature’s bounty into functional art.
Where to Find Driftwood
Before you can start creating, you’ll need to gather materials. Driftwood can be found along beaches, riverbanks, and lakeshores. Always be sure to check local regulations regarding the collection of driftwood to ensure you’re in compliance. Some areas have restrictions to protect natural habitats.
Planning Your Project
Before diving into your DIY driftwood project, it’s crucial to plan properly. This includes selecting the right kind of furniture to make, sourcing materials, and deciding on a design.
Choosing Your Project
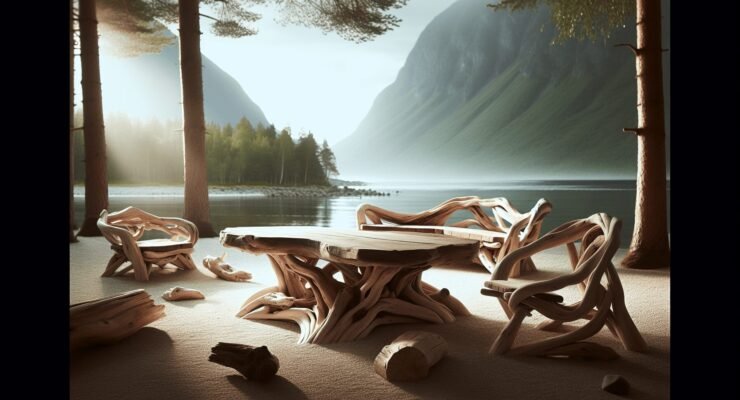
Begin by deciding what type of furniture you want to create. Here are some ideas to get your creative juices flowing:
- Coffee Tables: Use driftwood pieces as legs or a base.
- Shelves: Create rustic shelves with pieces of driftwood as supports.
- Headboards: Construct a unique driftwood headboard to give your bedroom a coastal feel.
- Chairs and Benches: Make a statement piece for your patio or living room.
Sketch Your Design
Having a plan on paper helps visualize the project and serves as a useful guide during construction. Sketch a simple drawing of your desired furniture piece, noting the dimensions and where each piece of driftwood will go.

Gathering Your Materials
Aside from your driftwood, you’ll need a variety of tools and materials to bring your project to life. Here are some essentials:
Basic Tools and Materials
| Tool/Material | Purpose |
|---|---|
| Sandpaper | Smoothes rough edges |
| Saw | Cuts driftwood to the desired length |
| Drill | Creates holes for screws or dowels |
| Screws | Secures pieces together |
| Wood Glue | Provides additional hold |
| Finishing Oil | Enhances the wood’s natural beauty |
| Clamps | Holds pieces together while drying |
Safety Gear
It’s important to prioritize safety. Here’s what you’ll need:
- Gloves: To protect your hands from splinters.
- Goggles: To shield your eyes from dust and debris.
- Mask: To avoid inhaling dust particles.
Preparing the Driftwood
Once you have gathered your materials and tools, the next step is preparing the driftwood. Proper preparation ensures that your furniture will be both beautiful and durable.
Cleaning the Driftwood
Begin by thoroughly cleaning your driftwood pieces. Use a stiff brush to remove sand, dirt, and any loose bark. If the driftwood is still dirty, soak it in a mixture of water and mild detergent for a few hours, then rinse and let it dry completely.
Sanding and Cutting
Once the driftwood is clean, use sandpaper to smooth out any rough edges. This will make the wood safer to handle and give it a finished look. If you need to cut the driftwood to specific lengths or shapes, use a saw at this point. Carefully measure and cut as required by your design.

Constructing Your Furniture
With your materials prepped and your design in hand, it’s time to start building. This is the most exciting part of any DIY project!
Assembling Pieces
Follow your sketched design as you begin assembling the pieces of your furniture. Use a combination of screws and wood glue to secure the driftwood. Clamps can be incredibly helpful to hold pieces together as the glue dries.
Drilling and Dowel Pins
For added stability, you may want to use dowel pins in addition to screws. Drill holes where the pieces will connect and insert wooden dowels, securing them with glue. This will provide extra strength to your furniture.
Checking for Stability
Before moving on to finishing touches, ensure that your furniture is stable and all parts are securely fastened. Give it a few shakes and make any necessary adjustments.
Finishing Your Driftwood Furniture
The finishing touches will enhance the natural beauty of the driftwood and help protect your furniture.
Cleaning Up
Before applying any finish, make sure your furniture is clean and free of dust. A tack cloth or a damp rag can be used to wipe away any remaining particles.
Applying Finishing Oil
Using a good quality finishing oil will bring out the natural colors and textures of the driftwood. Apply the oil with a clean cloth, following the grain of the wood. Allow it to soak in and then buff away any excess with a dry cloth. This will leave a smooth, polished surface.
Adding Protective Coatings
For extra protection, especially for outdoor furniture, consider adding a clear sealant. This will protect the wood from moisture and UV rays, prolonging the life of your furniture.
Tips and Tricks
Every DIY project comes with its own set of challenges. Here are some tips to help you along the way:
Selecting the Right Driftwood
- Size and Shape: Look for pieces that match the dimensions you need.
- Condition: Avoid driftwood that is rotten or has extensive damage.
- Texture: The more unique the texture, the more character your furniture will have.
Making Adjustments
- Flexibility: Be prepared to adjust your design based on the pieces you find.
- Extra Material: Always collect more driftwood than you think you’ll need. This gives you more options during construction.
Enhancing Natural Beauty
Use natural oils and minimal coatings to maintain the rustic look of the driftwood. Too many layers of finish can take away from the wood’s natural charm.
Budget Considerations
DIY projects can be quite cost-effective, especially when using materials like driftwood that you gather yourself. However, there are still costs to consider.
Budget Breakdown
| Item | Estimated Cost |
|---|---|
| Driftwood | Free (if collected yourself) |
| Basic Tools | $50 – $100 |
| Screws and Dowels | $10 – $20 |
| Wood Glue | $5 – $10 |
| Finishing Oil | $10 – $20 |
| Safety Gear | $20 – $40 |
Saving Money
- Thrift Stores: Check for second-hand tools and materials.
- Sales and Discounts: Look for sales at hardware stores.
- Borrow or Rent: If you don’t plan on making furniture often, consider borrowing or renting tools.
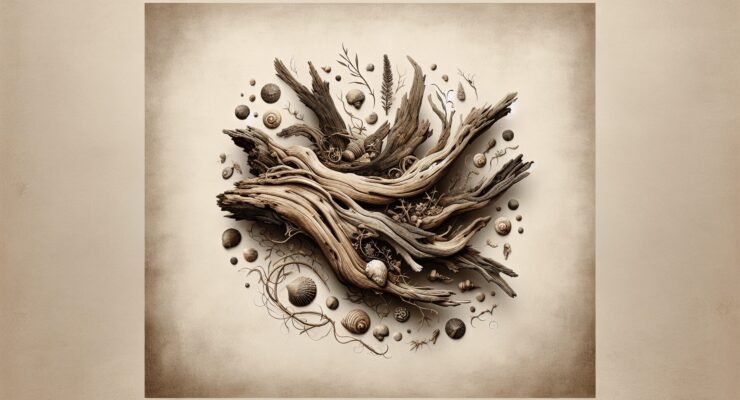
Inspiration and Ideas
Sometimes, seeing what others have created can spark your own creativity. Look for inspiration online or in coastal living magazines. Here are a few ideas to get you started:
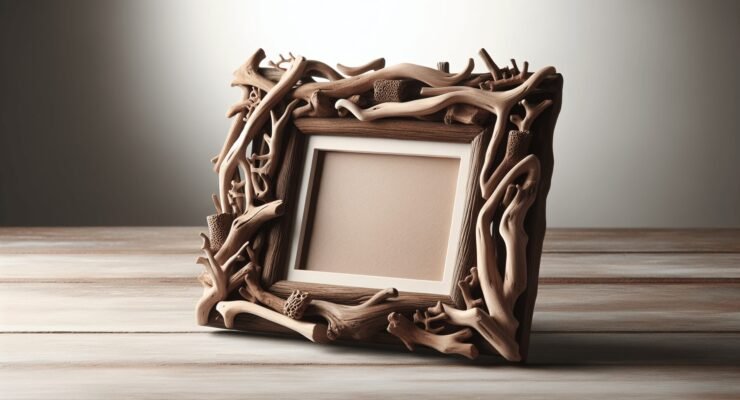
Driftwood Picture Frames
A driftwood picture frame adds a touch of coastal charm to any room. Simply collect smaller pieces of driftwood, cut them to size, and attach them around a basic frame.
Driftwood Mirrors
Similar to picture frames, driftwood mirrors are visually stunning and can become a focal point in your home. Attach driftwood pieces around the perimeter of a mirror for a rustic appeal.
Driftwood Candleholders
Create simple candleholders by attaching a few pieces of driftwood together with glue and placing a small candle on top. These can be used as table centerpieces or decorative accents.
Troubleshooting Common Issues
Even with meticulous planning, issues can arise. Here are some common problems and how to address them:
Uneven Surfaces
Driftwood often has uneven surfaces that can make assembly challenging. Use a sander or planer to even out the areas where the pieces will connect.
Structural Weakness
If you find that your furniture is wobbly or unstable, reinforce the joints with additional screws or dowels. Ensure that all connections are tight and secure.
Finish Issues
If your finish isn’t coming out as expected, it might be due to residual dust or dirt. Clean the wood thoroughly before applying the finish, and always follow the manufacturer’s instructions.
Conclusion
Creating your own driftwood furniture can be an incredibly rewarding experience. Not only do you end up with a unique, eye-catching piece, but you also gain the satisfaction of crafting something with your own hands. With careful planning, the right materials, and a bit of patience, you’ll have beautiful driftwood furniture that brings a touch of nature into your home.
So what are you waiting for? Grab your tools, head to the beach, and start collecting that driftwood. Your next DIY project awaits, and who knows – it might just be your best one yet!