Everyone loves a touch of coastal charm, and what better way to bring the beach into your home than with driftwood art? In “Driftwood Art Ideas Wall Hangings Beach Houses,” you’ll find a treasure trove of creative and inspiring ways to transform simple pieces of driftwood into striking wall hangings. Tailored for beach house decor, these art ideas not only celebrate the natural beauty of weathered wood but also add a unique, personal touch to your living space. Dive in and discover how to bring the relaxing, carefree vibes of the seashore right to your walls! Have you ever found yourself strolling along the beach, the salty air filling your lungs and the sound of waves crashing against the shore being music to your ears? If so, you might have noticed pieces of driftwood scattered along the sand and thought they were just remnants of old trees. But did you know that these pieces of driftwood can be transformed into stunning pieces of art? Especially for beach houses, driftwood art wall hangings can add a touch of coastal charm and rustic beauty to your living space.
In this article, we will dive into the world of driftwood art, exploring various creative ideas for wall hangings that can turn any beach house into a seaside sanctuary. Let’s embark on this creative journey together!
Why Driftwood?
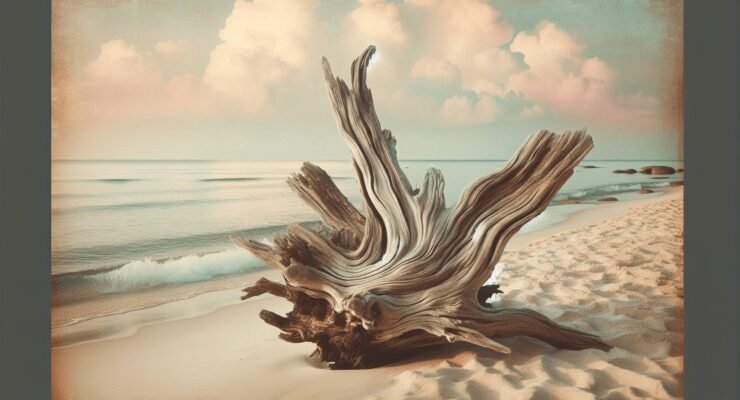
Driftwood, having been naturally sanded and weathered by the sea, has a unique, rustic appearance that makes it a favorite among artists and decorators. Its natural textures and tones evoke the beauty of the coastline, bringing a touch of the beach into your home. Whether you live by the ocean or just want to capture its essence, driftwood offers a versatile medium for artistic expression.
Unique Qualities of Driftwood
Driftwood is not just any wood; it’s wood that has been polished by nature itself. Here are a few reasons why it stands out:
- Durability: The exposure to water makes it surprisingly durable, ensuring your art pieces last for years.
- Texture: The smooth, weathered texture gives a rustic and natural feel.
- Color Variations: From soft grays to warm browns, the color variations in driftwood add depth to any piece.
Getting Started: Gathering and Preparing Driftwood
Before you can turn driftwood into art, you need to gather and prepare it properly. This process is both an adventure and a crucial step in ensuring your artwork looks its best and lasts long.
Collecting Driftwood
The first step is to head to your nearest beach and start collecting. Look for pieces that inspire you, whether they are large branches for a statement piece or smaller bits for intricate designs. Ensure that you:
- Check Local Regulations: Some beaches have rules about collecting natural materials.
- Consider Size and Shape: Think about the project in mind and choose pieces that fit your vision.
- Inspect for Damage: Ensure the wood is solid and free from excessive rot or infestation.
Cleaning and Preparing Driftwood
Once you’ve got your driftwood, the next step is to clean and prepare it. This ensures it’s free from salt, sand, and any potential pests. Here’s how you can do it:
- Rinse Thoroughly: Use fresh water to rinse off any salt and sand.
- Soak in Water and Bleach: Soak the wood for a day in a mixture of one-part bleach to ten-parts water to kill any bugs and fungi.
- Dry Completely: Let the wood dry outdoors in a shaded area. This can take several days depending on the size of the pieces.

Driftwood Art Ideas for Wall Hangings
Now that you’re ready with clean, dry driftwood, let’s explore some creative ideas for using it in wall hangings. These ideas can cater to various styles, whether you prefer something minimalist or more elaborate.
Driftwood Mirrors
Mirrors framed with driftwood can add a whimsical touch to any room. By surrounding a mirror with driftwood pieces, you create a focal point that reflects light and adds depth to your space. Here’s how you can create one:
Materials Needed:
- A mirror
- Driftwood pieces
- Strong adhesive
- A backing board (optional)
Steps:
- Arrange the driftwood pieces around the mirror on a flat surface to find the best layout.
- Attach the driftwood pieces to the mirror frame or backing board using strong adhesive.
- Let it Dry completely before hanging on the wall.
Driftwood Shelves
Functional and decorative, driftwood shelves can hold anything from beach treasures to everyday items. Here’s a simple way to make them:
Materials Needed:
- Flat, sturdy pieces of driftwood
- Brackets or driftwood for support
- Screws and wall anchors
Steps:
- Measure and Mark: Decide where you want the shelves and mark the wall.
- Attach Brackets: Secure the brackets to the wall using screws and wall anchors.
- Place Driftwood: Lay the driftwood on the brackets securely.
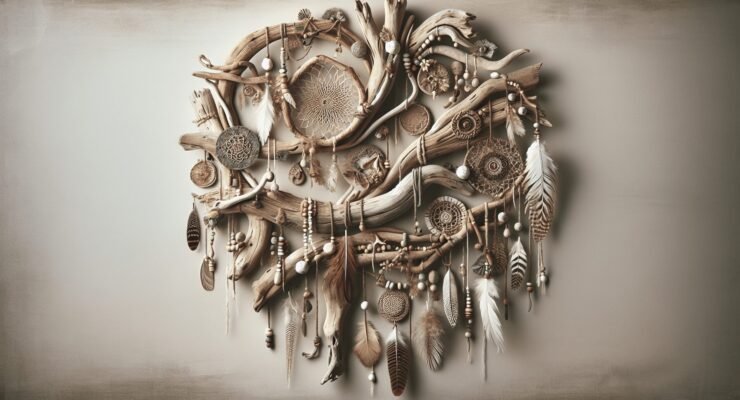
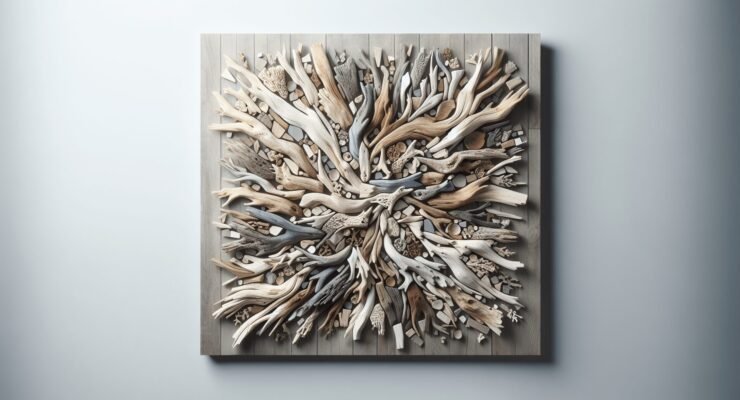
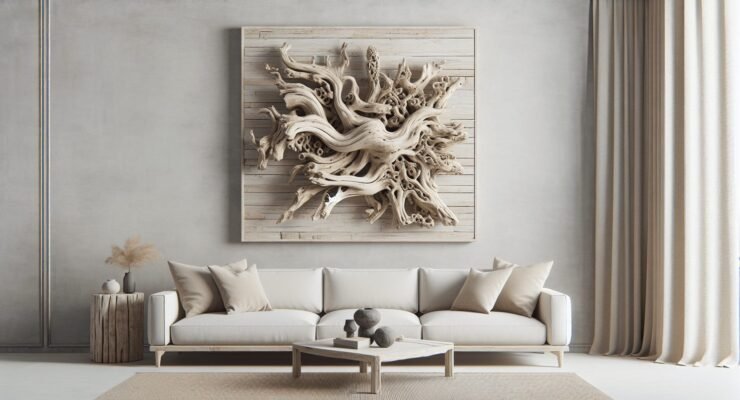
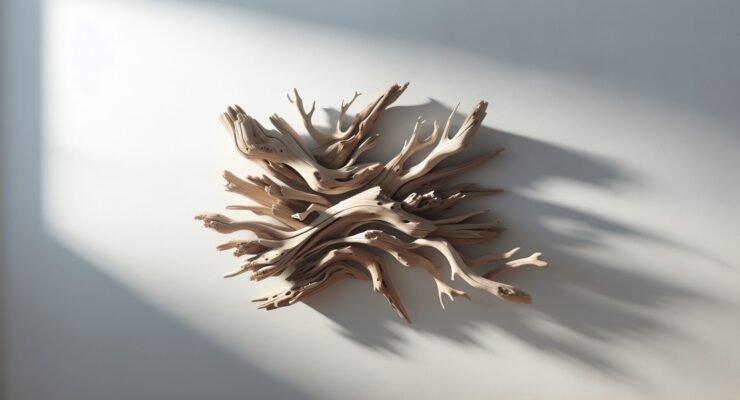
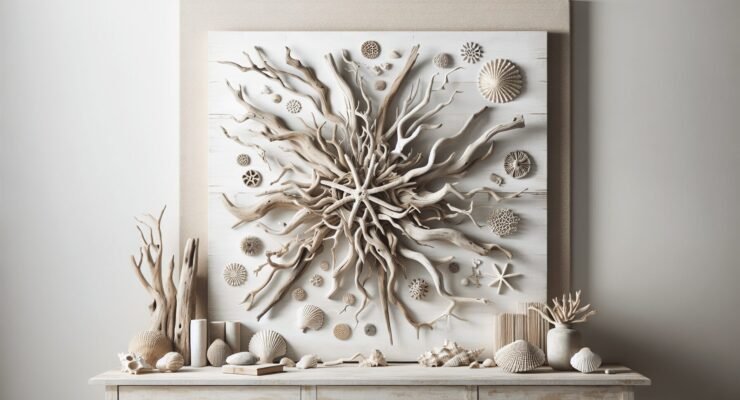
Driftwood Wall Sculptures
If you’re aiming for a true art piece, consider a driftwood wall sculpture. These can range from simple designs to more elaborate forms like trees, fish, or abstract shapes.
Materials Needed:
- Various driftwood pieces
- A backing board or mesh
- Screws or strong adhesive
Steps:
- Plan Your Design: Sketch your design on paper or directly onto the backing board.
- Arrange Driftwood: Lay the driftwood according to your design.
- Secure Pieces: Attach the driftwood to the backing board with screws or adhesive.
Driftwood Crosses
A driftwood cross can be a serene addition to your wall decor, especially in a beach house where spirituality and nature often blend seamlessly.
Materials Needed:
- Two pieces of driftwood
- Rope or twine
- Strong adhesive (optional)
Steps:
- Cross the Wood: Position the pieces to form a cross.
- Secure: Use twine to wrap the center where the two pieces cross or use adhesive for additional strength.
- Hang: Attach a hook or loop to the back for wall hanging.
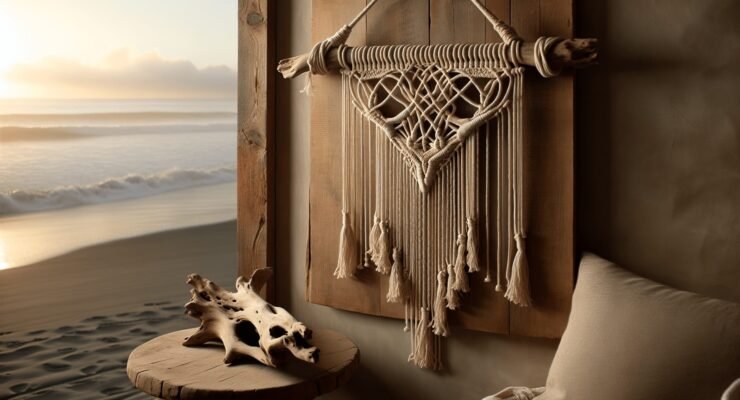
Driftwood Mobiles
A driftwood mobile adds movement to your space and can be a simple yet striking piece of art. Great for living rooms or patios, it’s a project that’s both easy and rewarding.
Materials Needed:
- Driftwood pieces
- Fishing line or twine
- A drill (optional)
Steps:
- Drill Holes: Drill small holes in the driftwood pieces.
- Thread and Tie: Thread the fishing line through the holes and tie securely.
- Assemble: Attach the pieces to a larger piece of driftwood or a frame at various lengths.
Driftwood Signs
Personalize your space with driftwood signs. Whether it’s a welcoming message or a quote, driftwood signs are a great way to add character to your home.
Materials Needed:
- Flat pieces of driftwood
- Paint and brushes
- Stencils (optional)
- Hooks or string for hanging
Steps:
- Clean and Sand the driftwood surface if necessary.
- Design and Paint: Use stencils for more precise letters or paint freehand.
- Attach Hooks: Secure hooks or string to the back for hanging.
Tips for Designing Your Driftwood Art
Creating driftwood art is all about letting your creativity flow but keeping a few tips in mind can elevate your artwork.
Balance and Proportion
When designing your driftwood piece, maintain a balance in the size and proportion of the driftwood used. Larger, heavier pieces should be at the bottom to provide stability and a grounded look, while smaller pieces can be used to create a more intricate design on top.
Natural Variations
Embrace the natural variations in driftwood. Each piece has its own character, so let these unique features play a part in your design. Natural curves, knots, and textures can enhance the beauty of your creation.
Color Coordination
While driftwood generally comes in shades of gray and brown, you can add splashes of color to your art piece. Consider the color palette of the room where the art will be displayed. You can paint certain pieces of driftwood or use colored accents to tie the artwork with the room’s decor.
Layering
Creating layers in your driftwood art can add depth and dimension. This can be achieved by overlapping pieces or using different sizes and thicknesses of driftwood. Layering can make flat designs more dynamic and visually interesting.

Maintaining Your Driftwood Art
Once you’ve created your driftwood masterpiece, proper maintenance will ensure it remains beautiful and intact for years to come.
Dusting
Regularly dust your driftwood art with a dry cloth. For more stubborn dust, a slightly damp cloth can be used, but avoid excessive moisture.
Avoid Direct Sunlight
Prolonged exposure to direct sunlight can cause the driftwood to fade or crack. Try to place your art in a location with indirect sunlight or use UV-protective coatings.
Humidity Control
While driftwood is fairly resilient, extreme changes in humidity can cause it to warp. Maintain a stable indoor environment to preserve your artwork.
Occasional Polishing
Consider using a wood polish suitable for driftwood to keep its natural luster. Test the polish on a small area first to ensure it does not alter the color or texture of the driftwood.
The Joy of Creating Driftwood Art
Creating driftwood art is not just about the end product; it’s about the joy of the process. From collecting driftwood on your favorite beach to designing and assembling your art piece, each step is a chance to connect with nature and express your creativity.
A Family Activity
Driftwood art projects can be a wonderful family activity. Involve your children in collecting driftwood and designing simple pieces. It’s a creative and educational experience that can teach them about coastal ecosystems and the beauty of natural materials.
Sustainable Decor
By using driftwood, you’re also making an eco-friendly choice. Driftwood is a sustainable material that repurposes natural debris, reducing waste and promoting a connection with the environment.
Personal Touch
Finally, every driftwood art piece you create is infused with your personal touch. It reflects your style, your experiences, and your creativity. Whether it’s a gift for a loved one or a decoration for your own home, driftwood art carries a story and a piece of your heart.
Conclusion
Driftwood art offers endless possibilities for creating beautiful, unique wall hangings that can transform any beach house into a cozy, serene retreat. From practical shelves and personalized signs to intricate sculptures and gleaming mirrors, each piece of driftwood can find a place in your home.
So next time you walk along the beach, keep an eye out for those weathered pieces of driftwood. They’re not just remnants of old trees; they’re potential masterpieces waiting to be created. And with the ideas and inspiration from this article, you’re well on your way to crafting your own driftwood art wall hangings.
Happy creating!