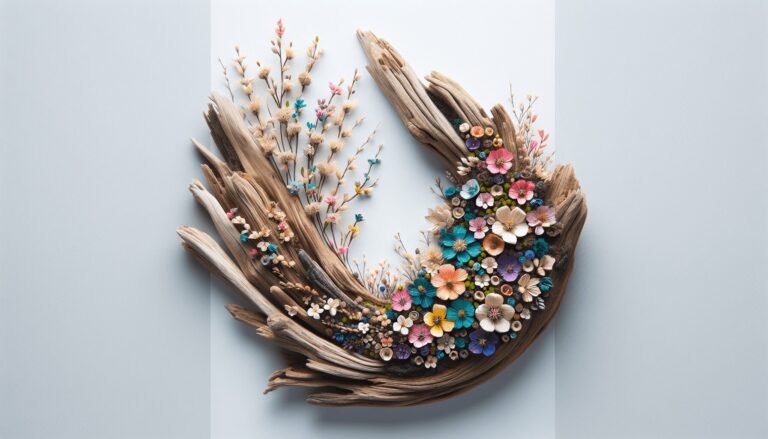
Driftwood Flower Wall Art
Discover the beauty of Driftwood Flower Wall Art. Transform weathered driftwood into stunning floral designs, adding a rustic, sophisticated touch to your home decor.
Discover the beauty of Driftwood Flower Wall Art. Transform weathered driftwood into stunning floral designs, adding a rustic, sophisticated touch to your home decor.
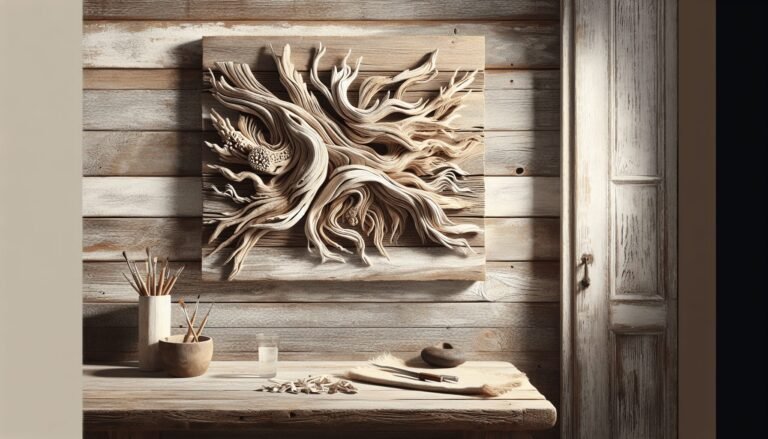
Learn how to create stunning driftwood wall art to transform your living space into a serene, ocean-inspired haven. Follow our step-by-step DIY guide today!
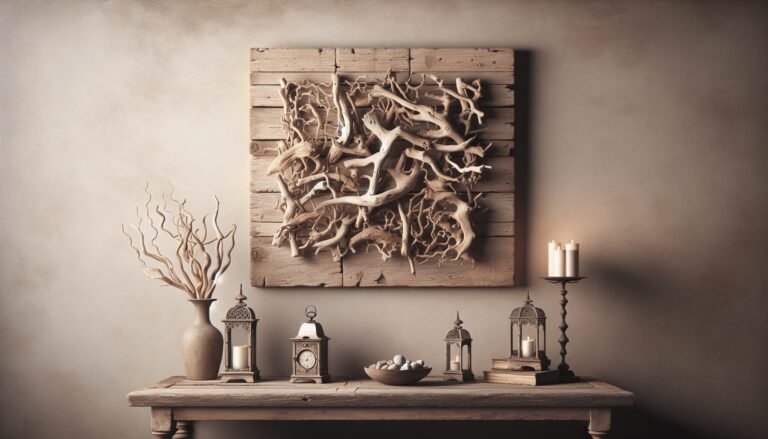
Bring a rustic charm to your home with French Country Driftwood Wall Art. Discover how this blend of natural elements and elegant design transforms your space.
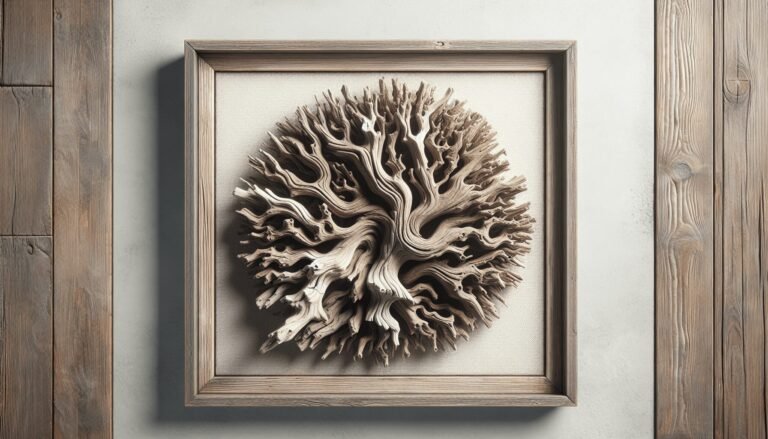
Discover the enchanting world of Driftwood Framed Art. Transform beachcombed treasures into unique, eco-friendly masterpieces. Dive in and start your coastal decor journey today!
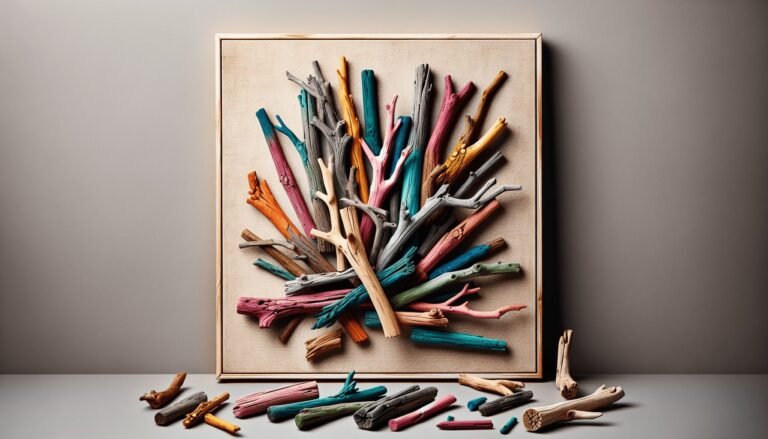
Explore the artistry of Driftwood Wall Art with our guide. Learn how to transform branches & painted sticks into stunning decor. Perfect for DIY lovers & beginners.
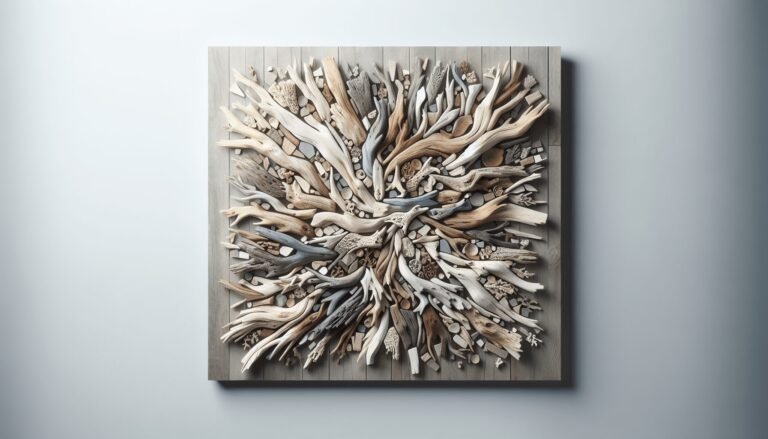
Transform your living space with serene Driftwood Wall Art Mosaic. Discover how to create unique, eco-friendly decor that captures nature’s beauty and adds natural elegance to any room.
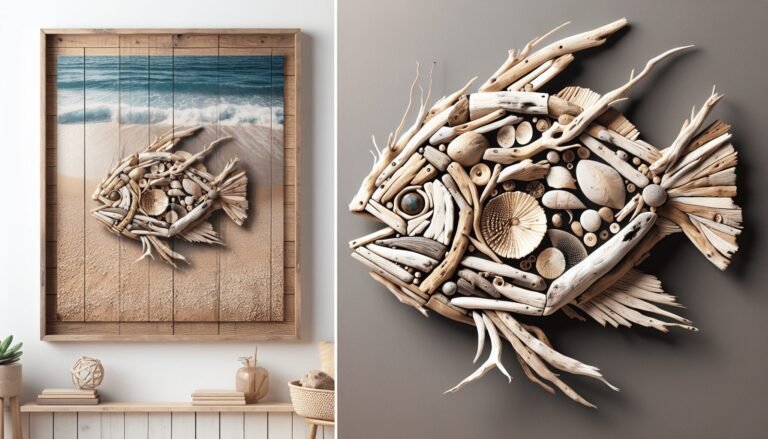
Transform your home with coastal charm using driftwood fish wall decor. Find out what it is, how it’s made, where to get it, and how to style it in your space!

Transform your bedroom into a tranquil oasis with Driftwood Art Above Bed. Crafted from natural driftwood, this unique artwork adds rustic elegance and a sense of serenity to your space. Elevate your room’s decor with nature’s beauty.

Looking for a boho-inspired hanging wall decor? Read our review of the Artificial Eucalyptus Greenery Hanging Wall Decor for bedroom, living room, entryway, and bathroom. Transform your space with this unique and handmade piece.
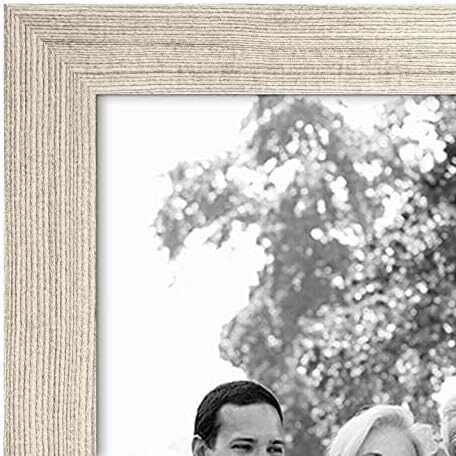
Looking for a stylish and durable frame set to display your favorite photos? Check out our Americanflat Driftwood Picture Frames Collage Wall Decor review!